Get Ethereum Running in Minutes
In a matter of minutes, create an account and establish your organizational identity on Kaleido. Begin by using our free Starter Plan and proceed to build your very own bespoke blockchain network, configured with a protocol provider and accompanying consensus algorithm of your choice. Finish up by creating a contract project, compiling business logic (i.e., smart contracts), and then issue your first transactions on the blockchain without the need for custom coding and development expertise. Welcome to your enterprise blockchain easy button! Now follow along as we get you up and running in just a few minutes.
Create an Account and Login
- Visit https://console.kaleido.io and select Create an account.
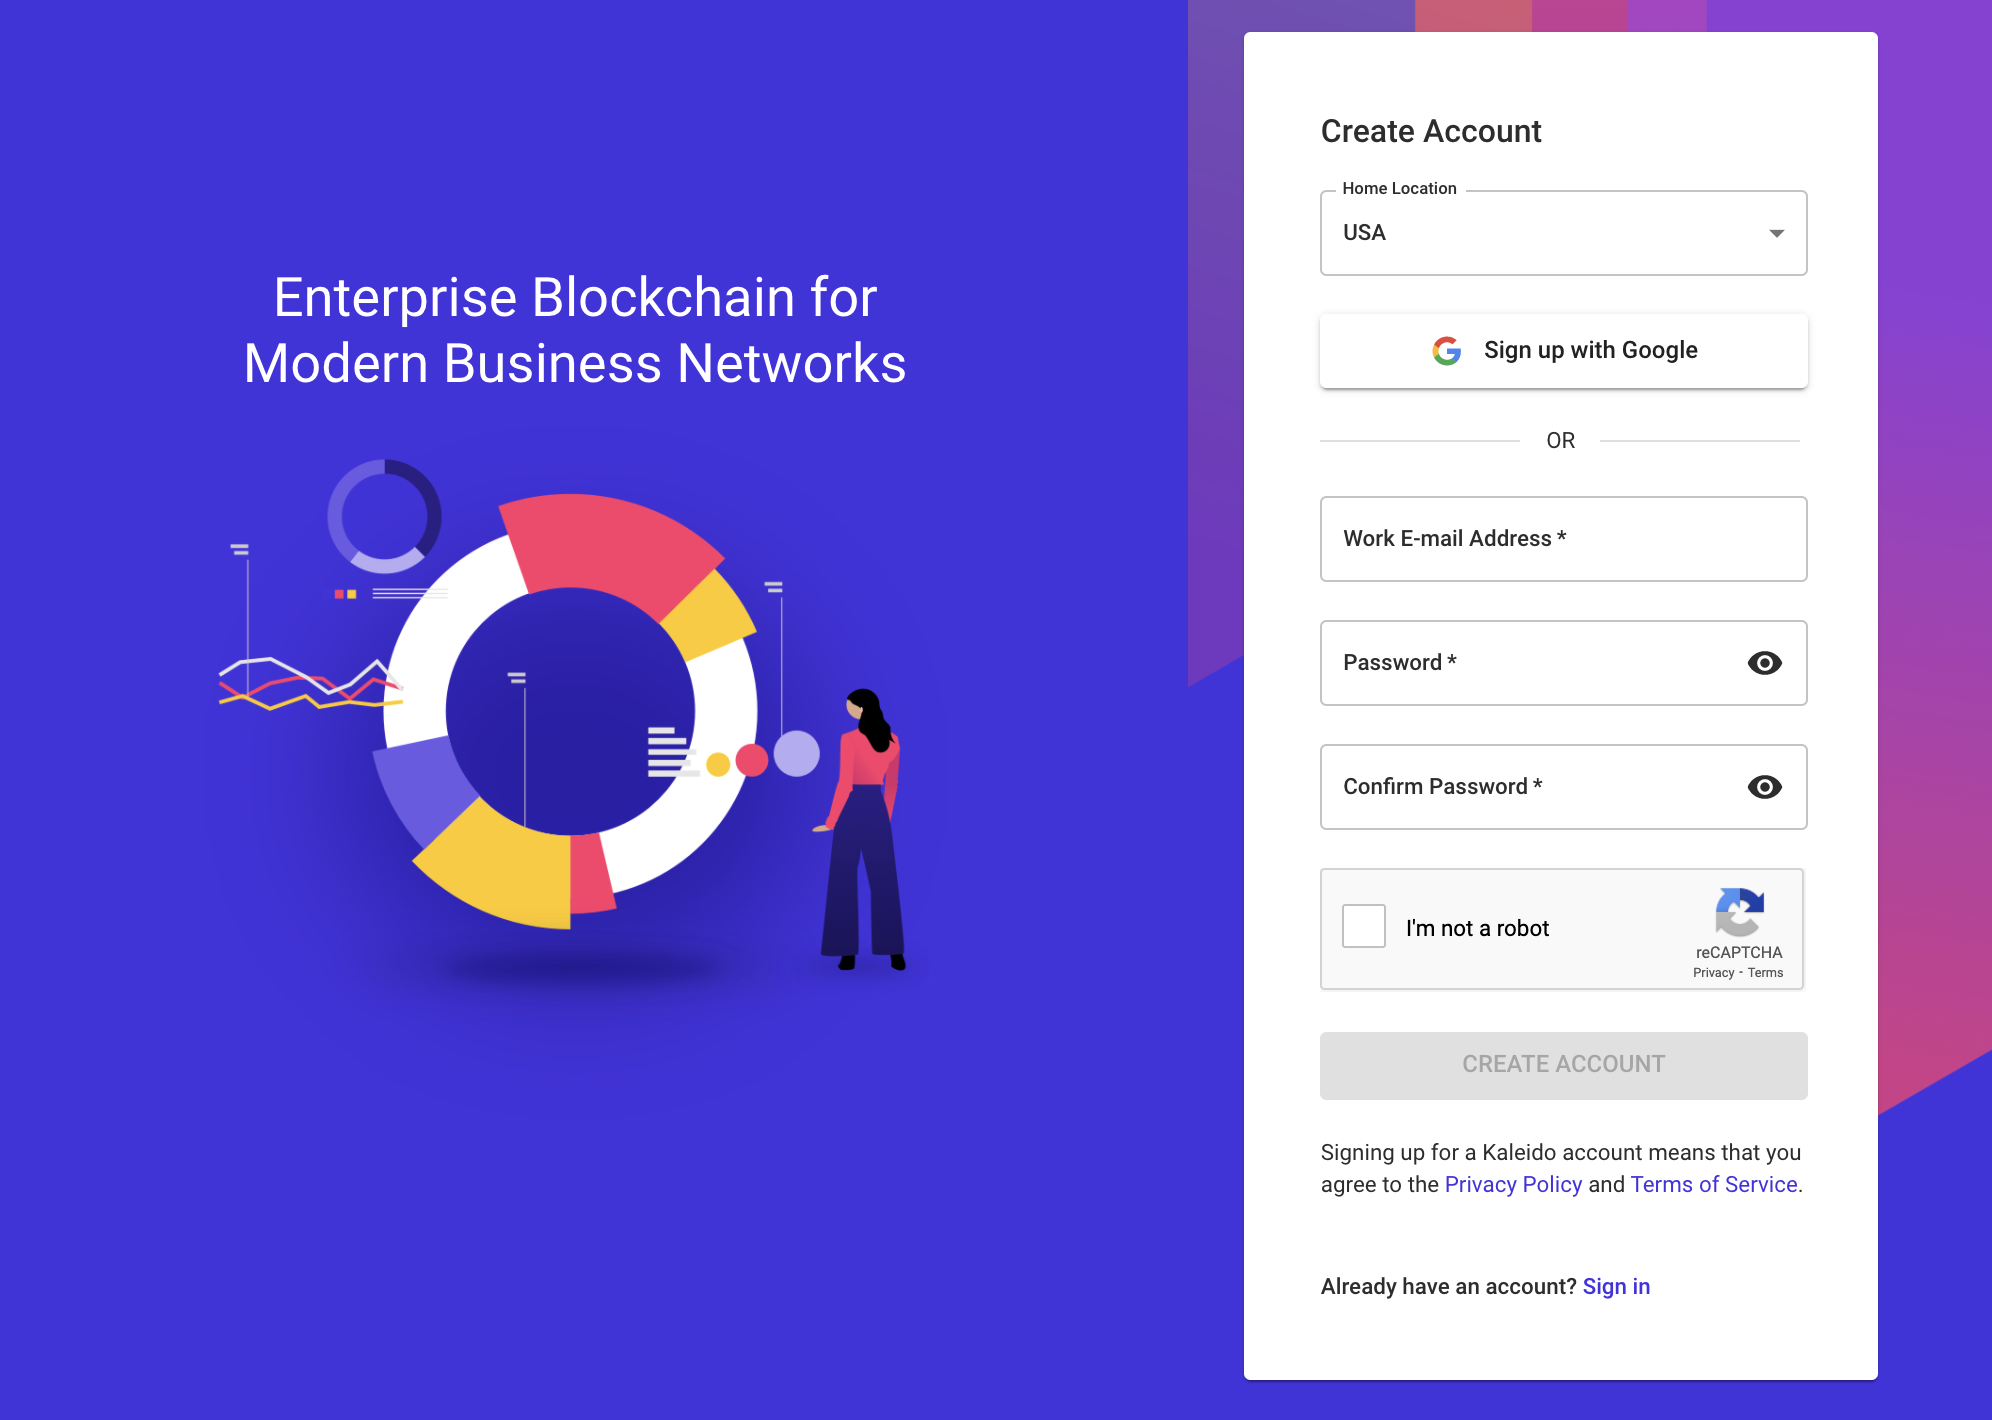
- Supply your location and enter an email address to be associated with your organization. This email address will serve as your username for logins to the Kaleido console.
- Supply a strong password and indicate that you are not a robot. Click Create Account to proceed.
- Check your inbox for a verification message and one-time verification code. Enter the verification code and click the Verify Email button.
- Now, we just need some basic information about your business organization to finalize your account.

- Enter the name for your Company/Organization. This is how your organization will be represented on the platform. Note that this can be changed after creation.
- Specify your industry and the size of your organization.
- Enter your first and last name, describe your business role and reason for using Kaleido. Click NEXT.
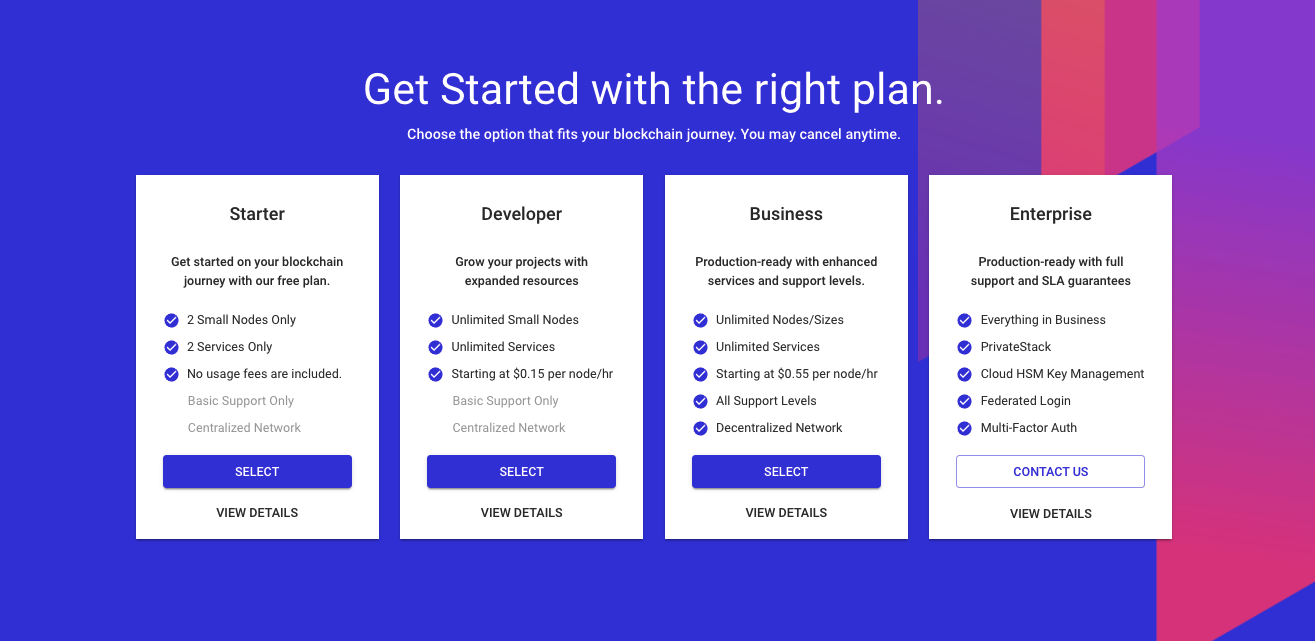
- Choose one of the available subscription plans.
- The Starter Plan is free of charge and is perfect for quick experimentation, sandbox testing, and lightweight development. You can find more information on the limitations and usage restrictions of the Starter Plan here.
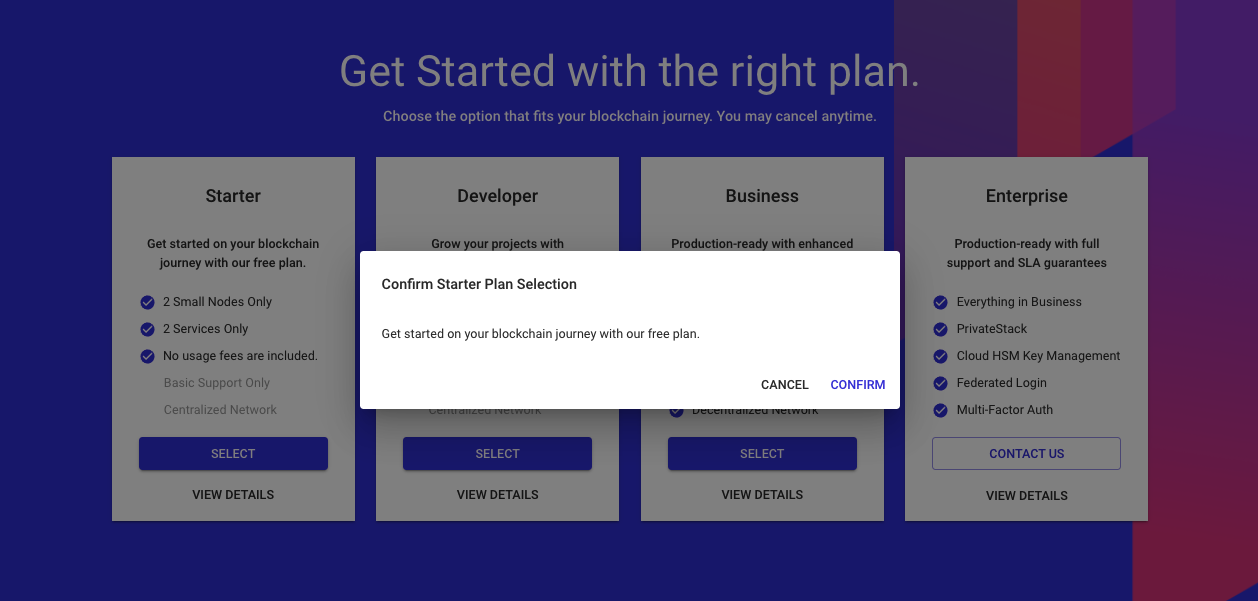
- If you elect for the Starter Plan, simply press Confirm to be redirected to the Kaleido console.
- If you choose either the Developer or Business Plan, you will first be prompted to select an applicable support tier.
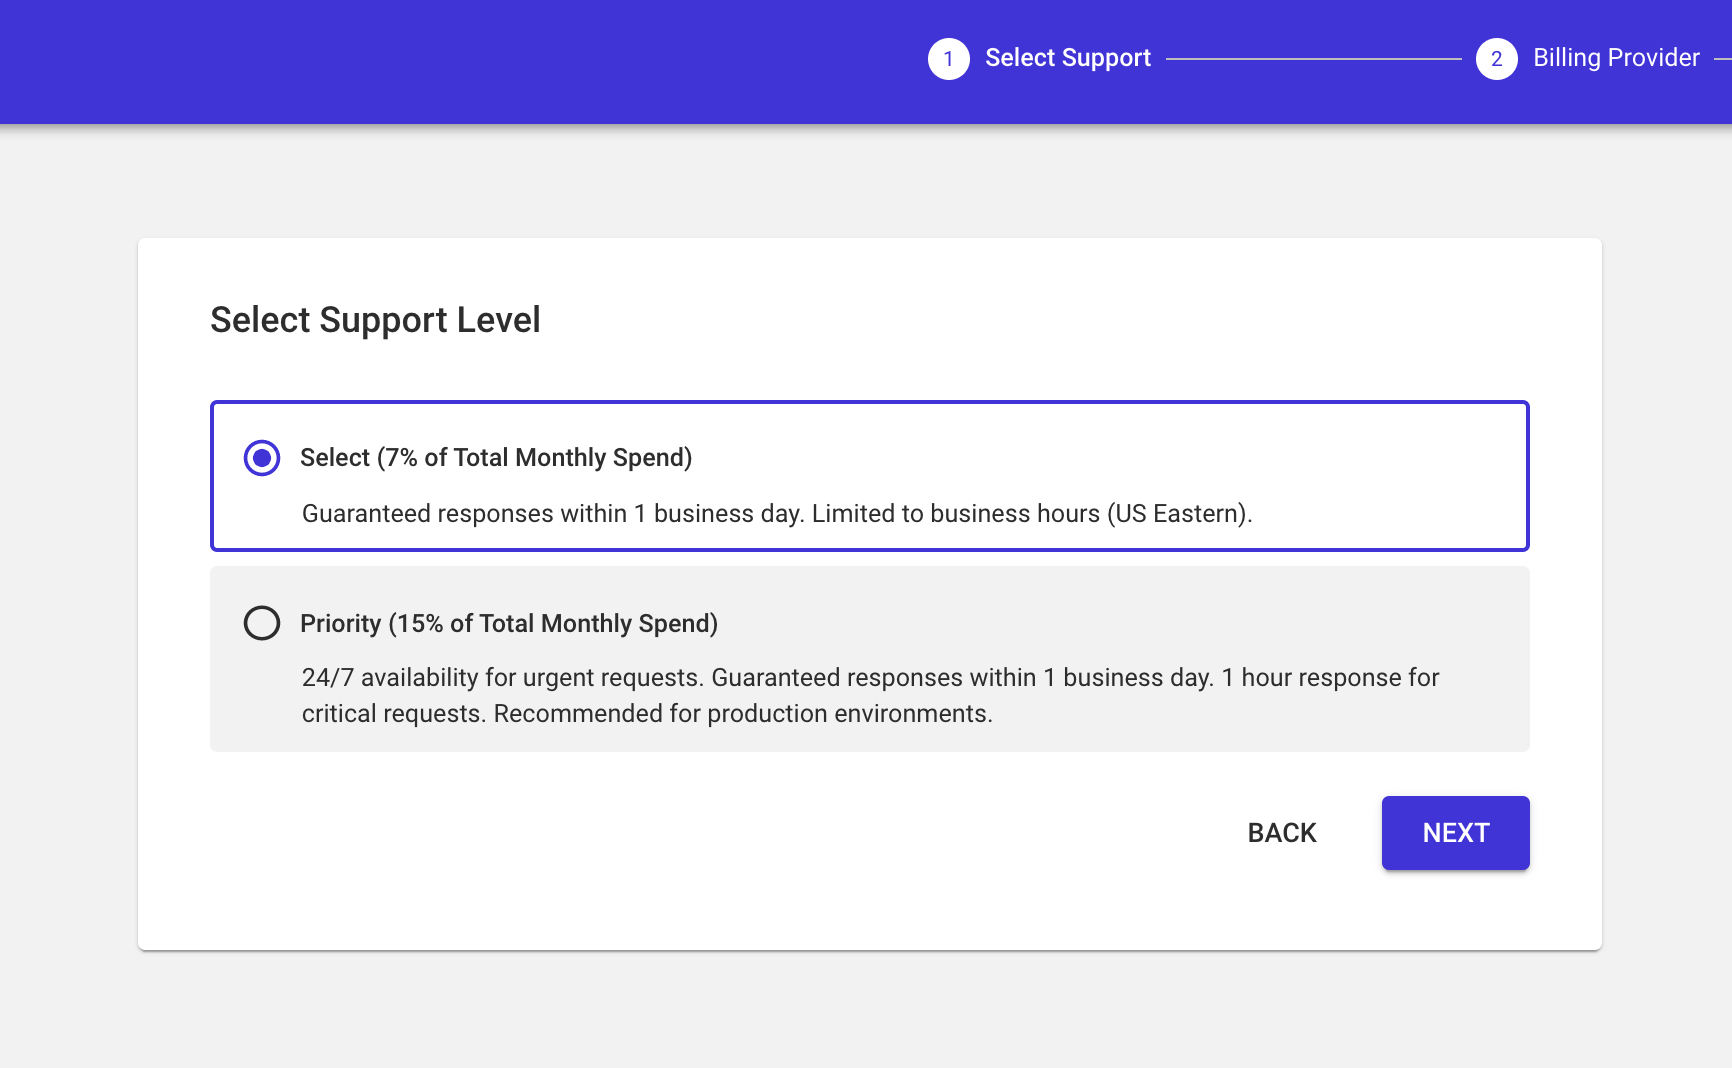
- Choose a tier and click NEXT.
- You will then be prompted to enter your billing details:
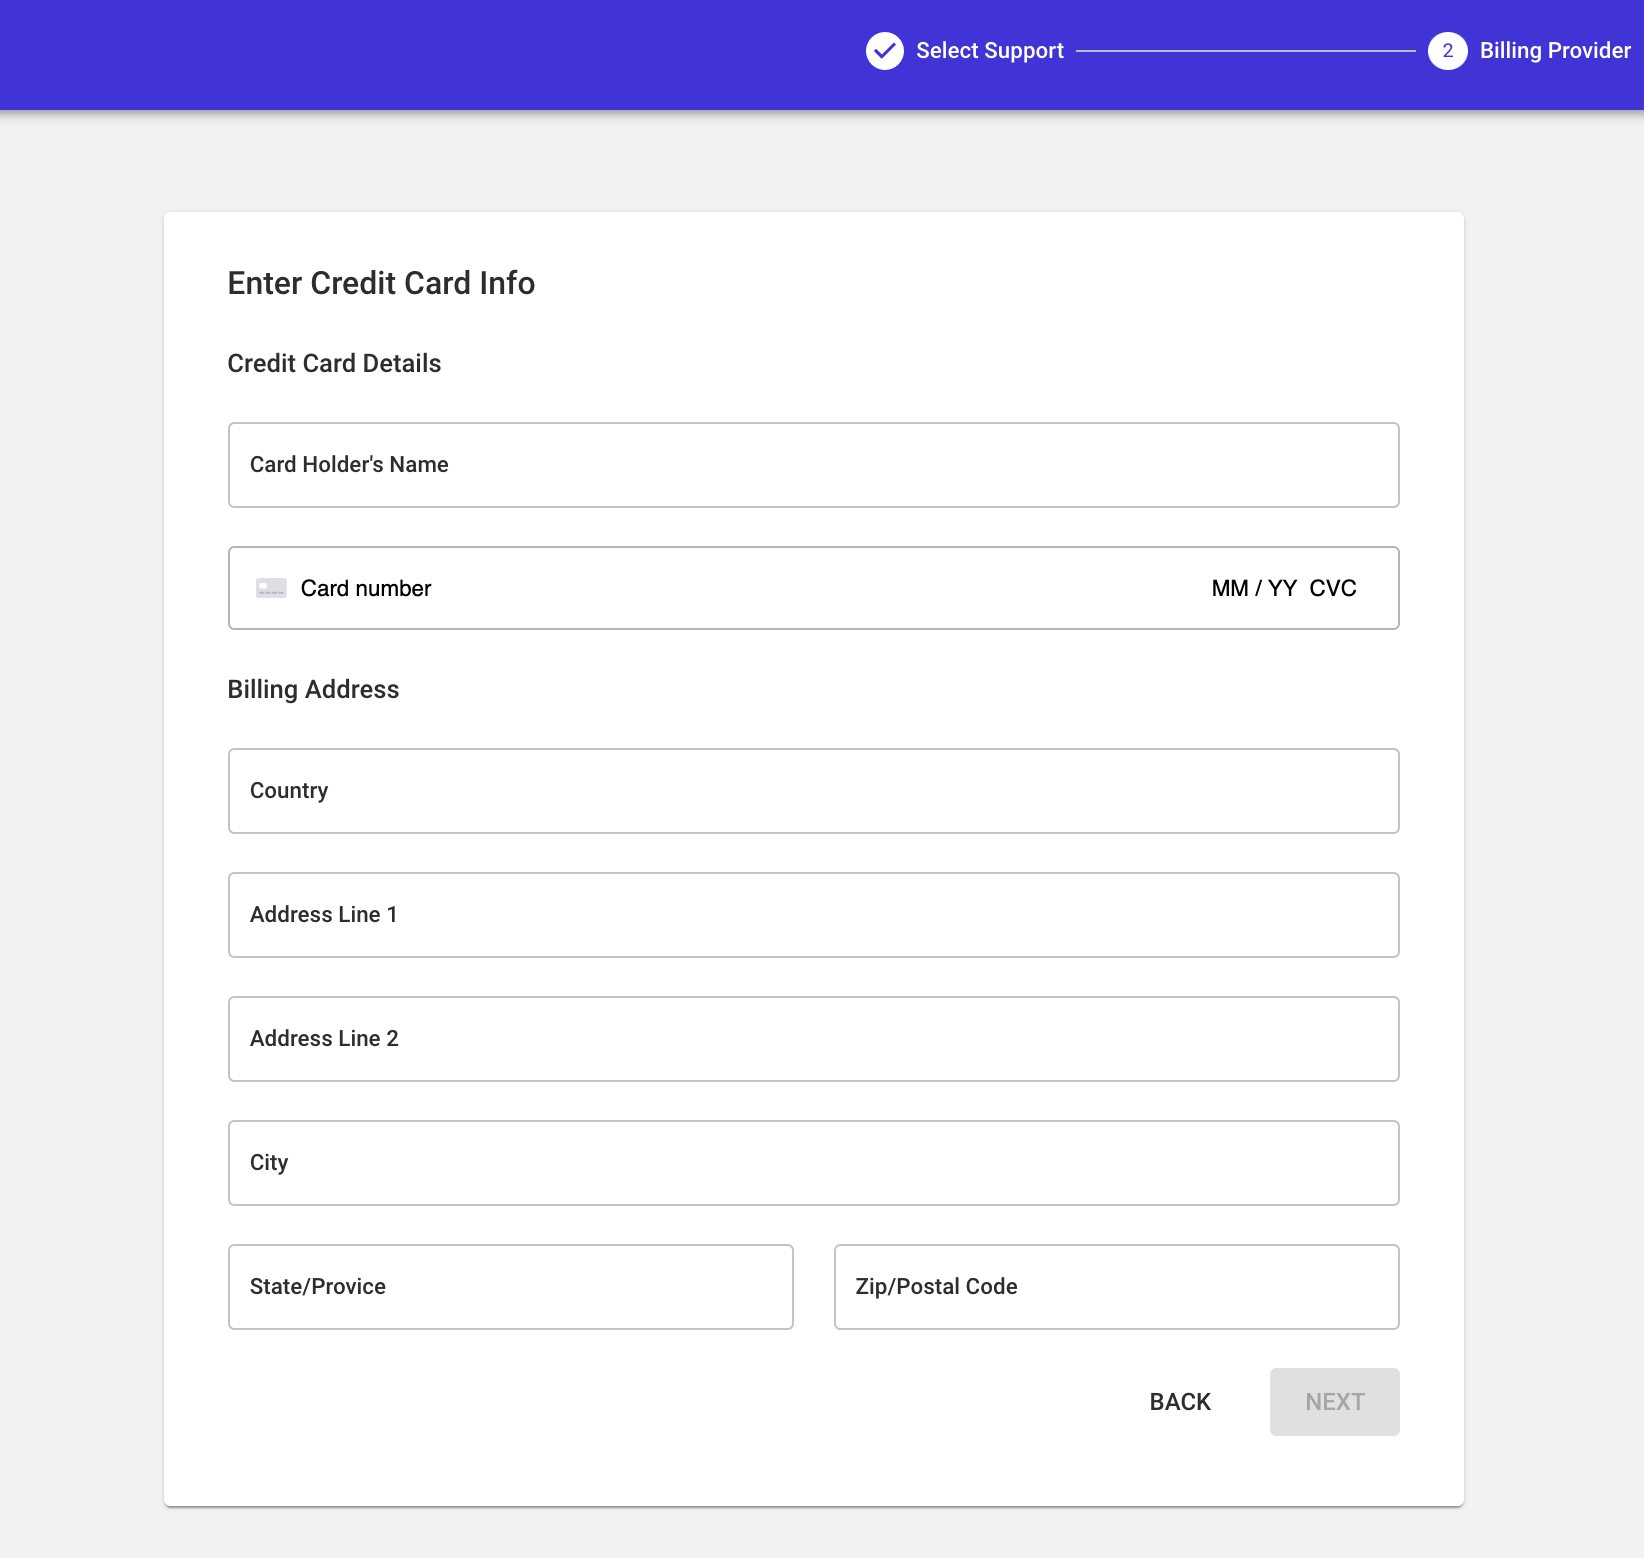
- Enter your relevant credit card details and click NEXT.
- Finish by confirming your plan selection, after which you will be redirected to the Kaleido console.
- You can always log back in by revisiting https://console.kaleido.io and entering your email address and password.
