Blockchain Nodes
Create a node
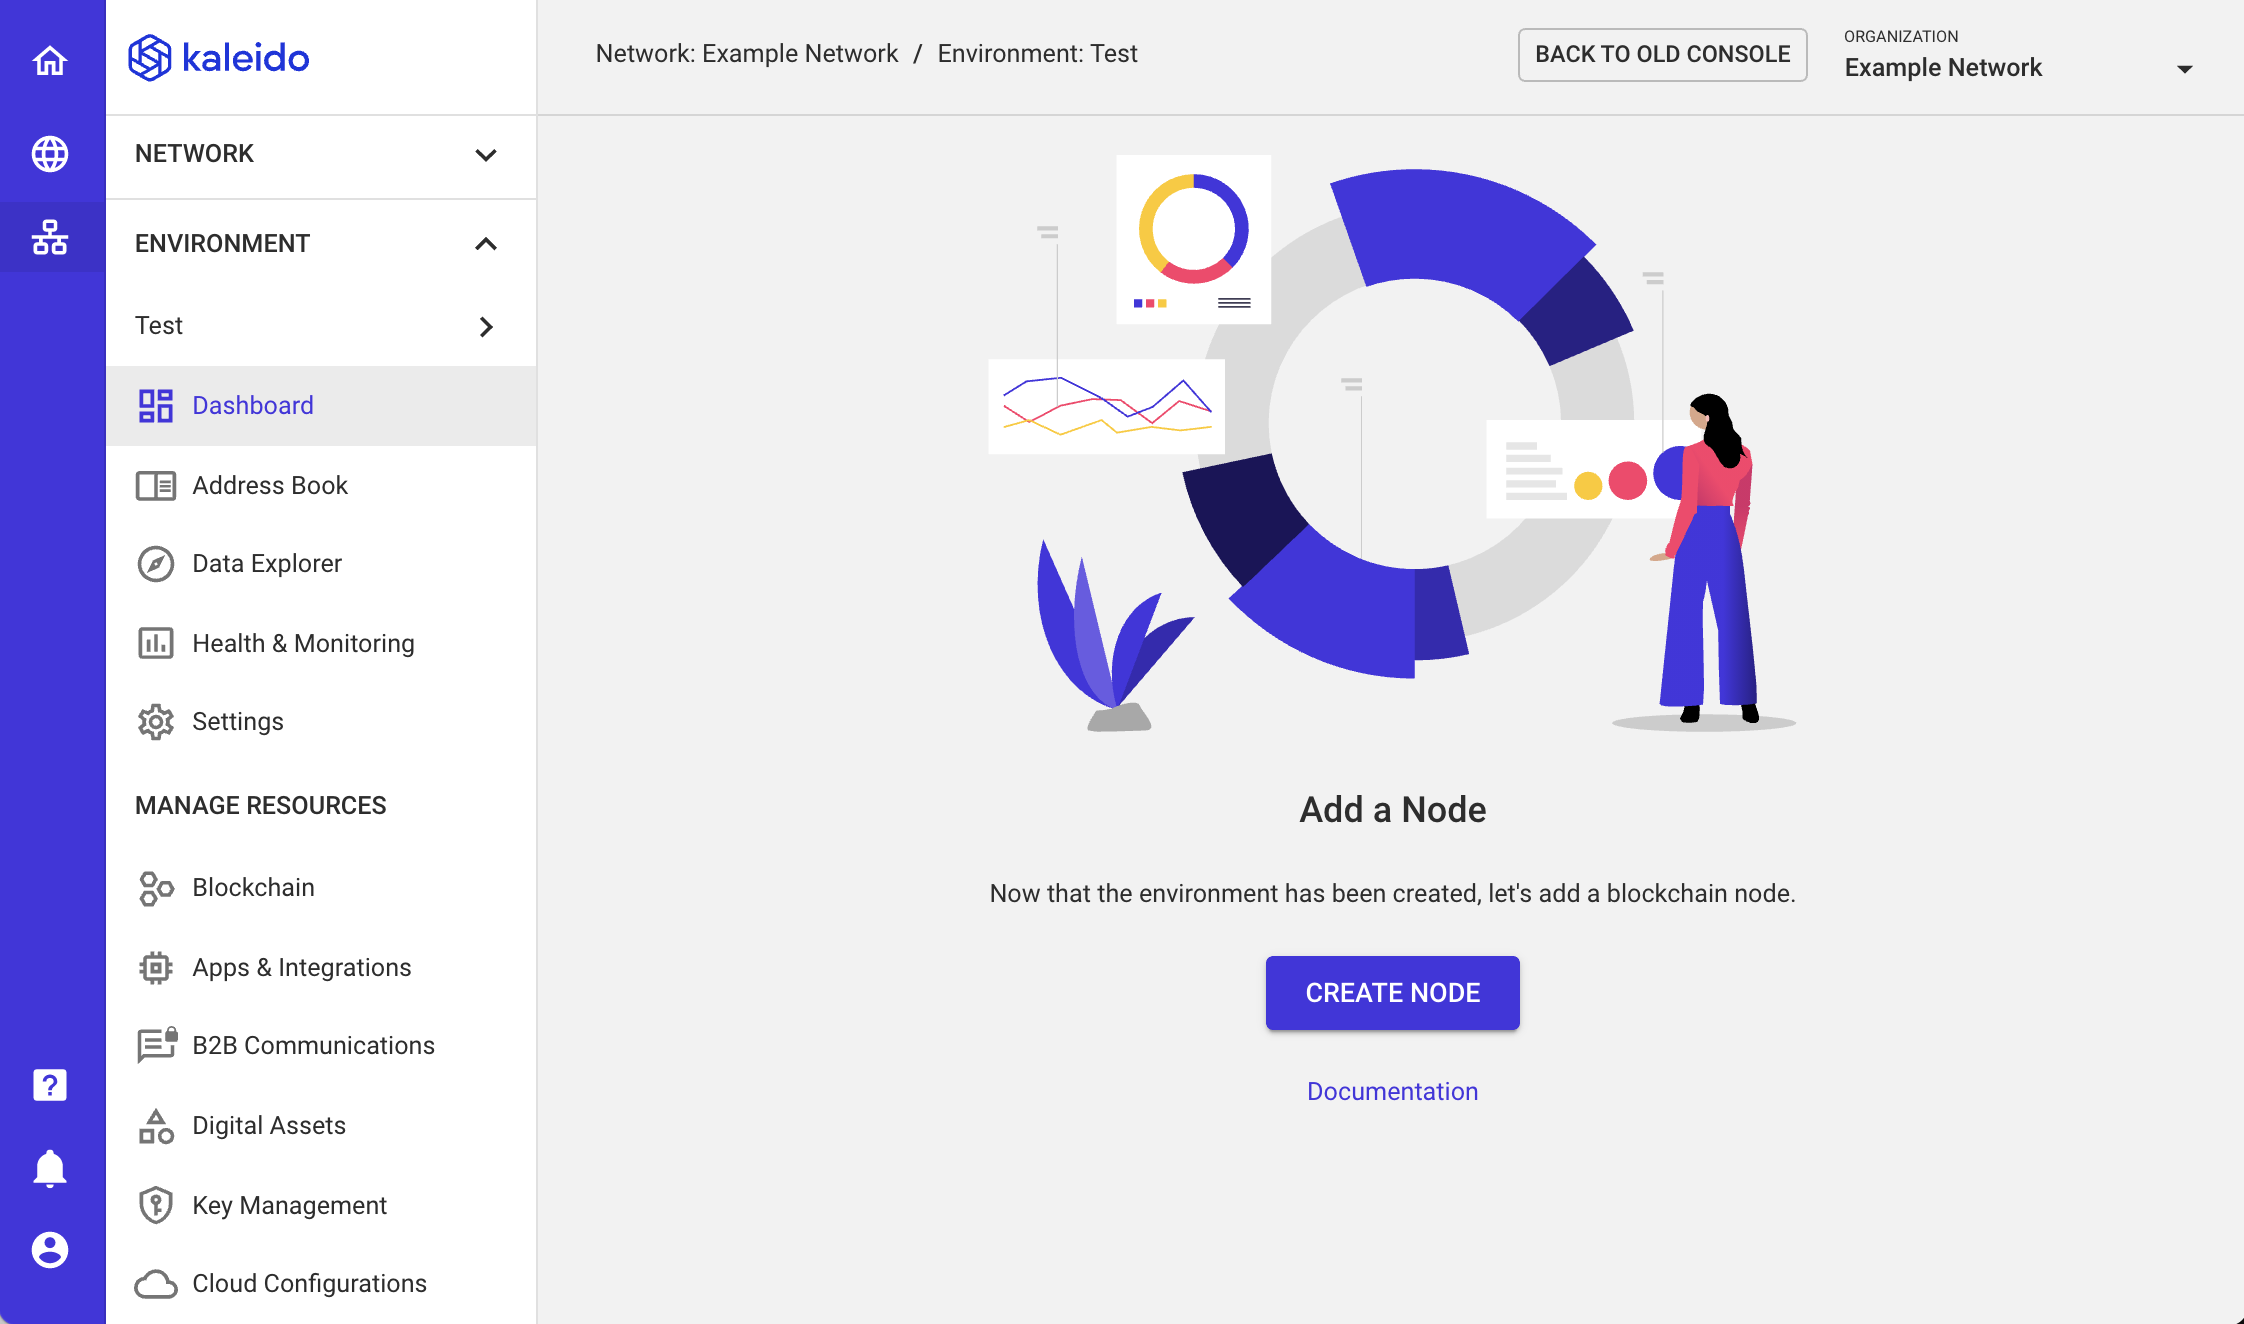
Environments are simply empty namespaces until they are populated with nodes. To create a node:
- Navigate to your environment home page and click the CREATE NODE button in the middle of the screen.
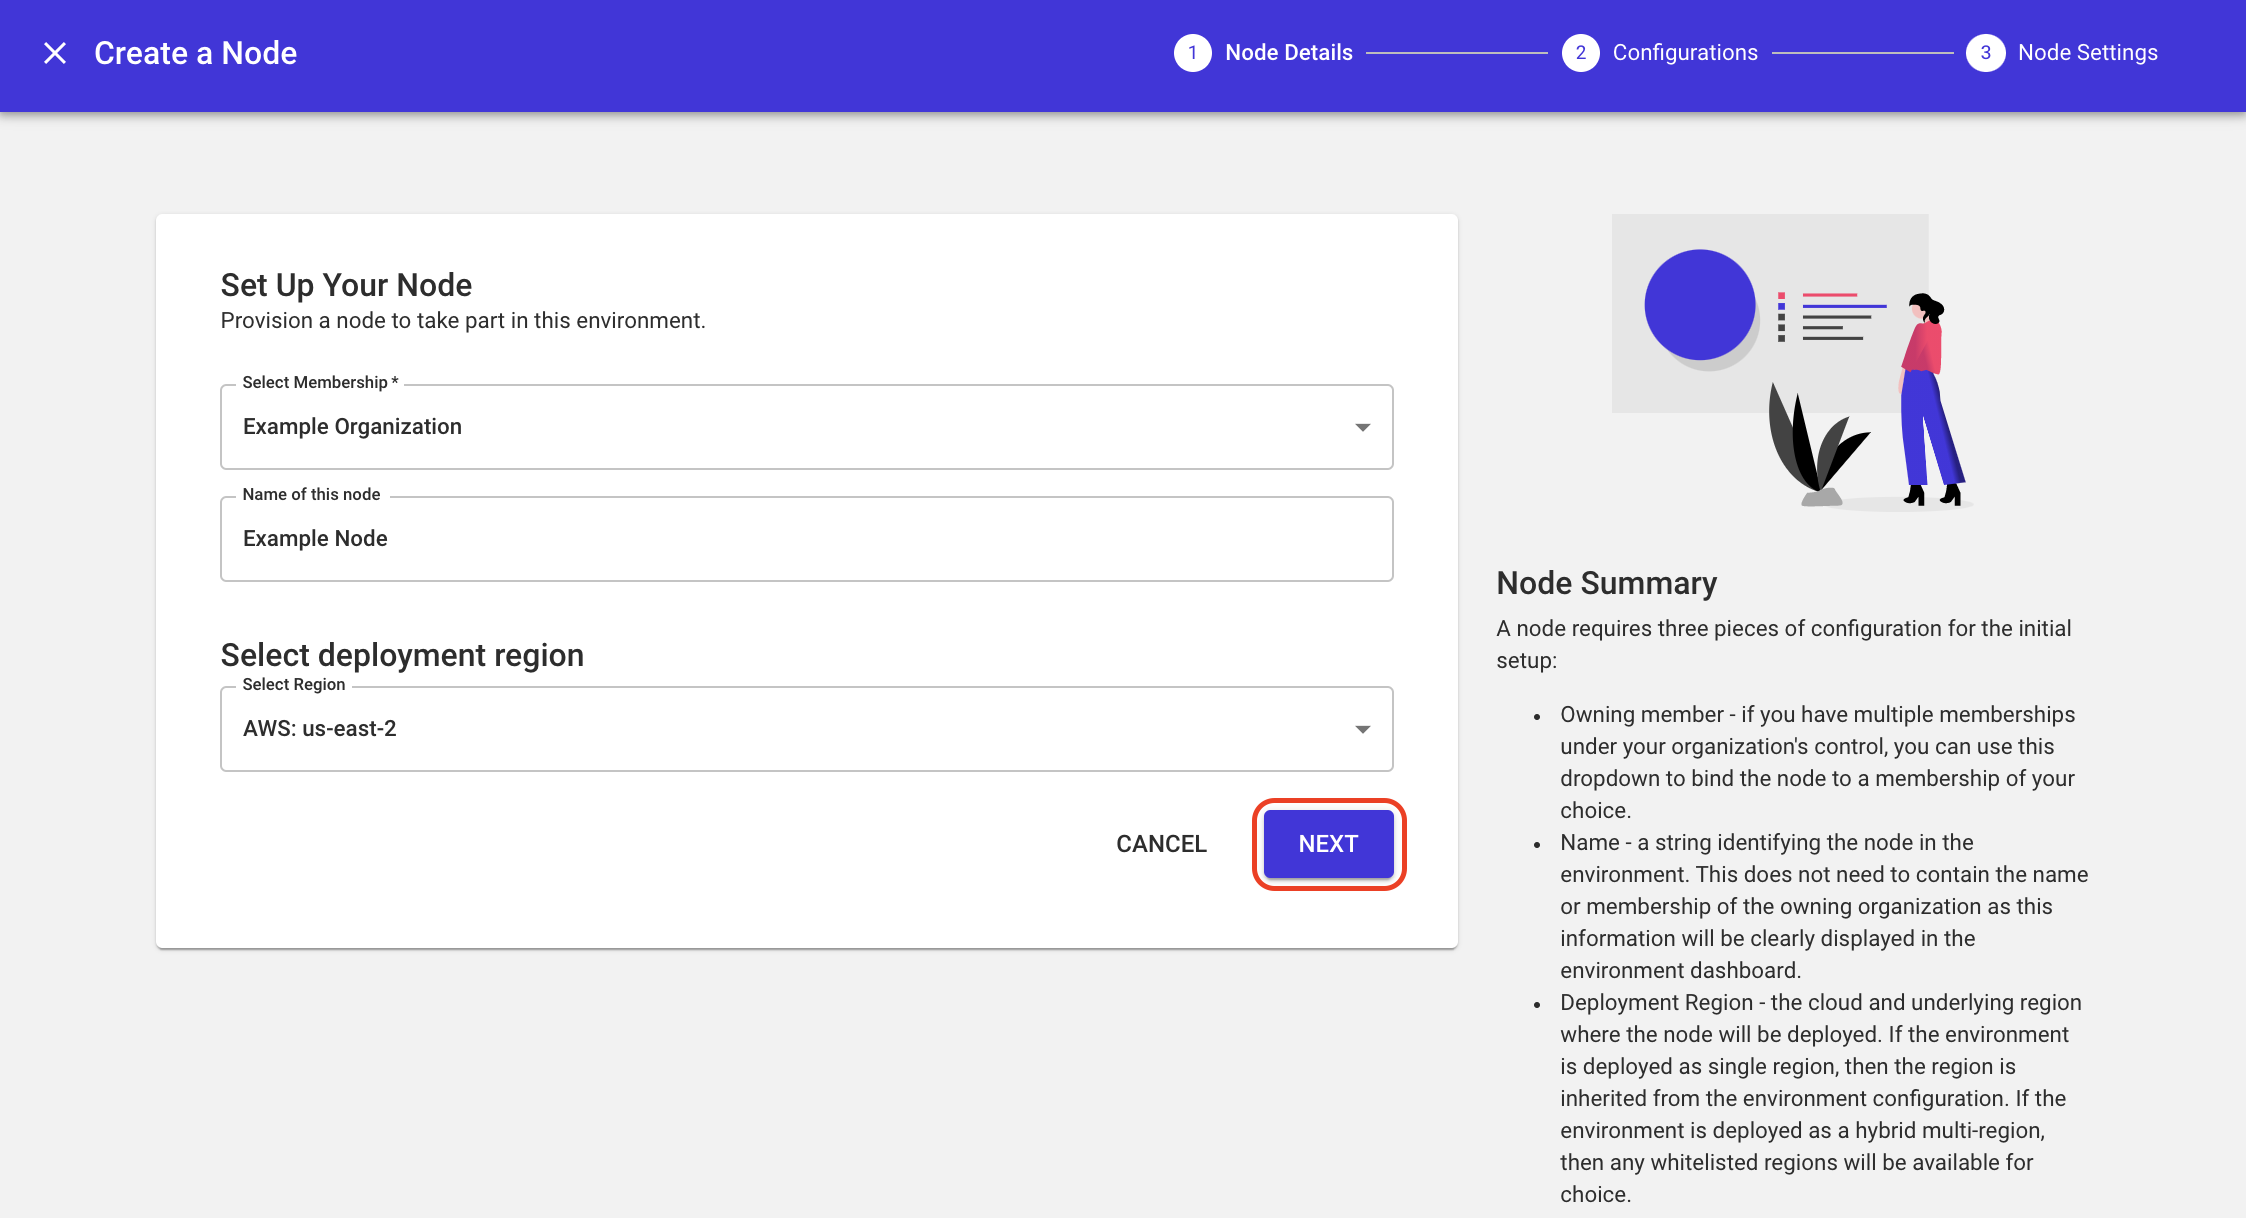
A node requires three pieces of configuration for the initial setup:
- Owning Member - if you have multiple memberships under your organization's control, you can use this dropdown to bind the node to a membership of your choice. This is particularly useful for scenarios where a proxy operator manages the network on behalf of other organizations or where an organization has multiple departments and wants to logically partition resources.
- Name - a string identifying the node in the environment. This does not need to contain the name or membership of the owning organization, as this information will be displayed in the environment dashboard
-
Deployment Region - the cloud and underlying region where the node will be deployed. If the environment is deployed as a single region, then the region is inherited from the environment configuration. If the environment is deployed as a hybrid multi-region, then any whitelisted regions will be available for choice.
-
Click Next to continue
Please refer to How Many Nodes for the recommended minimum number of nodes to ensure your environment operates without any issues.
Cloud Configurations
The second layer of node configuration is the optional integration with native cloud services. These include KMS for additional encryption of the file system, CloudWatch Log Streams for analytics/troubleshooting, S3 Backups for data persistence, and PrivateLink connections for non-public traffic.
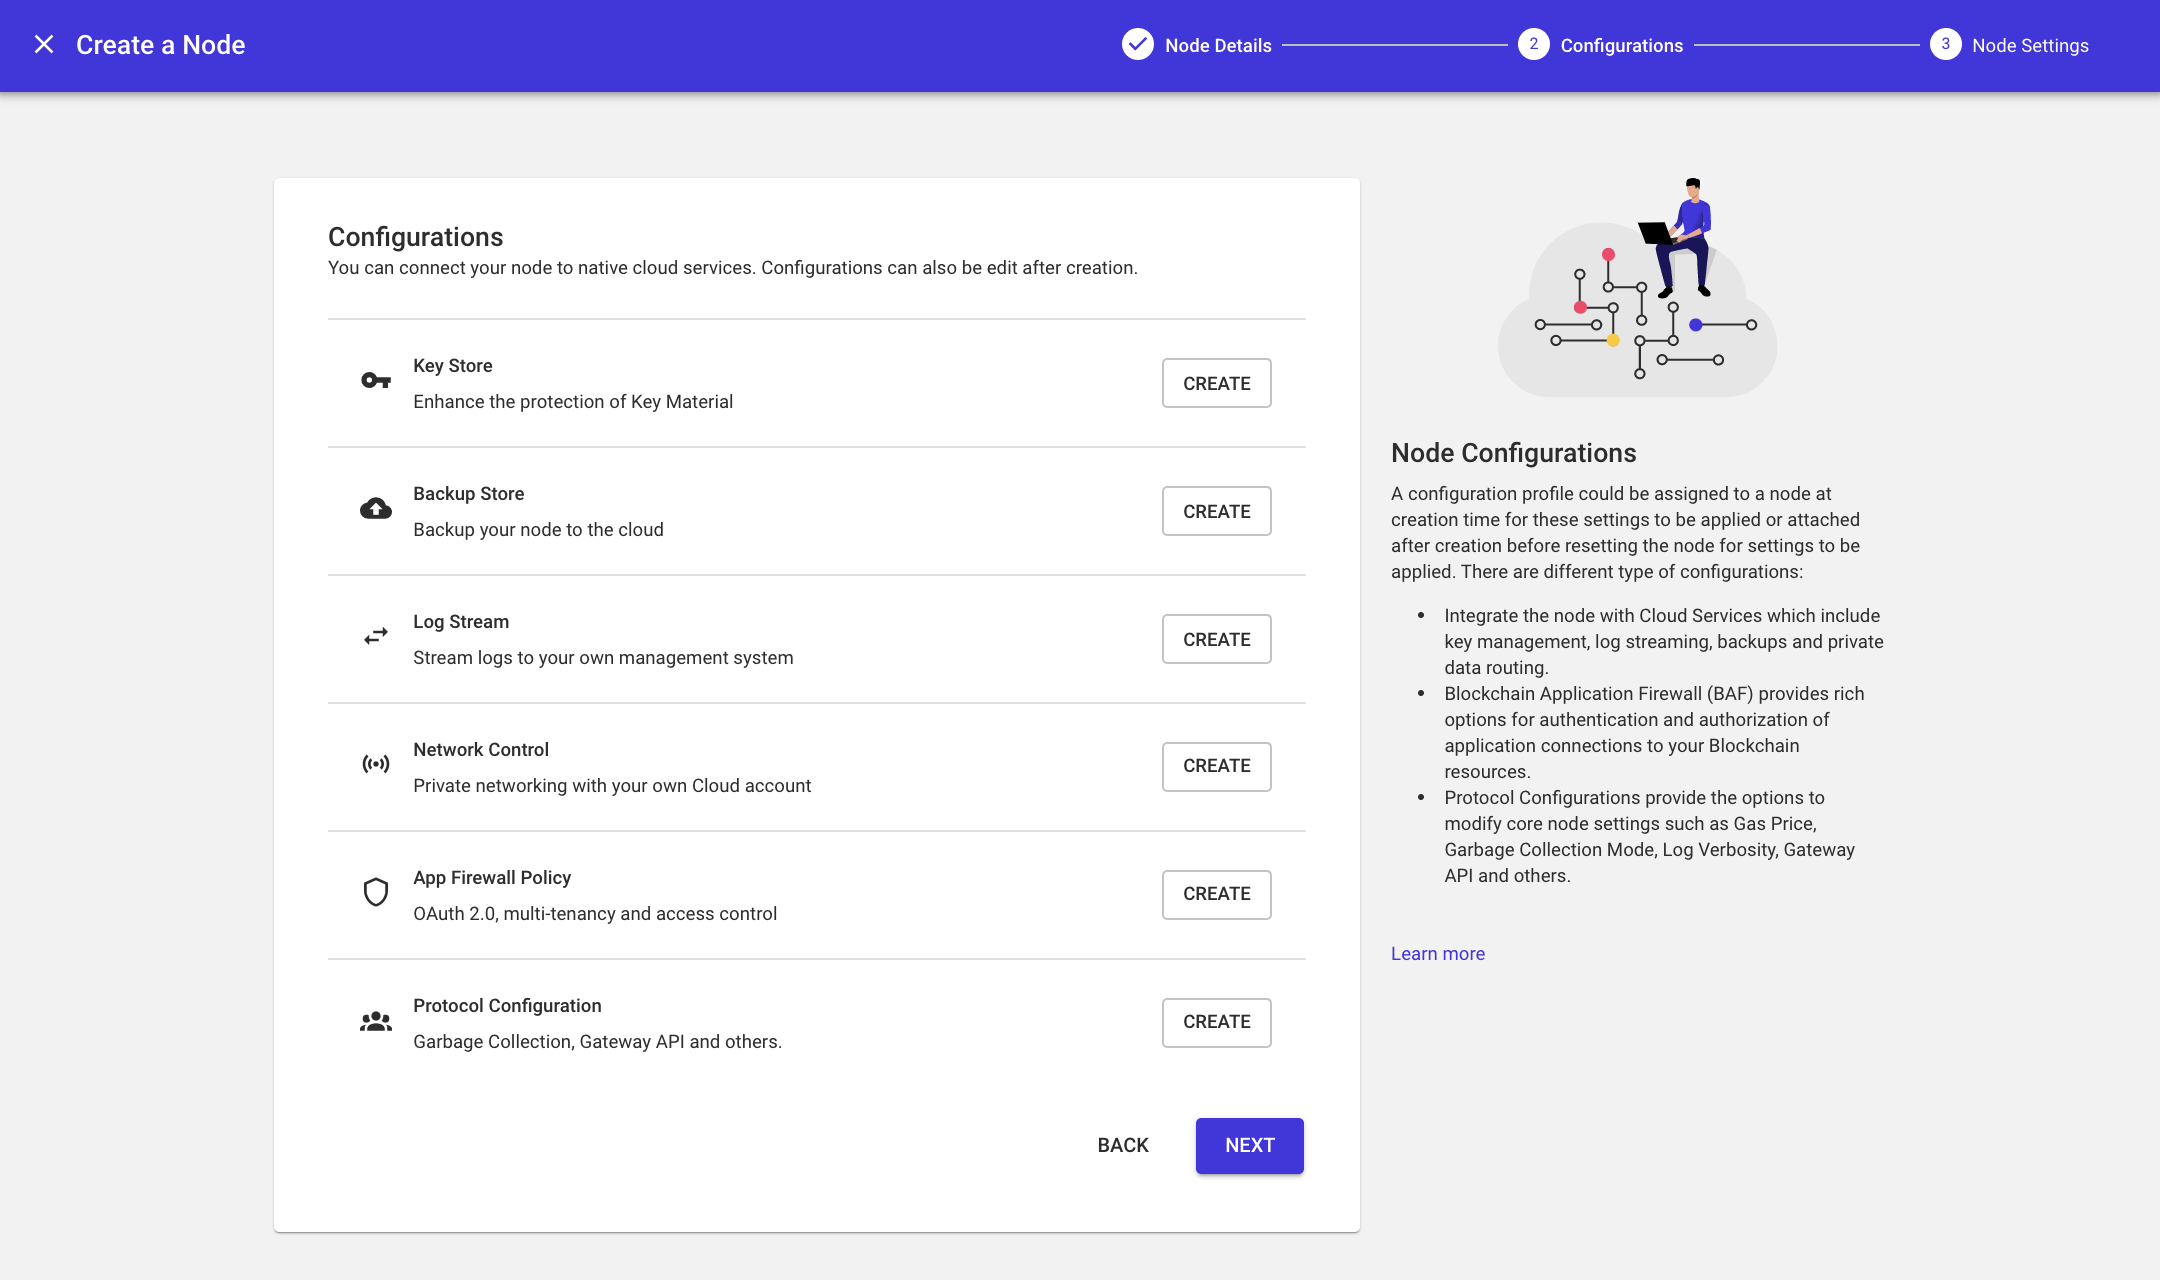
Refer to AWS/Azure Cloud Integrations for more information on configuring integrations.
Size and Role
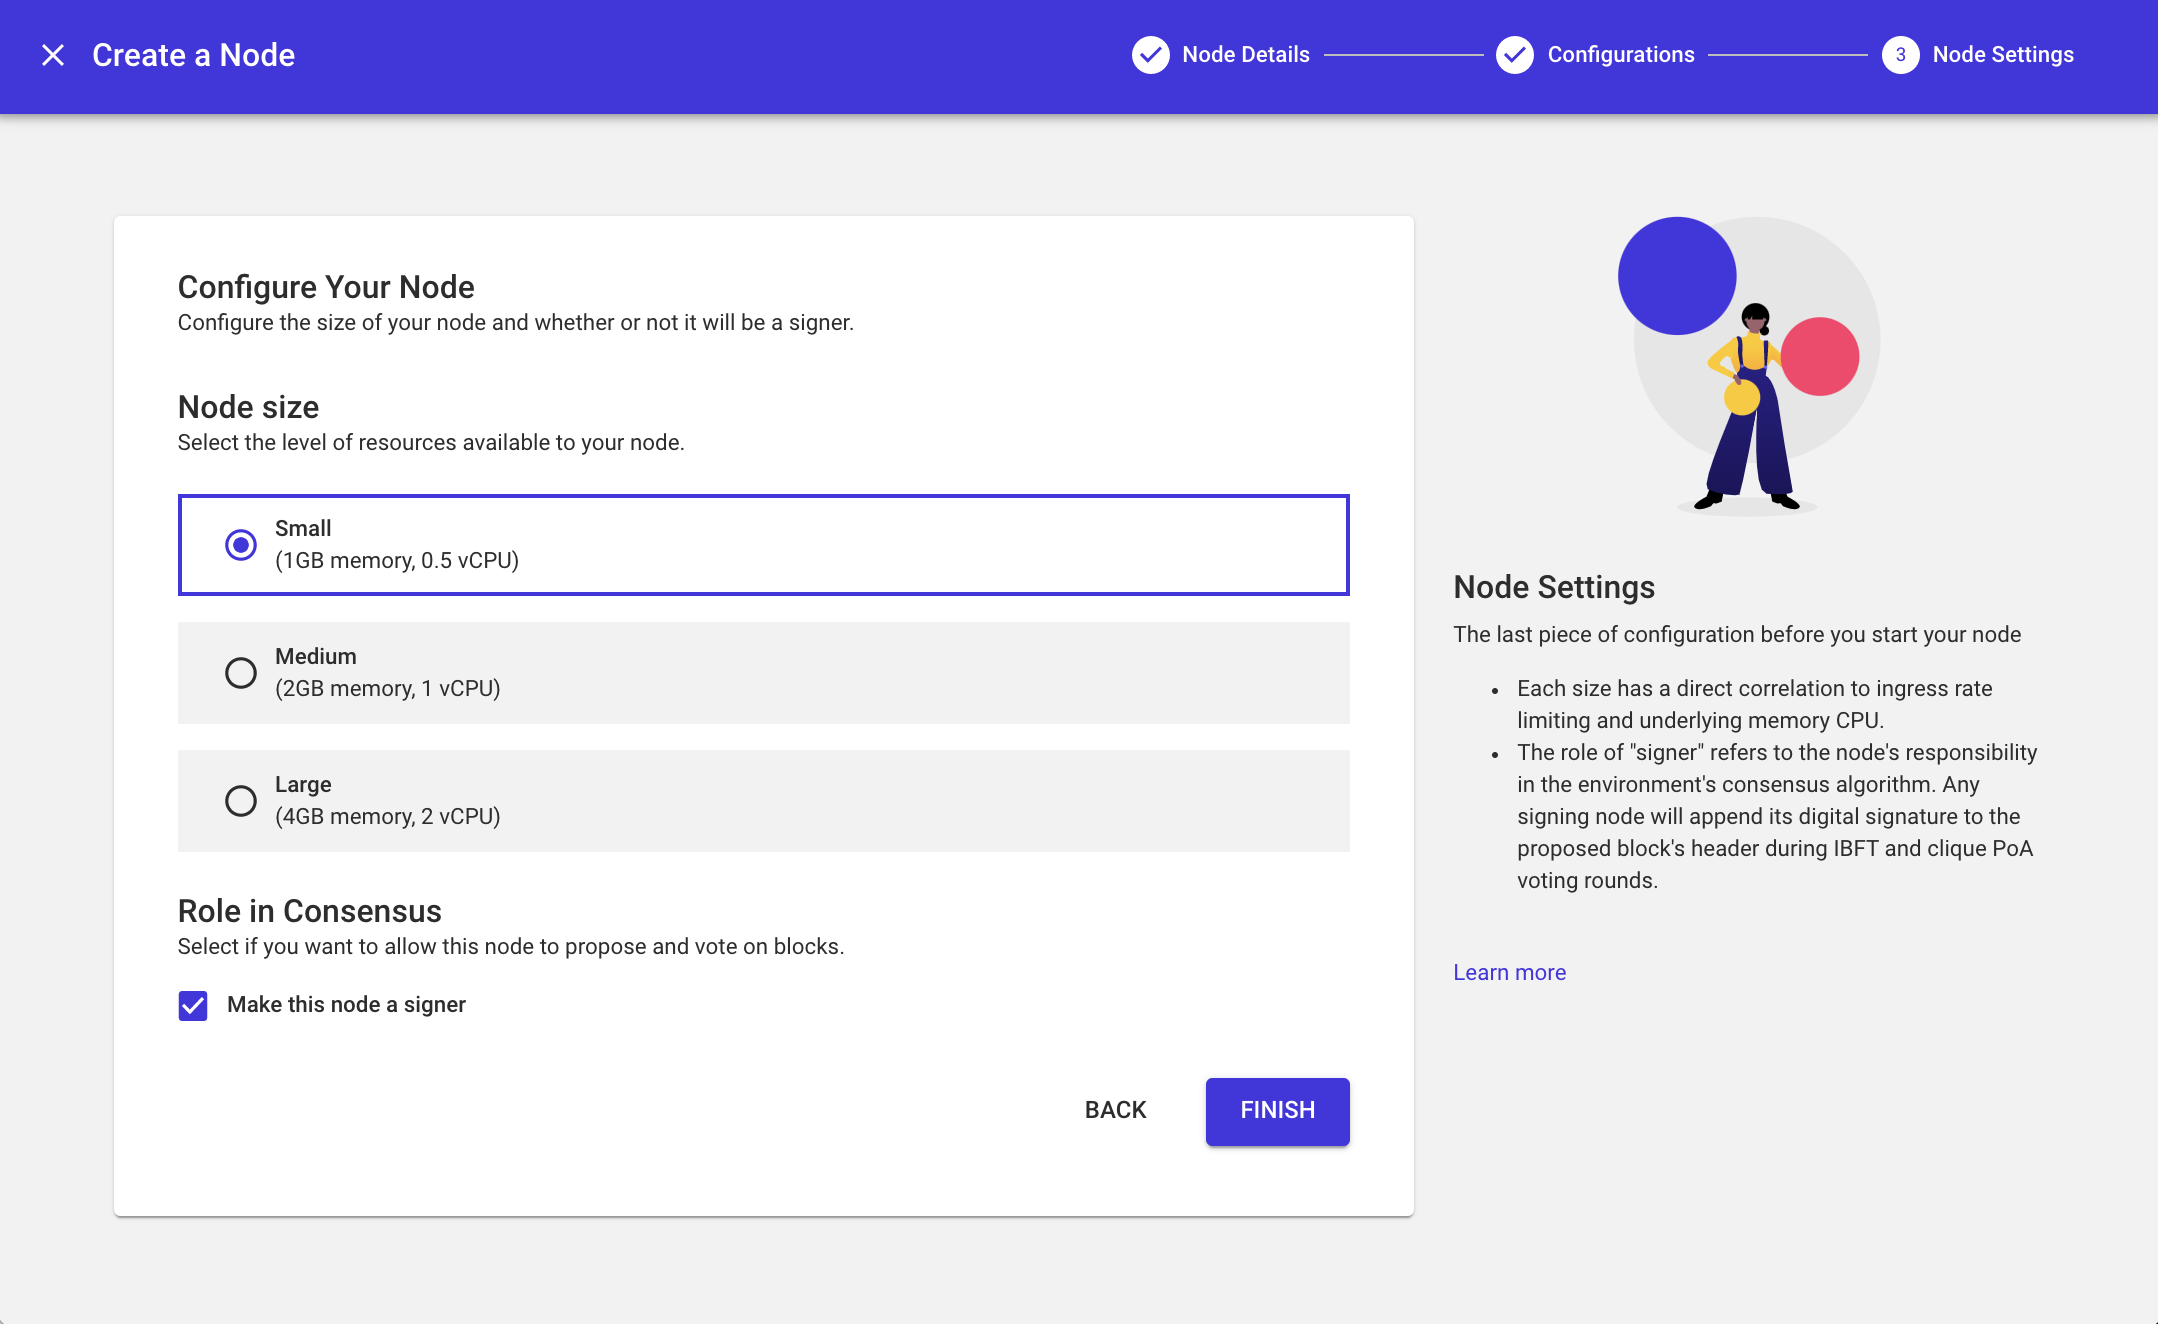
The last piece of configuration is to choose a size and role for the node. Each size has a direct correlation to ingress rate limiting and underlying memory CPU. Refer to the Rate Limiting and Resource Limitations article to learn more about the specific limitations. The role of "signer" refers to the node's responsibility in the environment's consensus algorithm. Any signing node will append its digital signature to the proposed block's header during IBFT and clique PoA voting rounds.
Node details
To view details about a node, click on the node name from within an environment dashboard. The details are split into seven tabs, which are explained below.
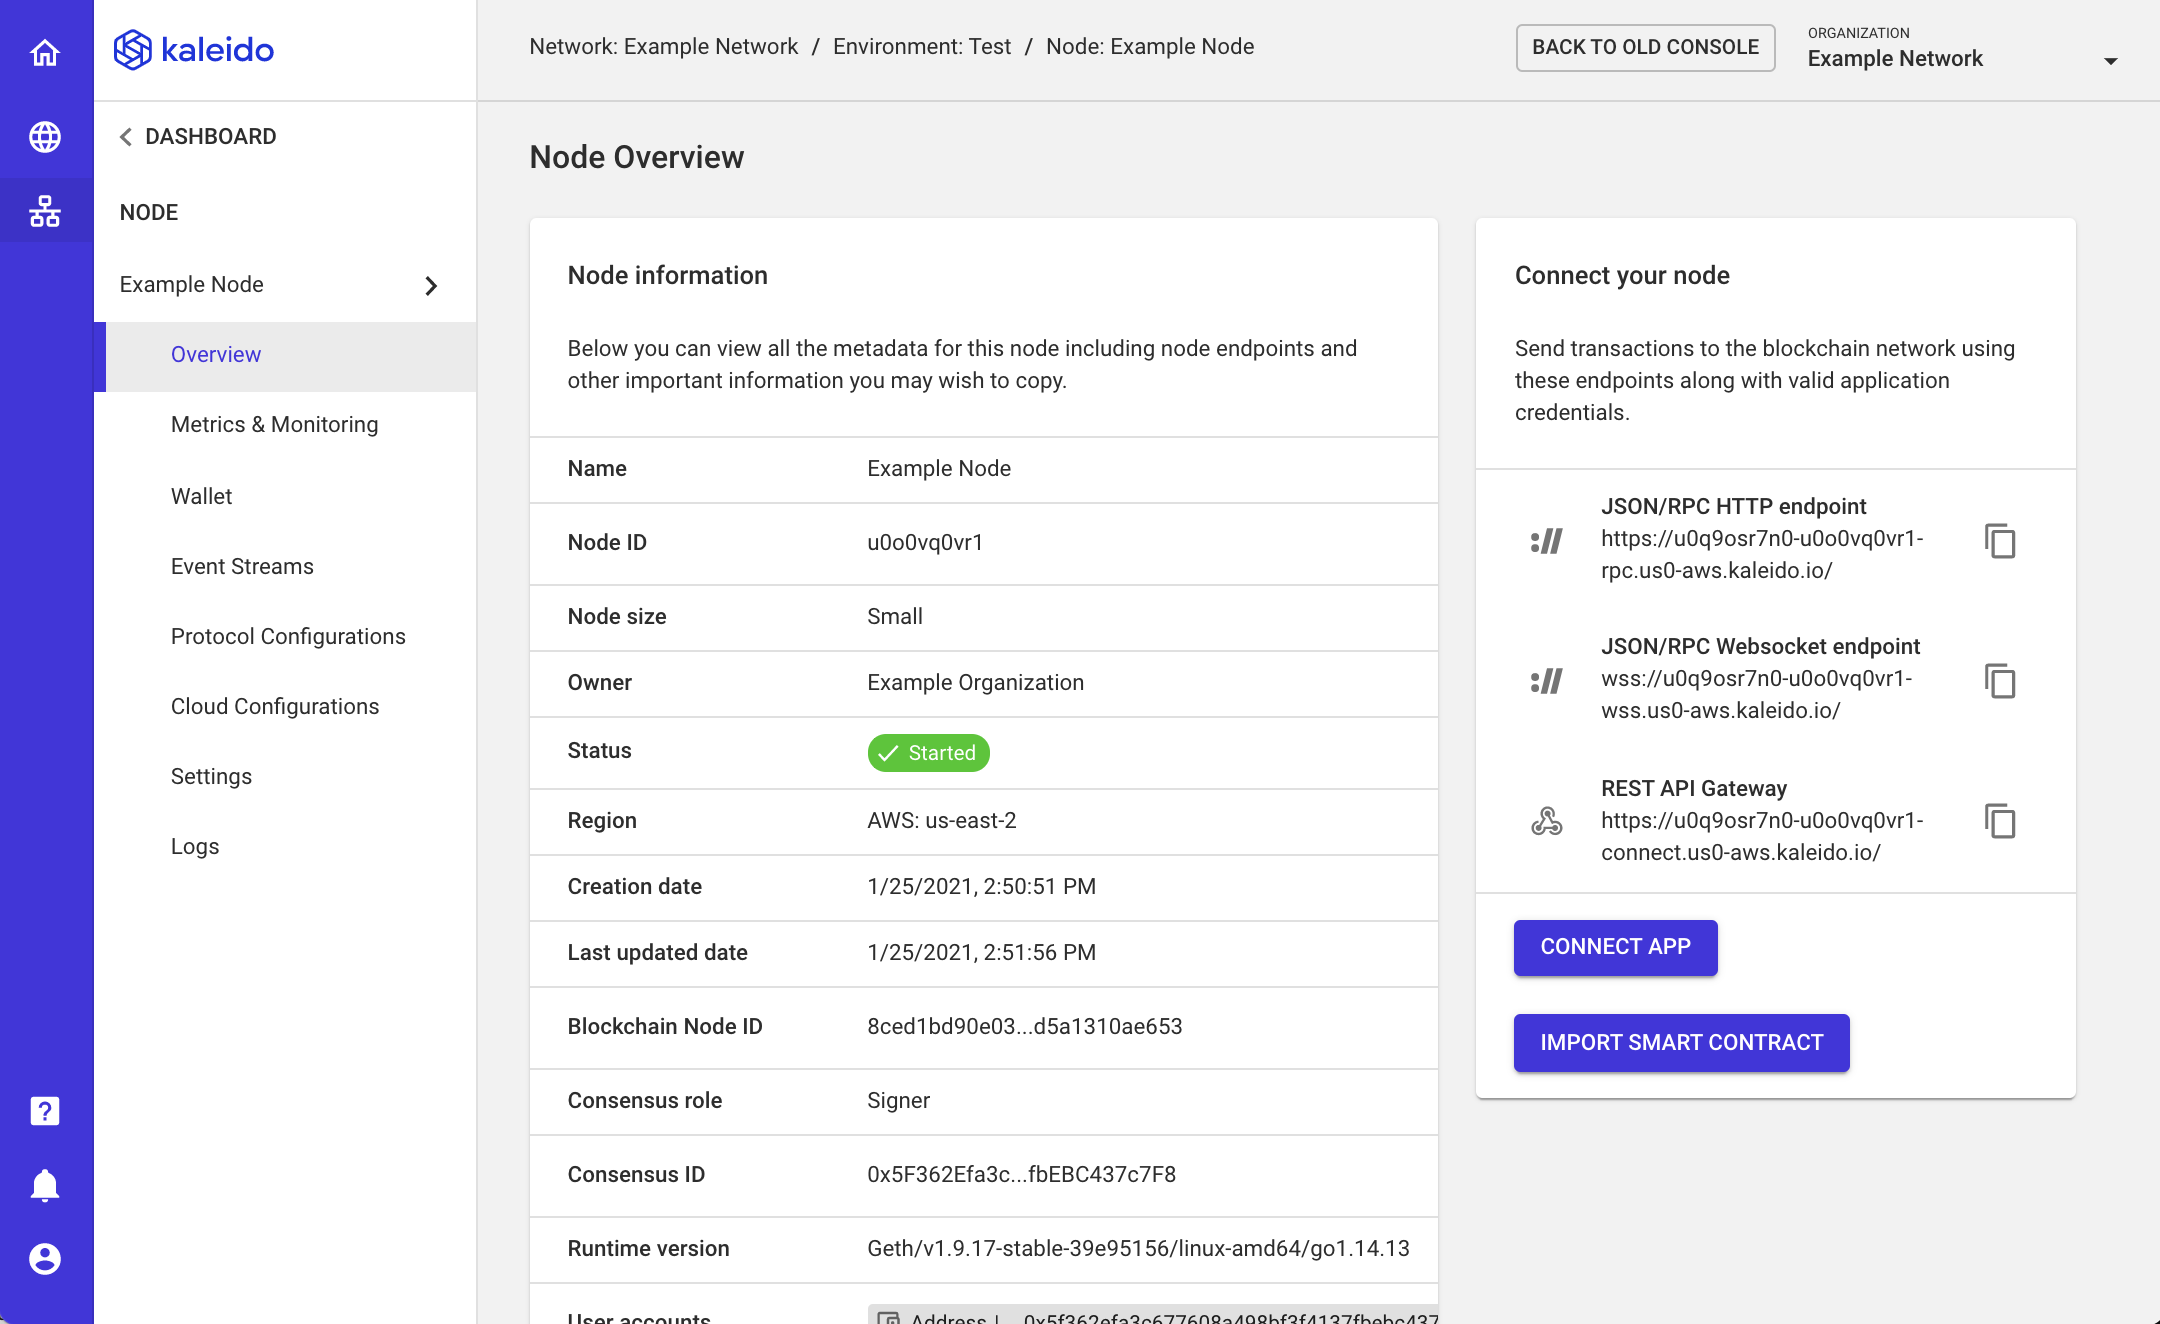
Overview
This tab contains high-level metadata, endpoints, and other pertinent information.
- Connection Endpoints: Use these endpoints and valid application credentials to connect to your node securely and submit transactions or access the administrative Javascript console. Click the CONNECT APP button to generate security credentials and surface the fully qualified endpoints and authorization schemas for programmatic connection.
- User Accounts: Ethereum account addresses that are stored in the node. The accompanying private keys for those accounts are stored in the node as well.
- Private Tx Participant: The transaction manager address to target for private transactions. Only for Quorum and Hyperledger Besu clients.
Metrics & Monitoring
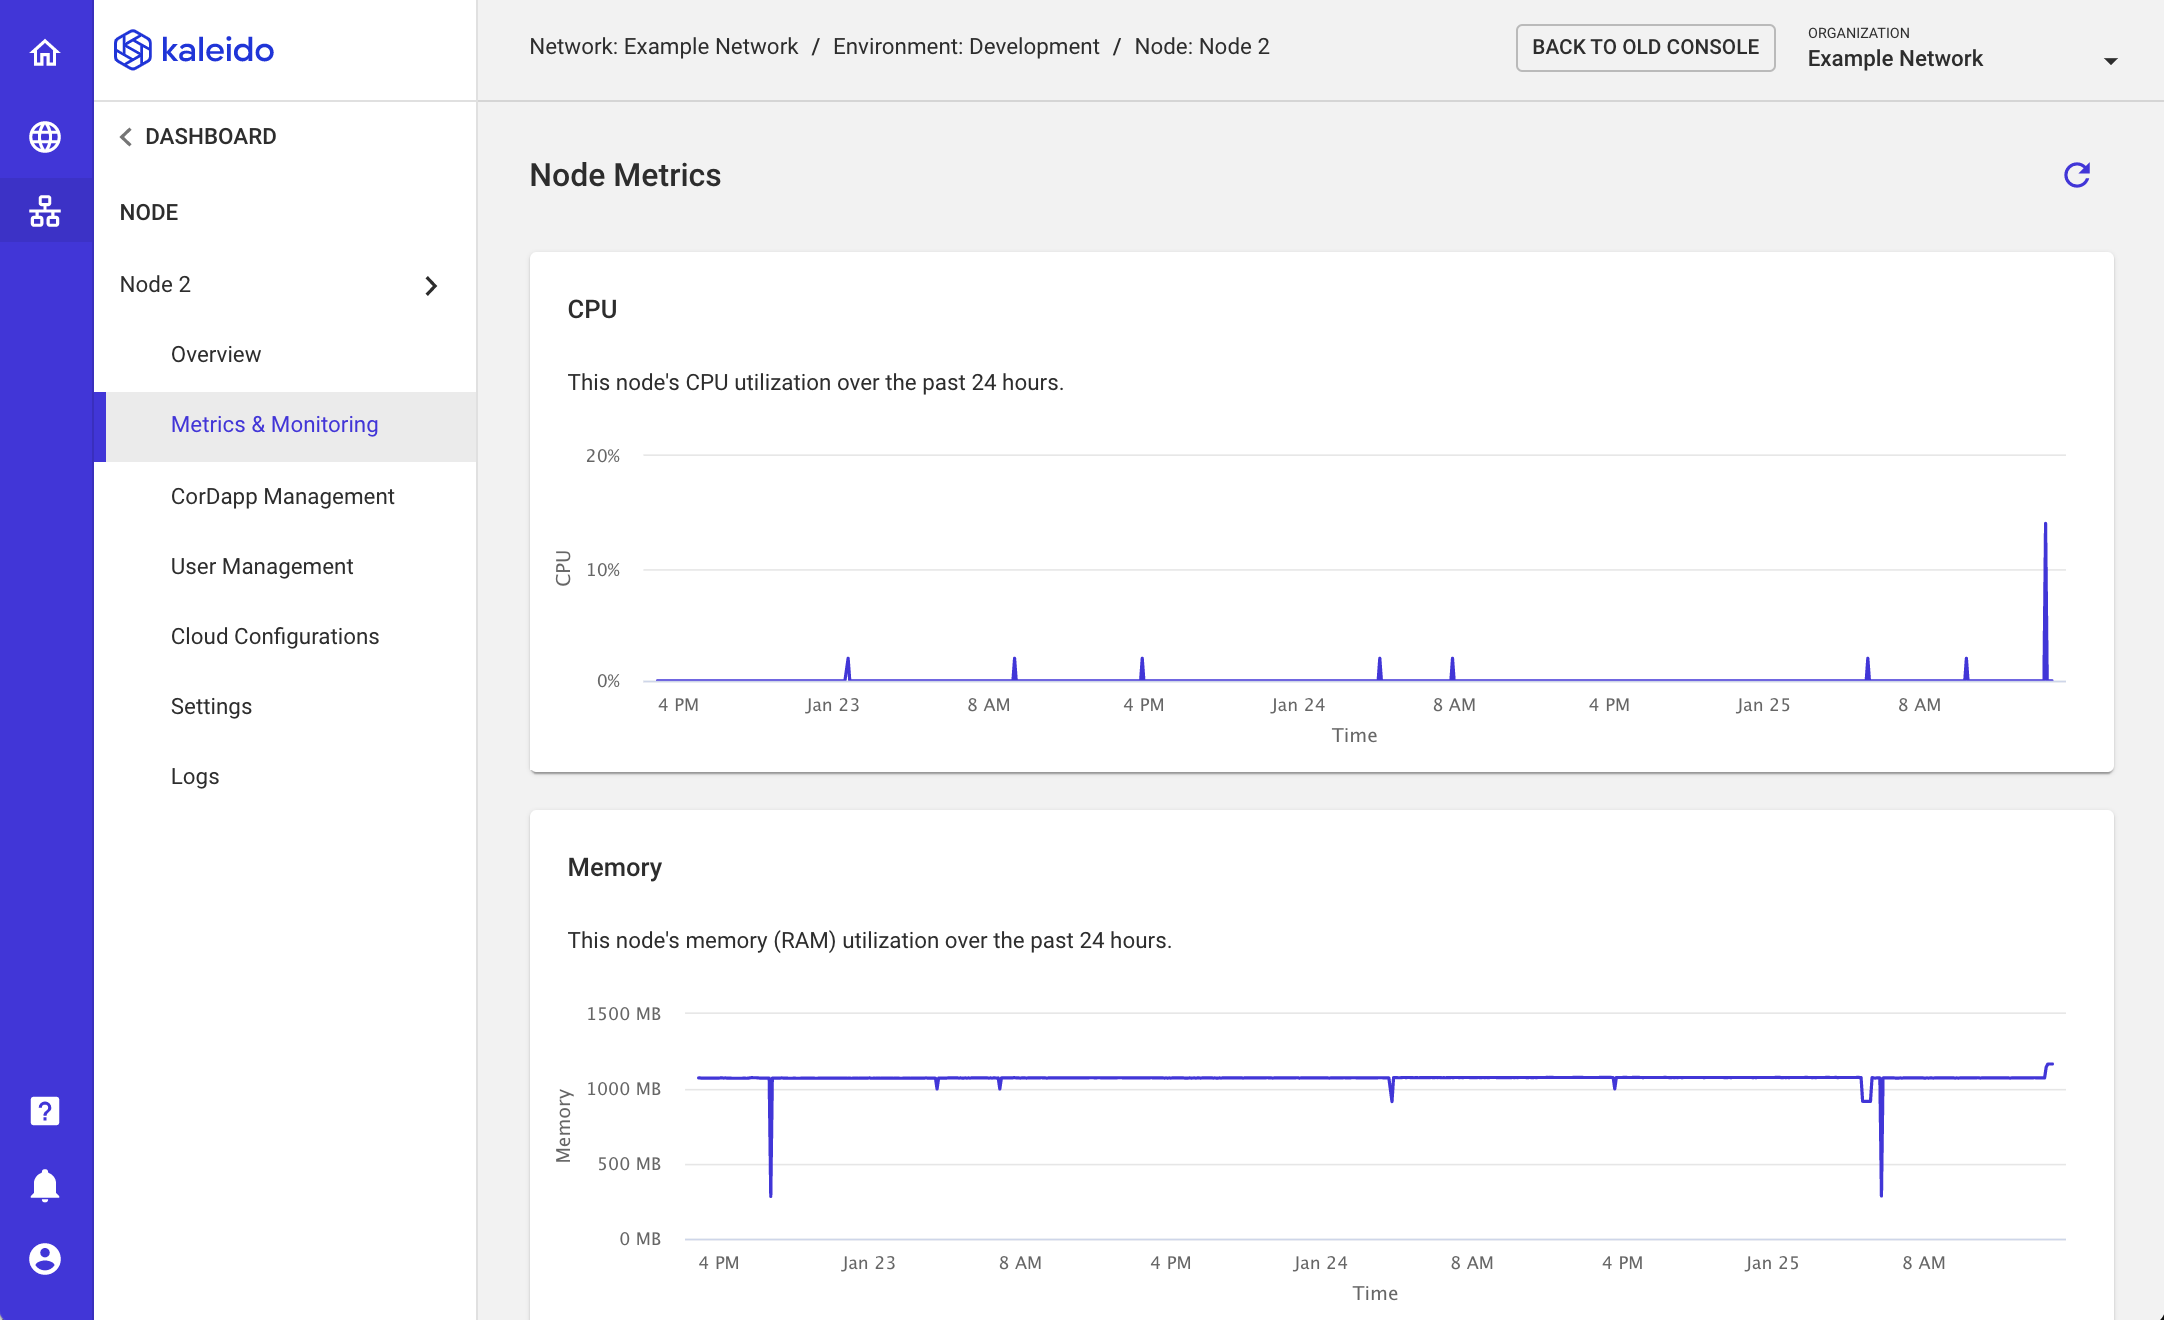
The metrics tab allows you to keep an eye on the health of your node. If you notice any failed transactions in your network, you can check here as part of your troubleshooting efforts to see if there are any clues. For example, if your node's CPU Utilization is approaching 100%, you may not have a large enough node to handle your transaction size and rate. In that case, upgrading to a larger node size may solve your problem. This tab will also display the memory and disk consumption.
Wallet
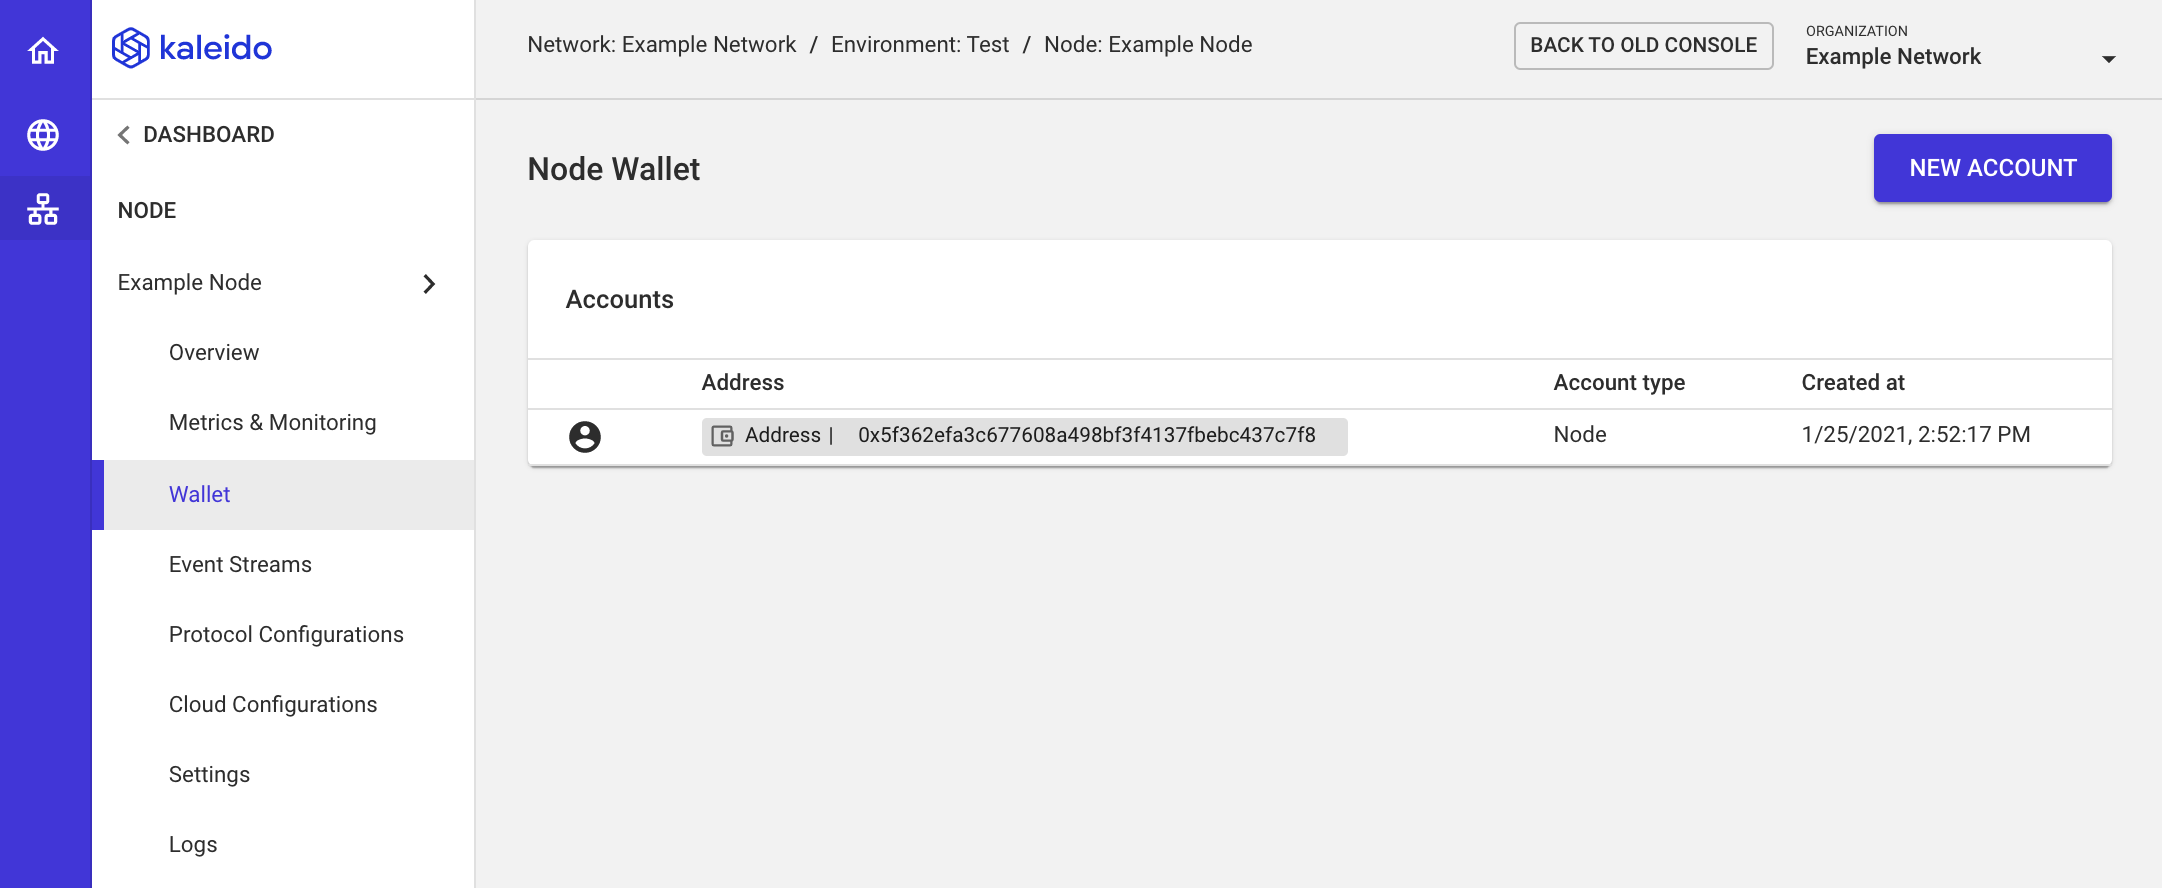
The wallet tab has a table with all of the Ethereum accounts stored in your node. All nodes automatically come with one account, stored in the Geth accounts array as accounts[0]. You can create additional accounts using the nodes API or by clicking the + New Account button. After creation, new accounts will show up in the table.
Event Streams
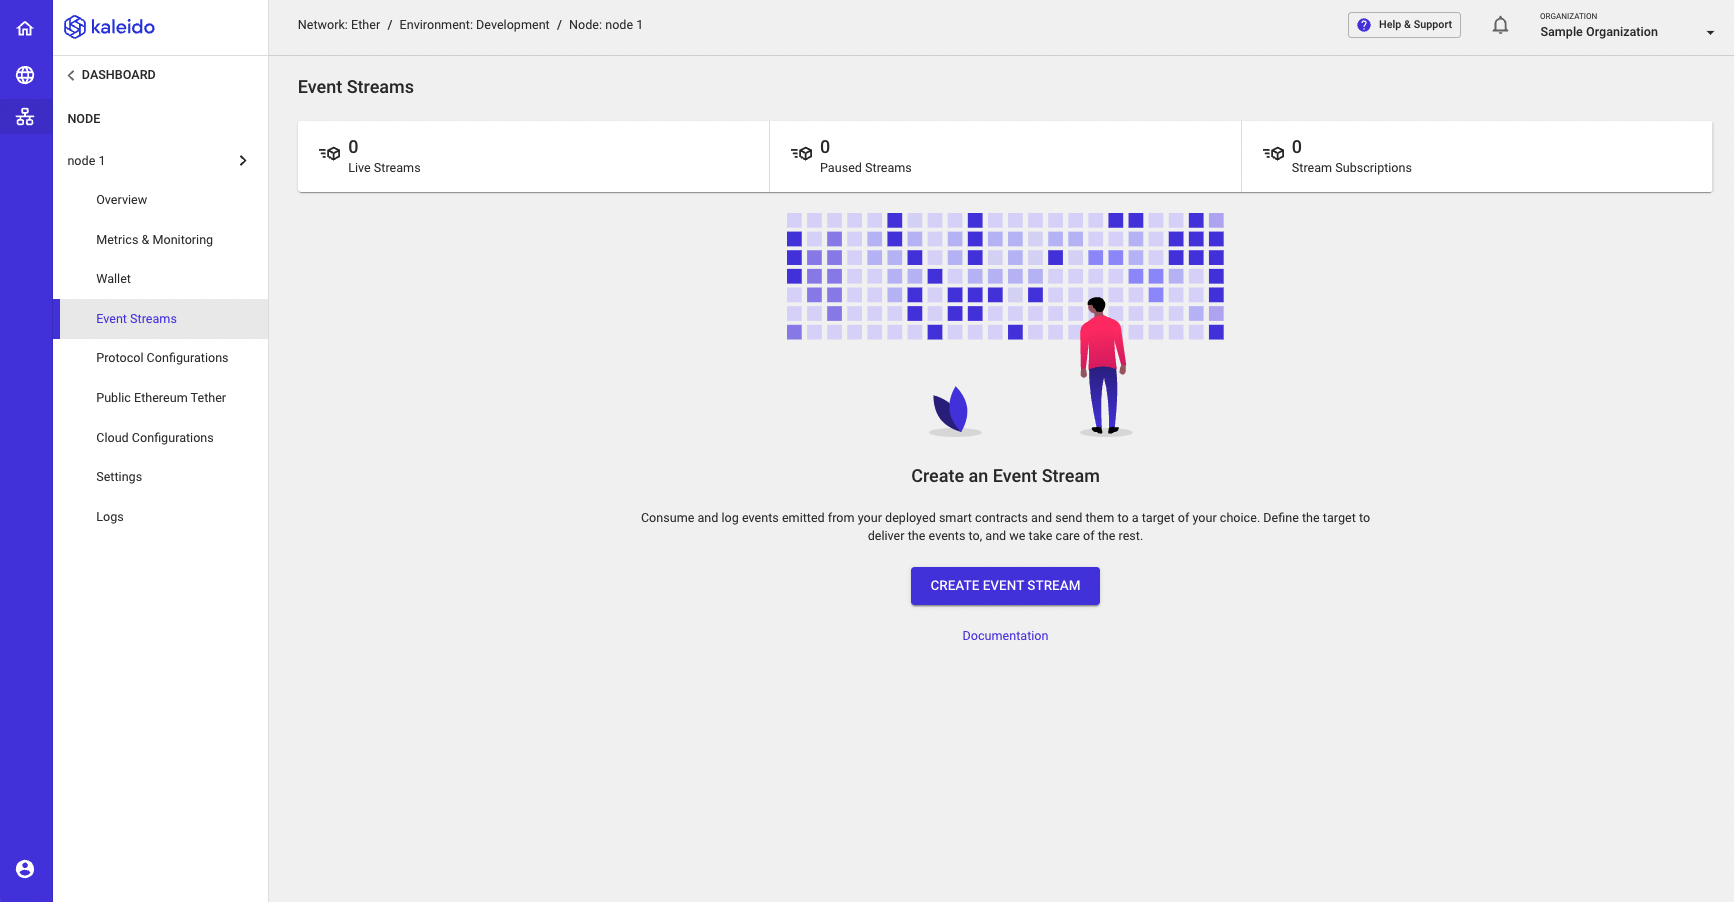
Events provide particular value in a decentralized blockchain orchestration where your existing business processes benefit from real-time notification of pertinent on-chain state changes. The event payload can be consumed by a client-side app or streaming service that is subscribed to the contract. Specify your own custom event destinations - currently, we support the following types of event streams:
-
Webhook: Events are delivered to an API endpoint of your choosing via an HTTP/HTTPS connection configured with your own headers and security.
-
WebSocket: Events are pushed in real-time to your application over a long-lived WebSocket connection established from within your private network.
Protocol Configurations
The configurations tab exposes the optional native cloud integrations and access control policies available on your node. These can be applied pre or post node creation. If a configuration is created after the node has initialized on the network, it will need to be reset to apply the new definition(s). See the Managing your Node section below for more details.
Public Ethereum Tether
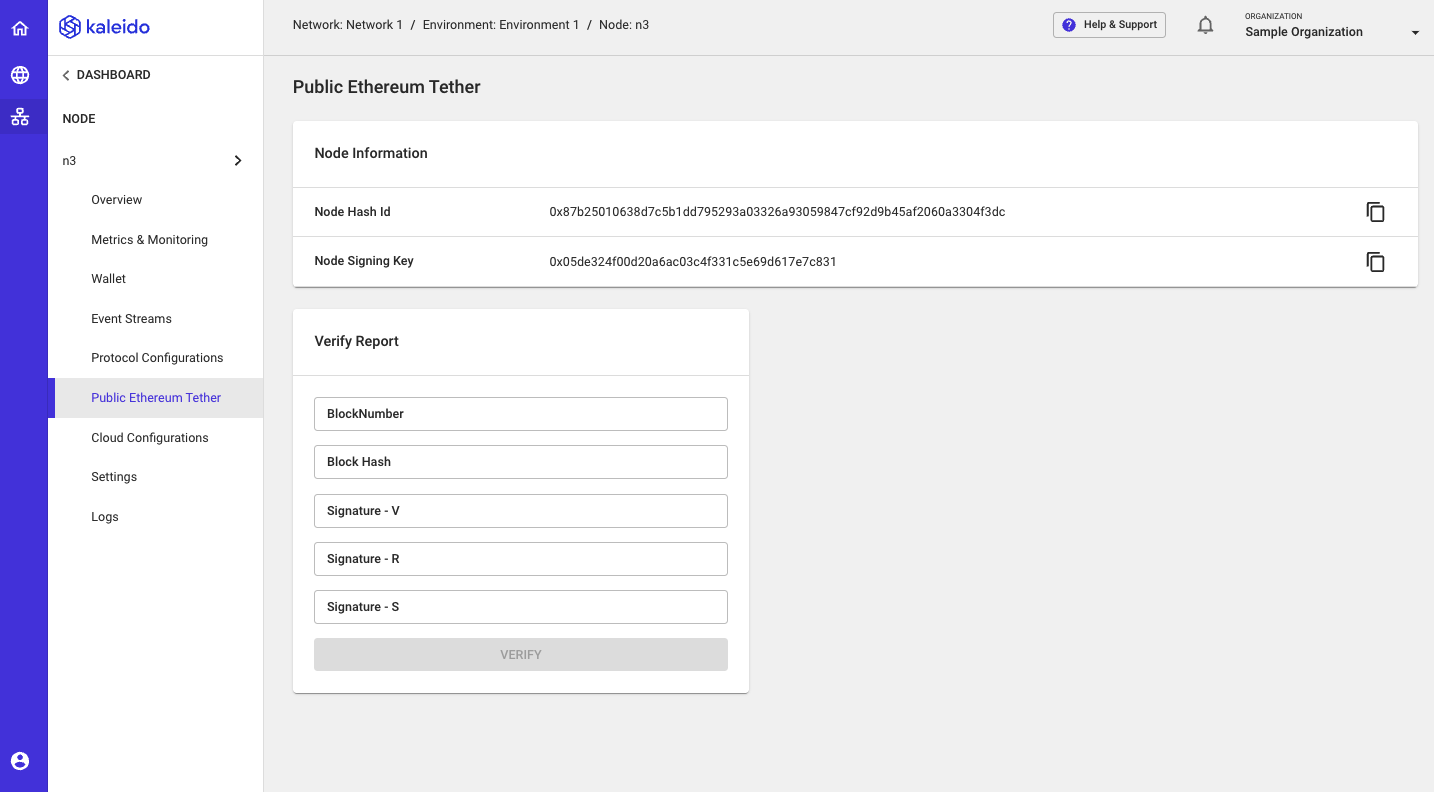
The Public Ethereum Tether is a service provided at the environment level that allows for synchronized views of the chain, designated via a block hash, to be signed by each node and periodically (based on a specified configuration) relayed to a public Ethereum network. This subsequently creates an irrefutable state proof of the private network at that point in time. For those looking to verify transactions posted to the mainnet, the Verify Report functionality can be utlized to search for specific transactions.
Settings
Use the settings tab to administer your node. See the Managing your Node section below for more details.
Logs
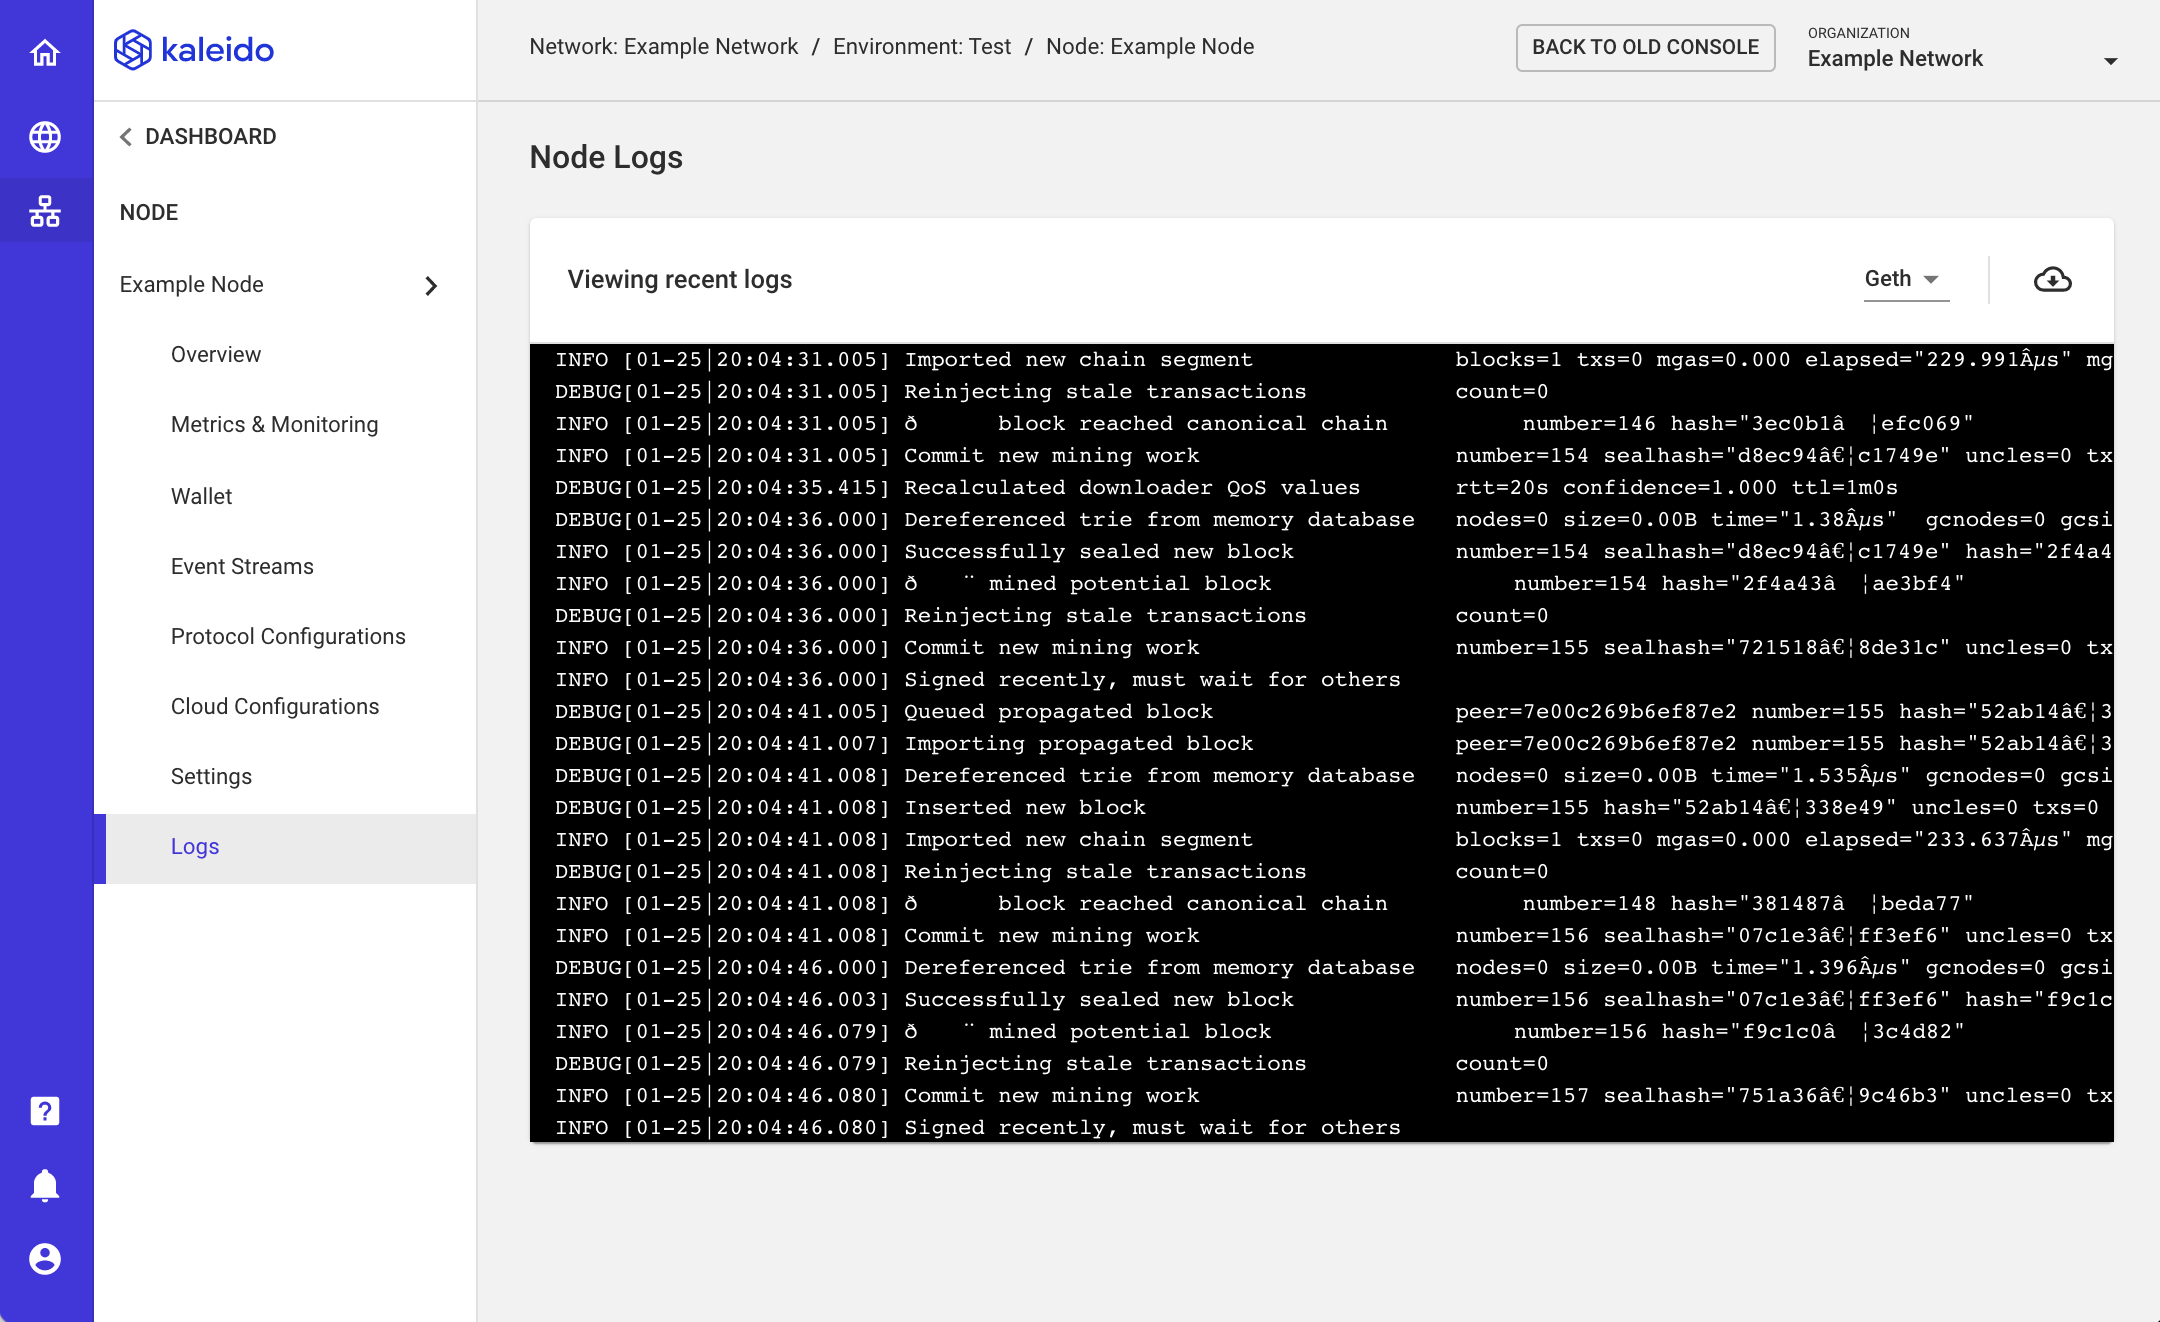
Displays a live stream of the node's logs. Logs are pruned (compressed and stored elsewhere) once every 24 hours so that this tab will display up to the last 24 hours' worth of logs. This is another tool to use for troubleshooting or as a way to peel back the curtain of how the node operates.
Managing your Node
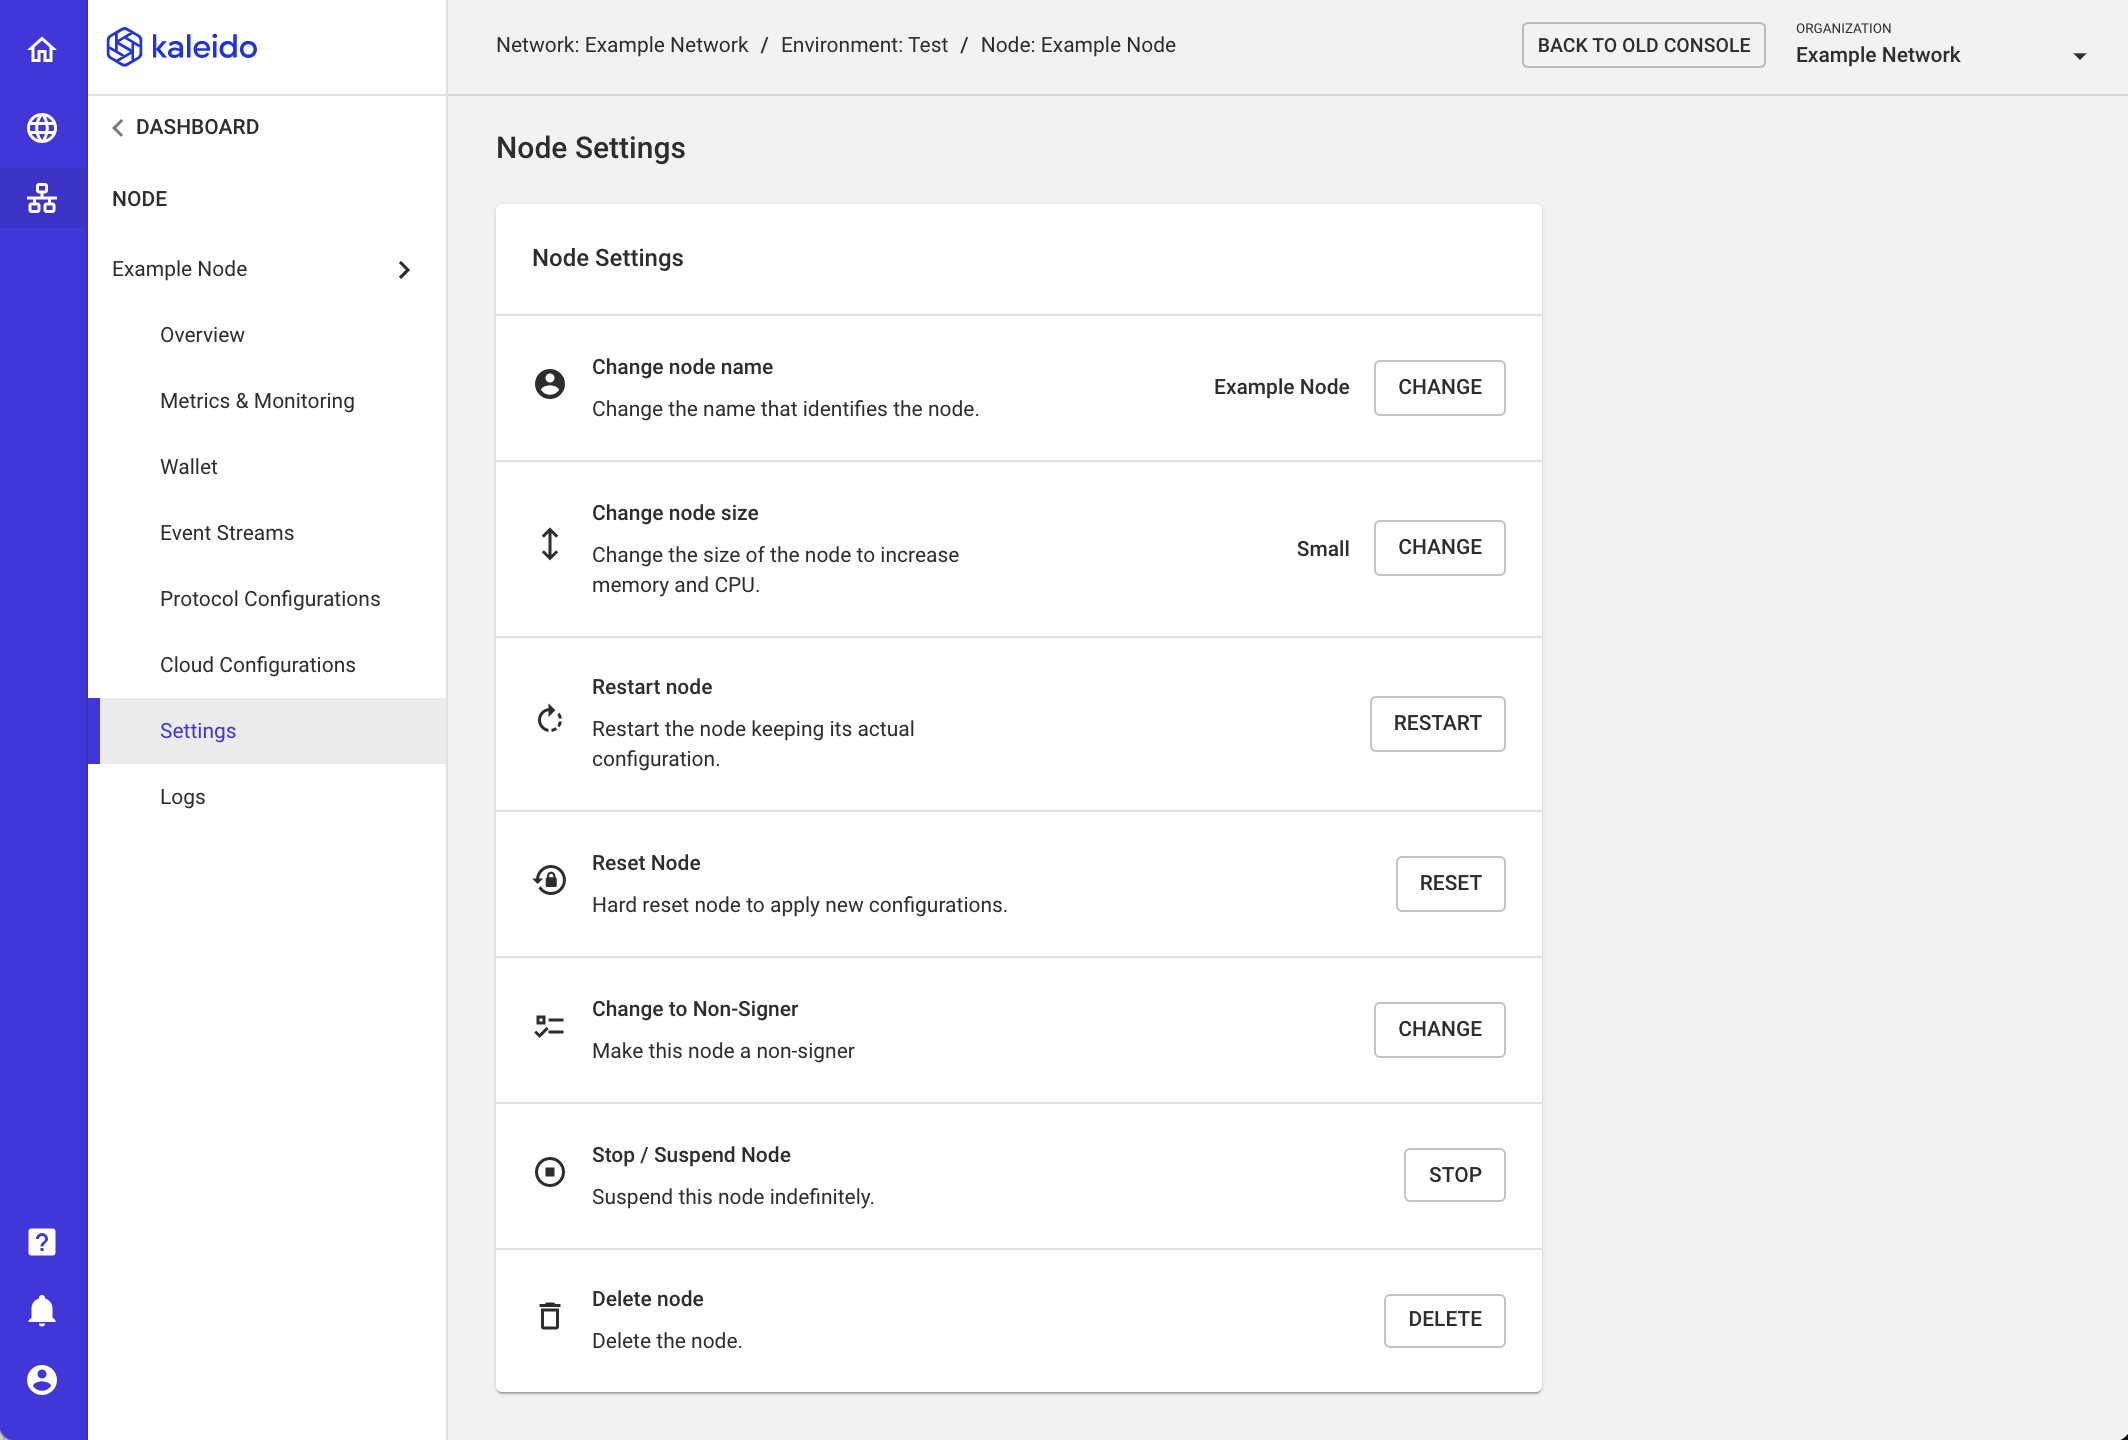
Click on the Settings tab within your node's lefthand navigation:
- Change Node Name - update the arbitrary name for your node runtime. Change Node Size - update your node's resource capacity; requires a node reset to apply the new configuration.
- Restart Node - restart the node and maintain the current configuration (size and integrations)
- Reset Node - reset the node to apply any new configurations (e.g.
maxCodeSize,targetGasLimit, cloud configurations, access policies or size). - Change to Non-Signer/Signer - Transition the node to a signing or non-signing role in the consensus algorithm. The total number of signing nodes in the environment must conform with the implemented consensus algorithm. Kaleido will display an error message if the attempted removal of a signing node brings the total number of signing nodes below a safe threshold for the algorithm. Refer to the How Many Nodes FAQ for details on the lower bound signing limits per algorithm.
- Stop/Suspend Node - stop the node process and the underlying billing meter; if the node is configured as a signer, it will be automatically voted out of the active signing pool. This action will be restricted if a node stoppage compromises the environment's consensus algorithm and leaves it with too few nodes.
- Start Node - Resume the stopped node process and resume billing; if the node is configured as a signer, it will be automatically voted back into the active signer pool or placed in the rotation loop if the rotating signers service is enabled (IBFT environments only).
- Delete Node - delete the node process and remove it from the active signing pool.
Javascript Console
You can directly attach to your node and use the Ethereum Javascript Console for programmatic interaction. This can be done with a geth attach command. For example:
geth attach https://username:password@rpcURL
From here, you have access to the full library of web3.js APIs, including the personal class. Use this module to create and unlock accounts. For example:
personal.newAccount()
Refer to the formal Web3.js API Documentation for more information on the available APIs and required parameters.
Kaleido Administrative APIs
Everything available to you in the Kaleido console is also exposed via an administrative API. Refer to the formal Kaleido API Reference Documentation for more details. Specifically, you can leverage the /nodes endpoint to perform the actions described above.
