Create Your New Polygon Blockchain
Now that you've created an account and established your business organization, let's go ahead and build out your first business network and underlying blockchain. Kaleido supports Enterprise Ethereum, Polygon Edge, Hyperledger Fabric, and Corda as standard blockchain protocol providers, as well as an open-source multi-party orchestration framework called Hyperledger FireFly. Regardless of your environment/protocol choice, the first step is to establish a business network that will serve as the parental resource for blockchain environments and the various runtimes within.
Create a Business Network
- Visit https://console.kaleido.io and enter your organizational email + password to login.
- Click the Create Network button in the middle of the page.
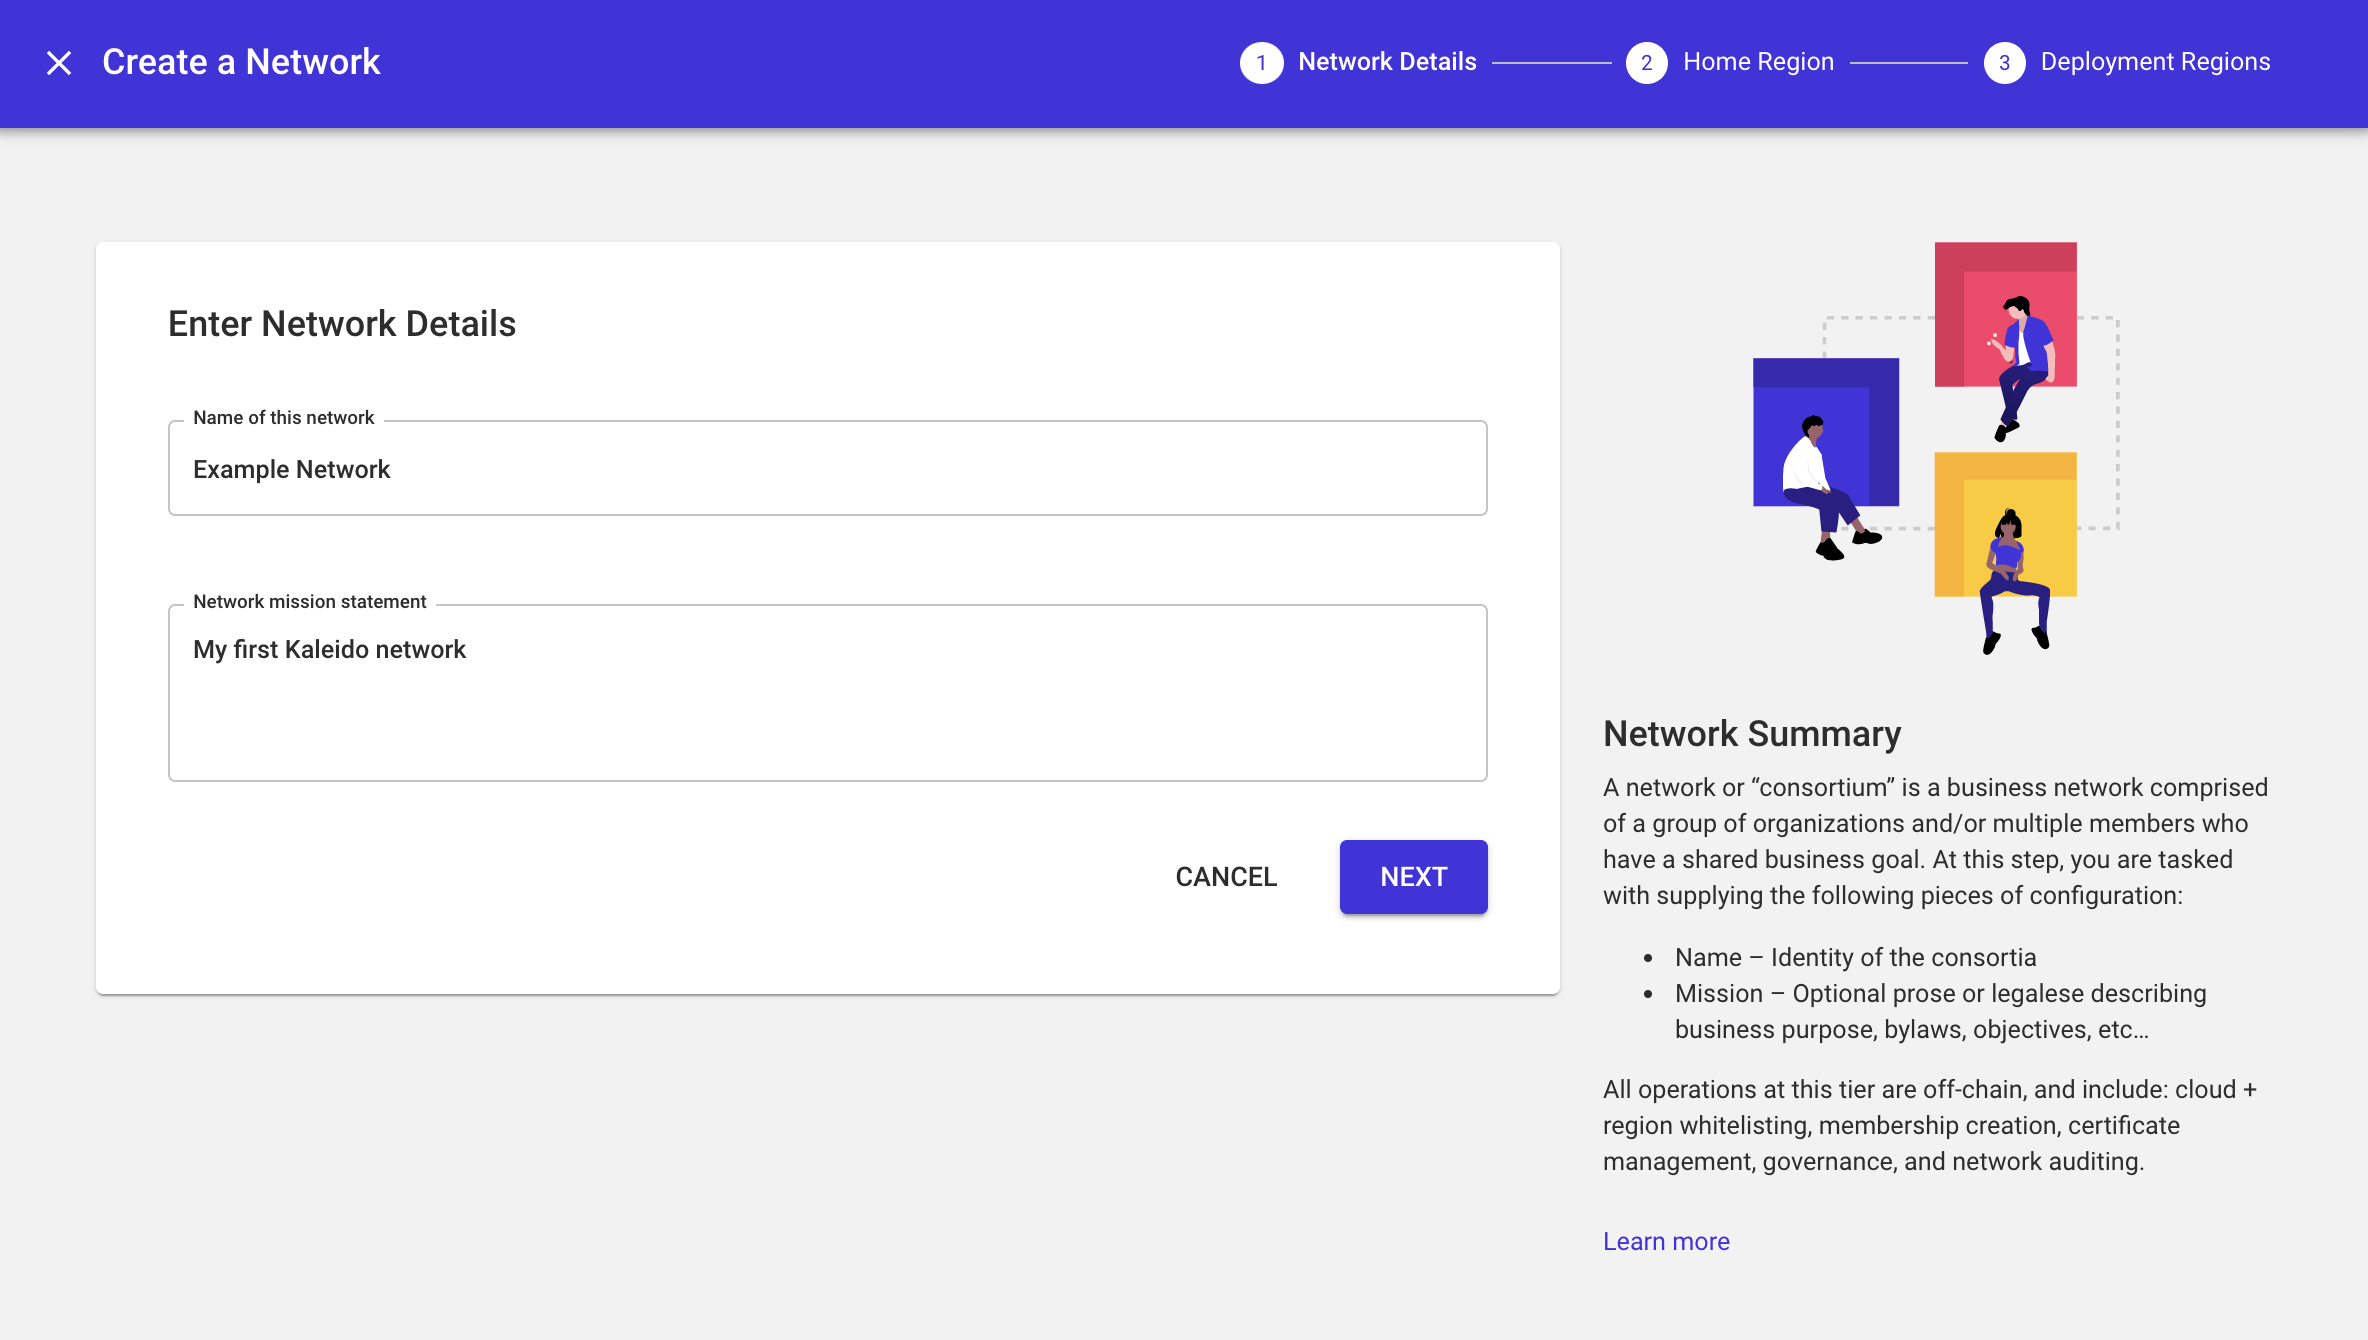
- Provide a name for your business network and optionally include some legalese or rhetoric describing your network mission. Click NEXT.
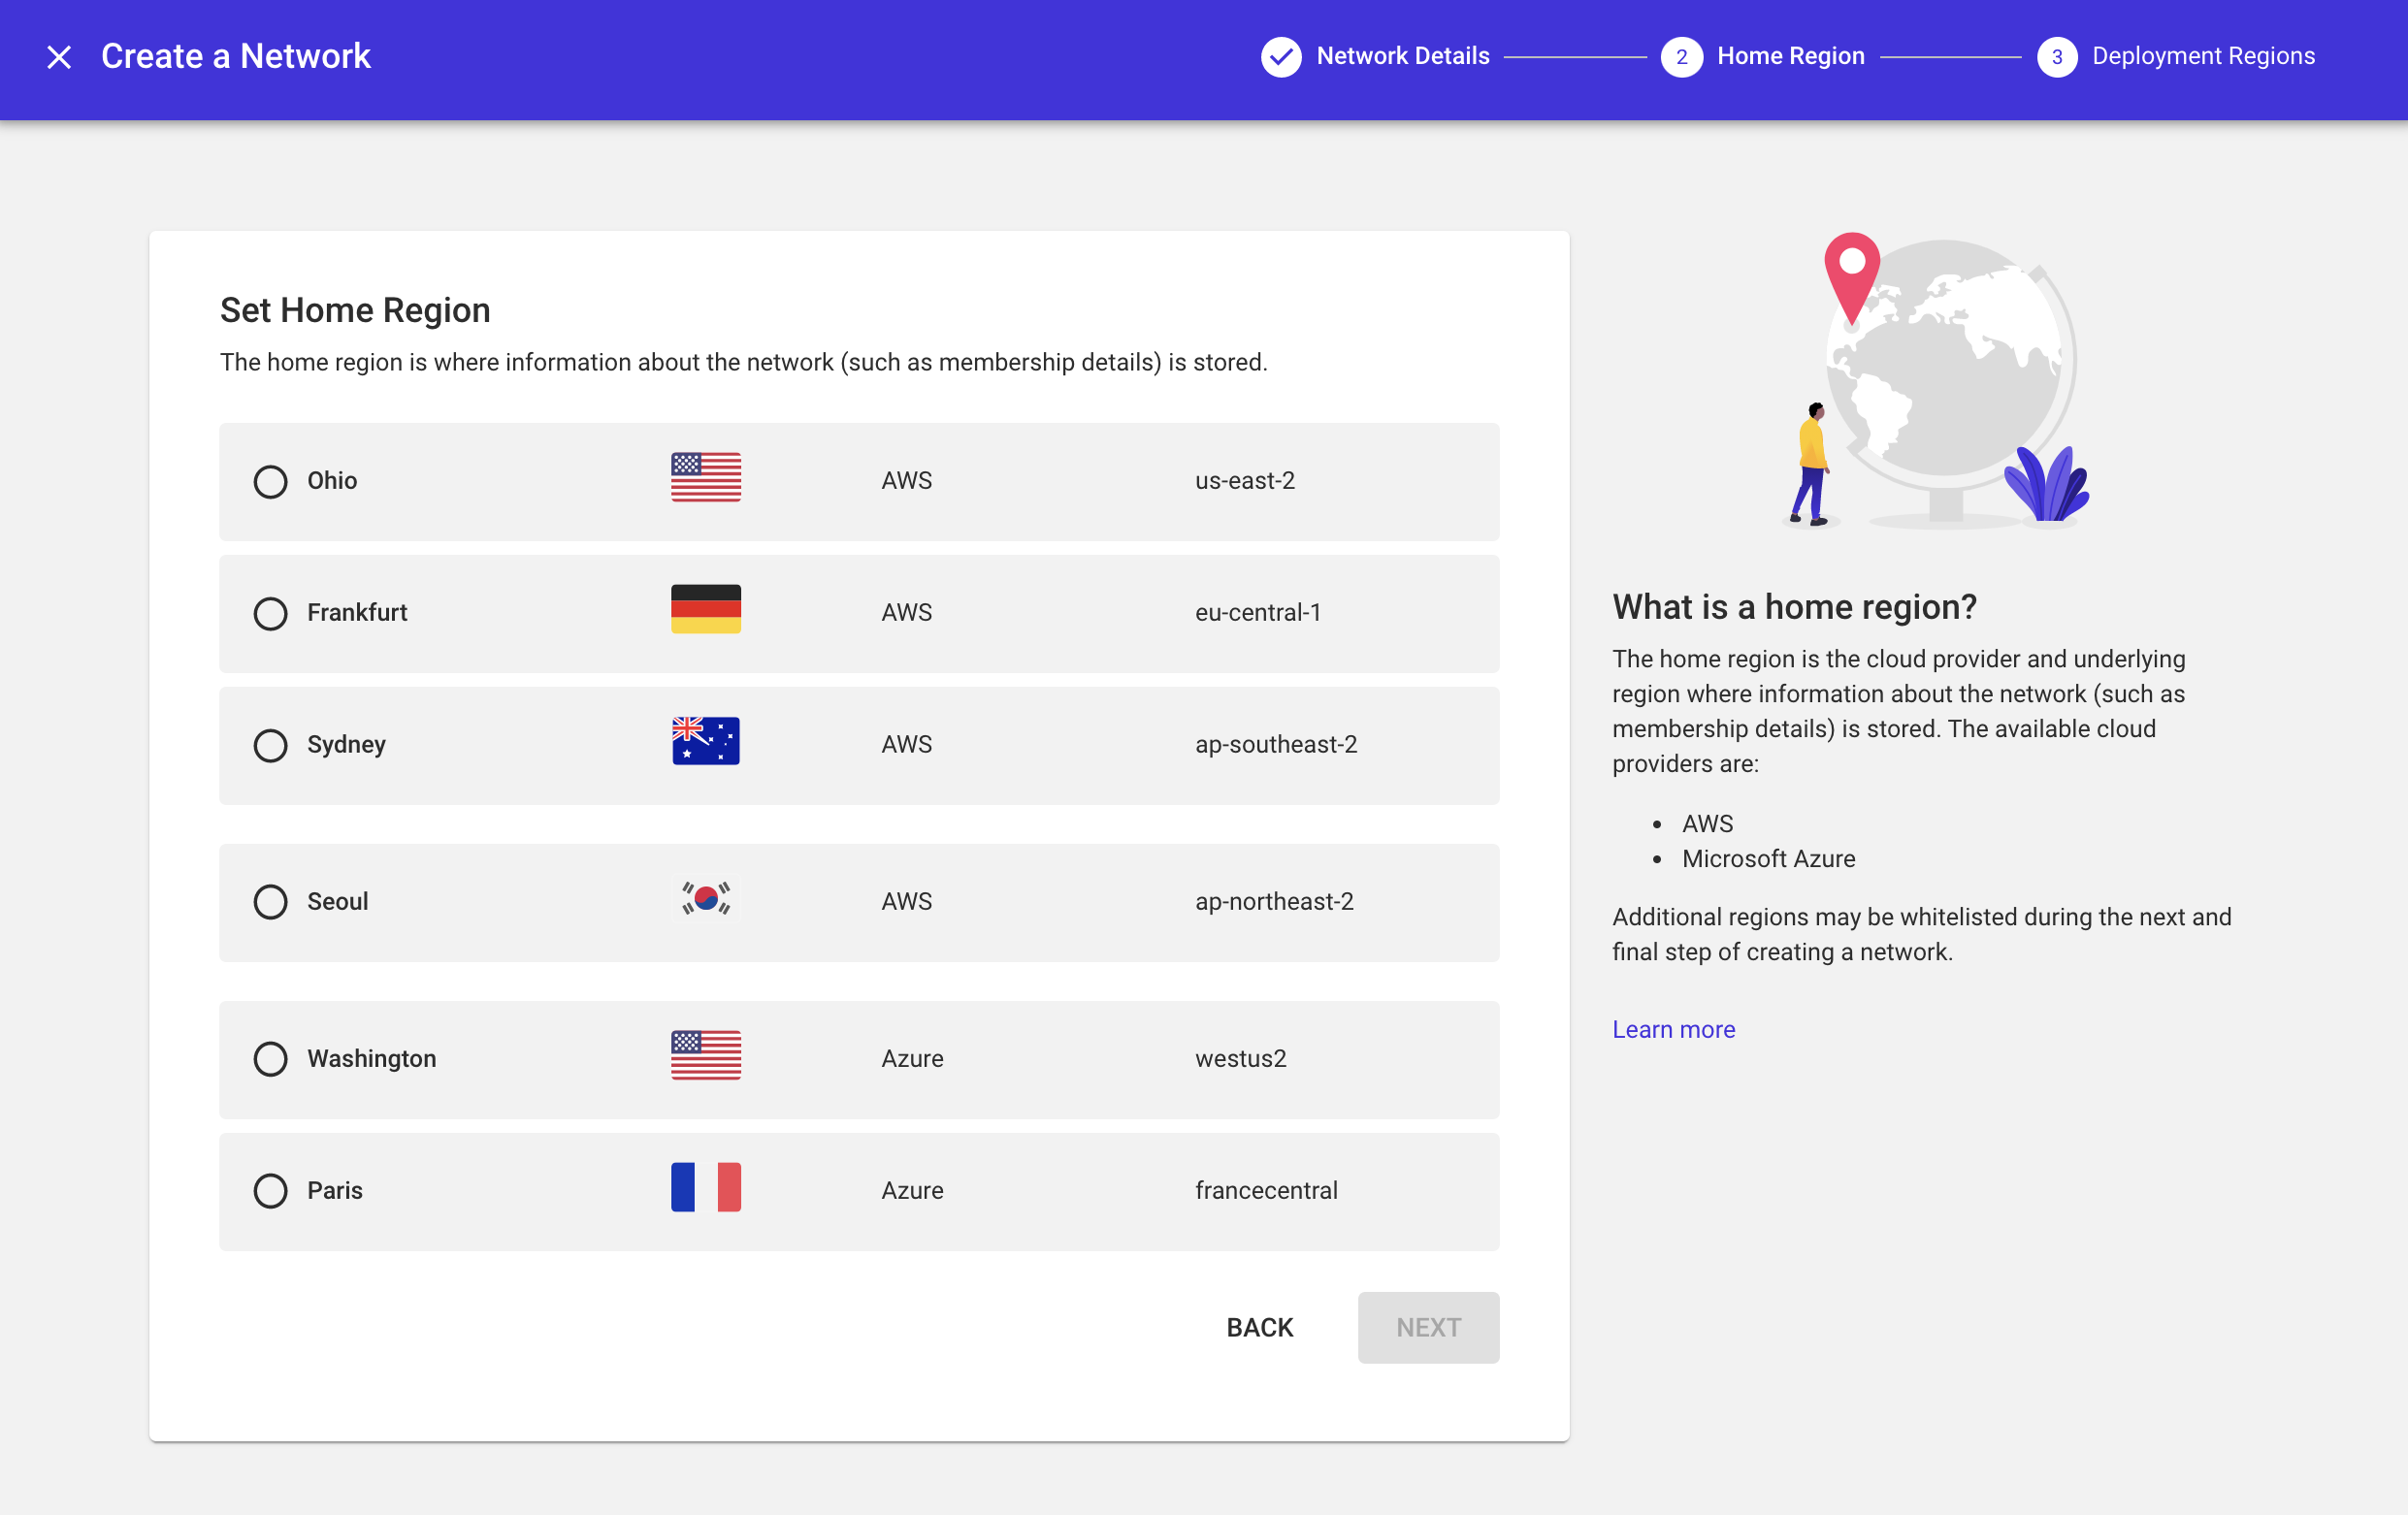
- Select a cloud provider and underlying region to serve as the home region for your network. This will, in turn, whitelist the selected cloud provider and underlying region, and is where your resources will be hosted on the Starter Plan. The choices are AWS US East, AWS EU Central, AWS APAC Southeast, AWS APAC Northeast, Microsoft Azure US West, and Microsoft Azure France. Click NEXT.
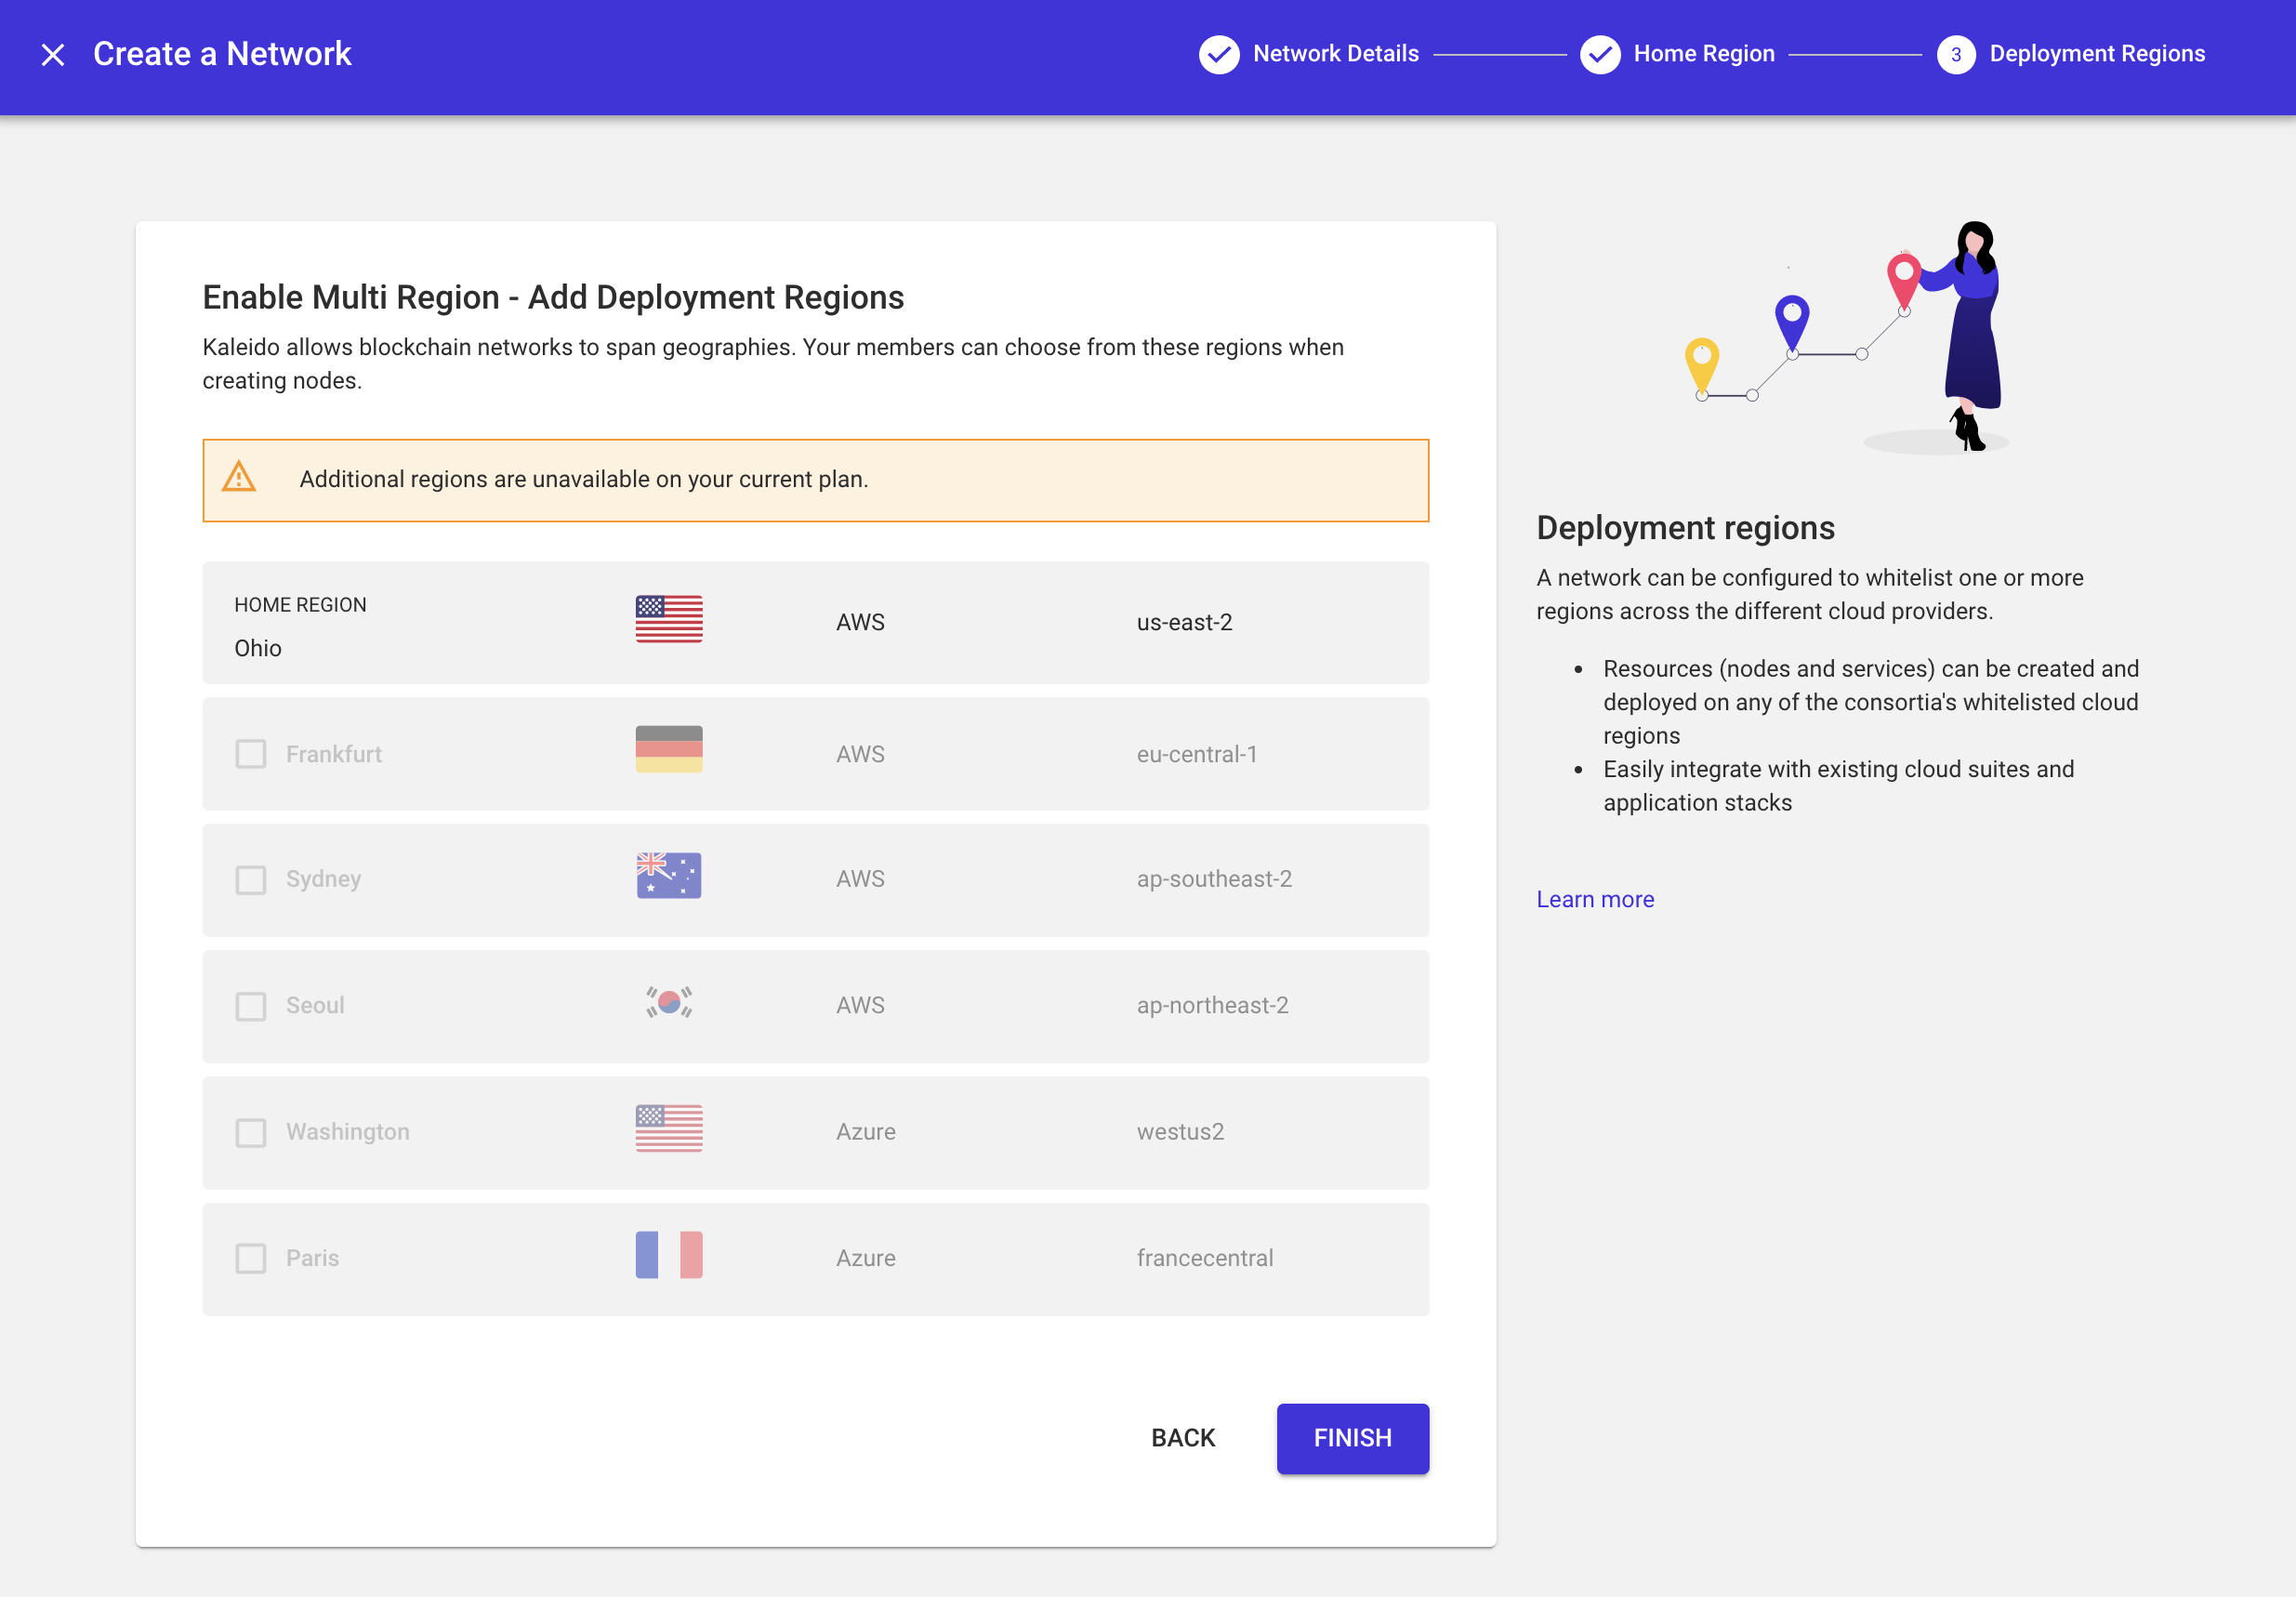
- Note that multi-region consortium are not available on the Starter Plan. If you wish to enable multi-region capabilities, refer to the Manage Plan section for instructions on upgrading your subscription. Click Finish to finalize your consortium.
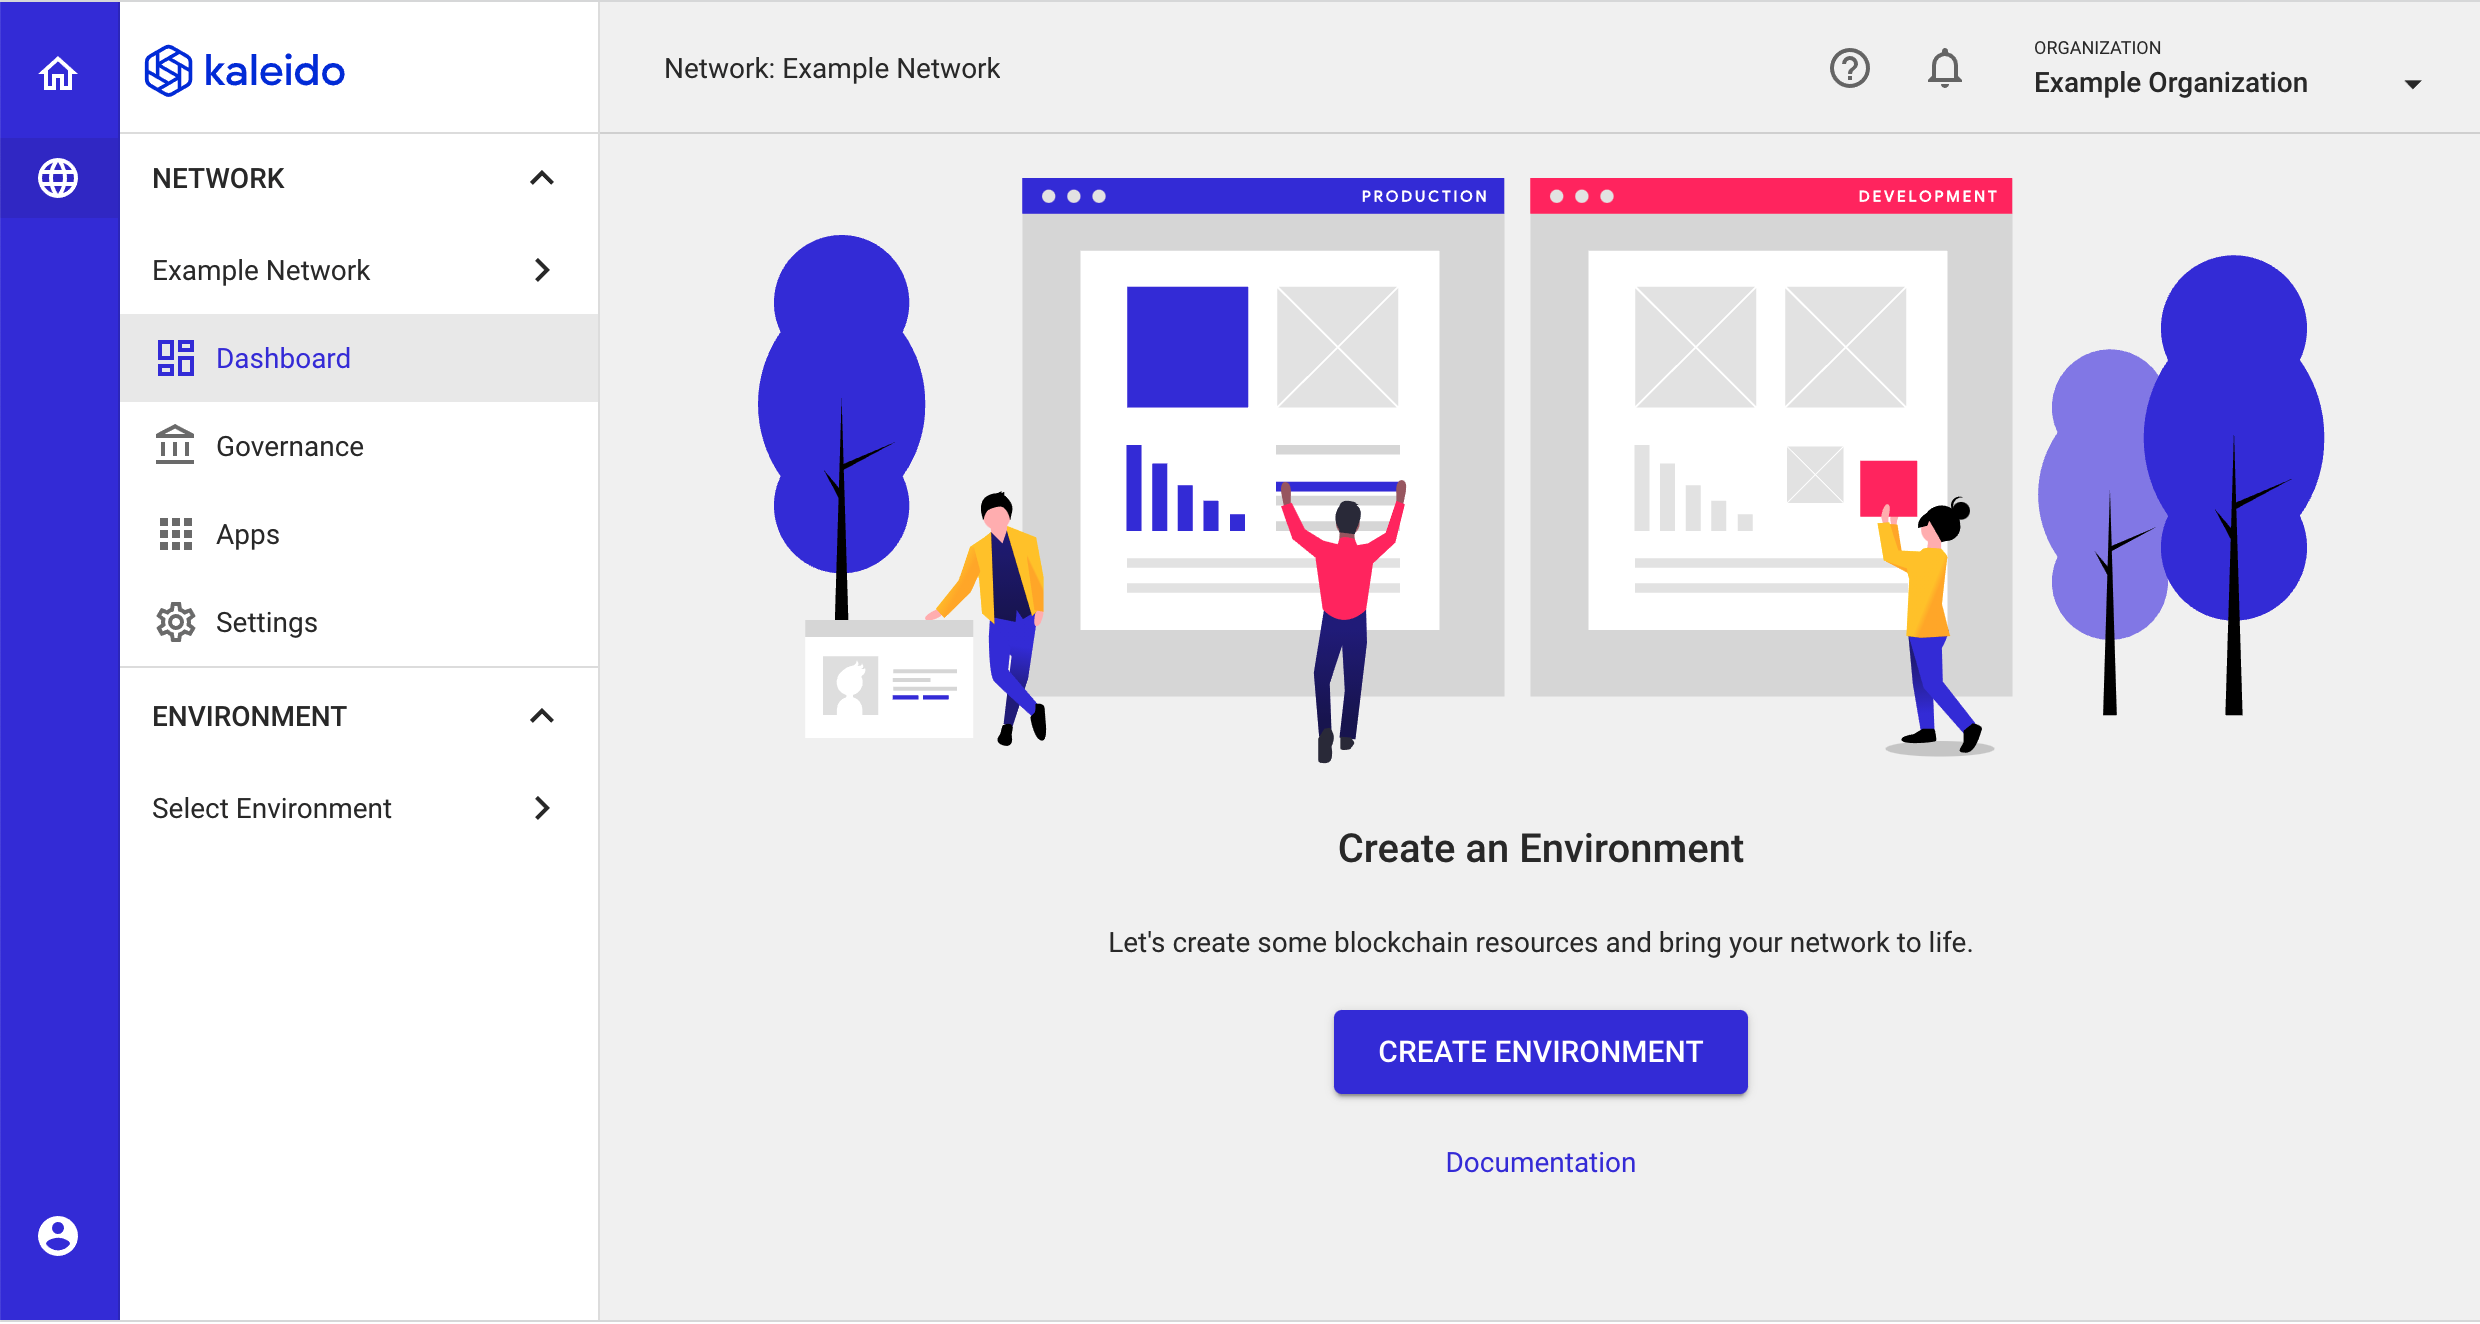
- At this point, your business network is simply a namespace with an underlying home region, a name, and your Kaleido organization existing as the sole membership.
-
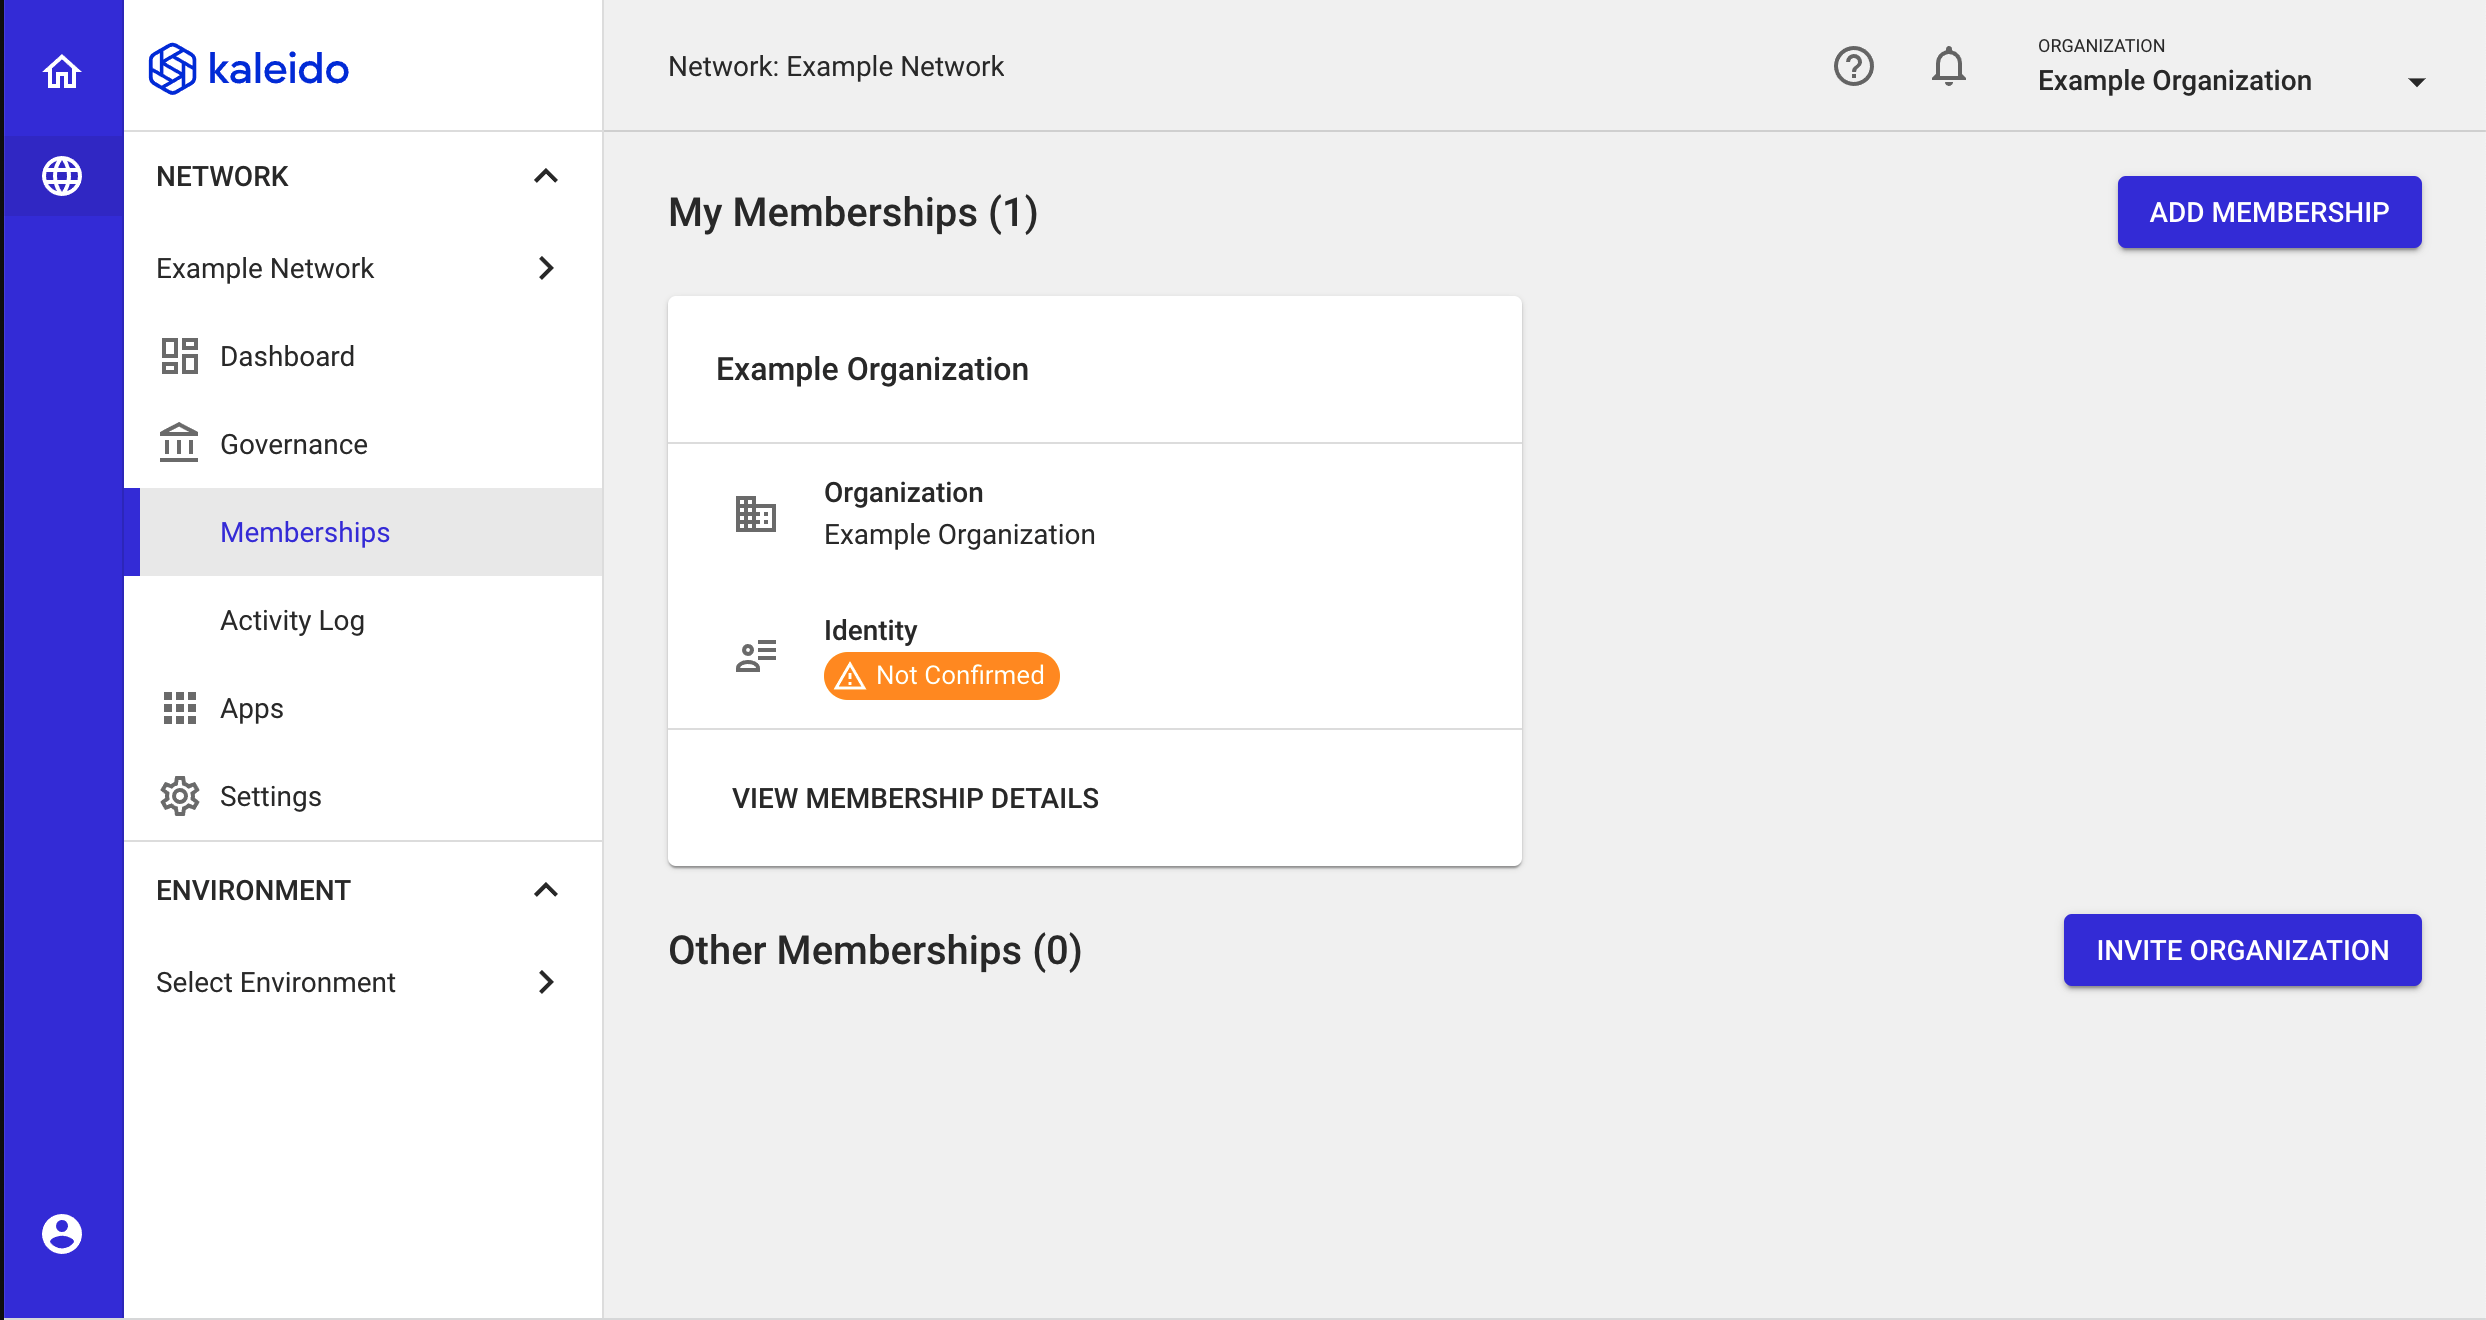
In the lefthand navigation menu, click the Governance tab and then Memberships to see the existing memberships in your business network. As the founder, your organization is automatically attributed to the first membership in the network. You can add additional memberships by clicking the ADD MEMBERSHIP button under your current memberships. Any subsequent memberships will be bound to your organization.
-
Memberships are the Kaleido resource that is bound to nodes, services, and security credentials. Adding additional memberships is a useful technique for networks where resources need to be proxy operated, or in scenarios where an operator wishes to mock out the future participation of a decentralized network. For this quick start, we will proceed with a single membership.
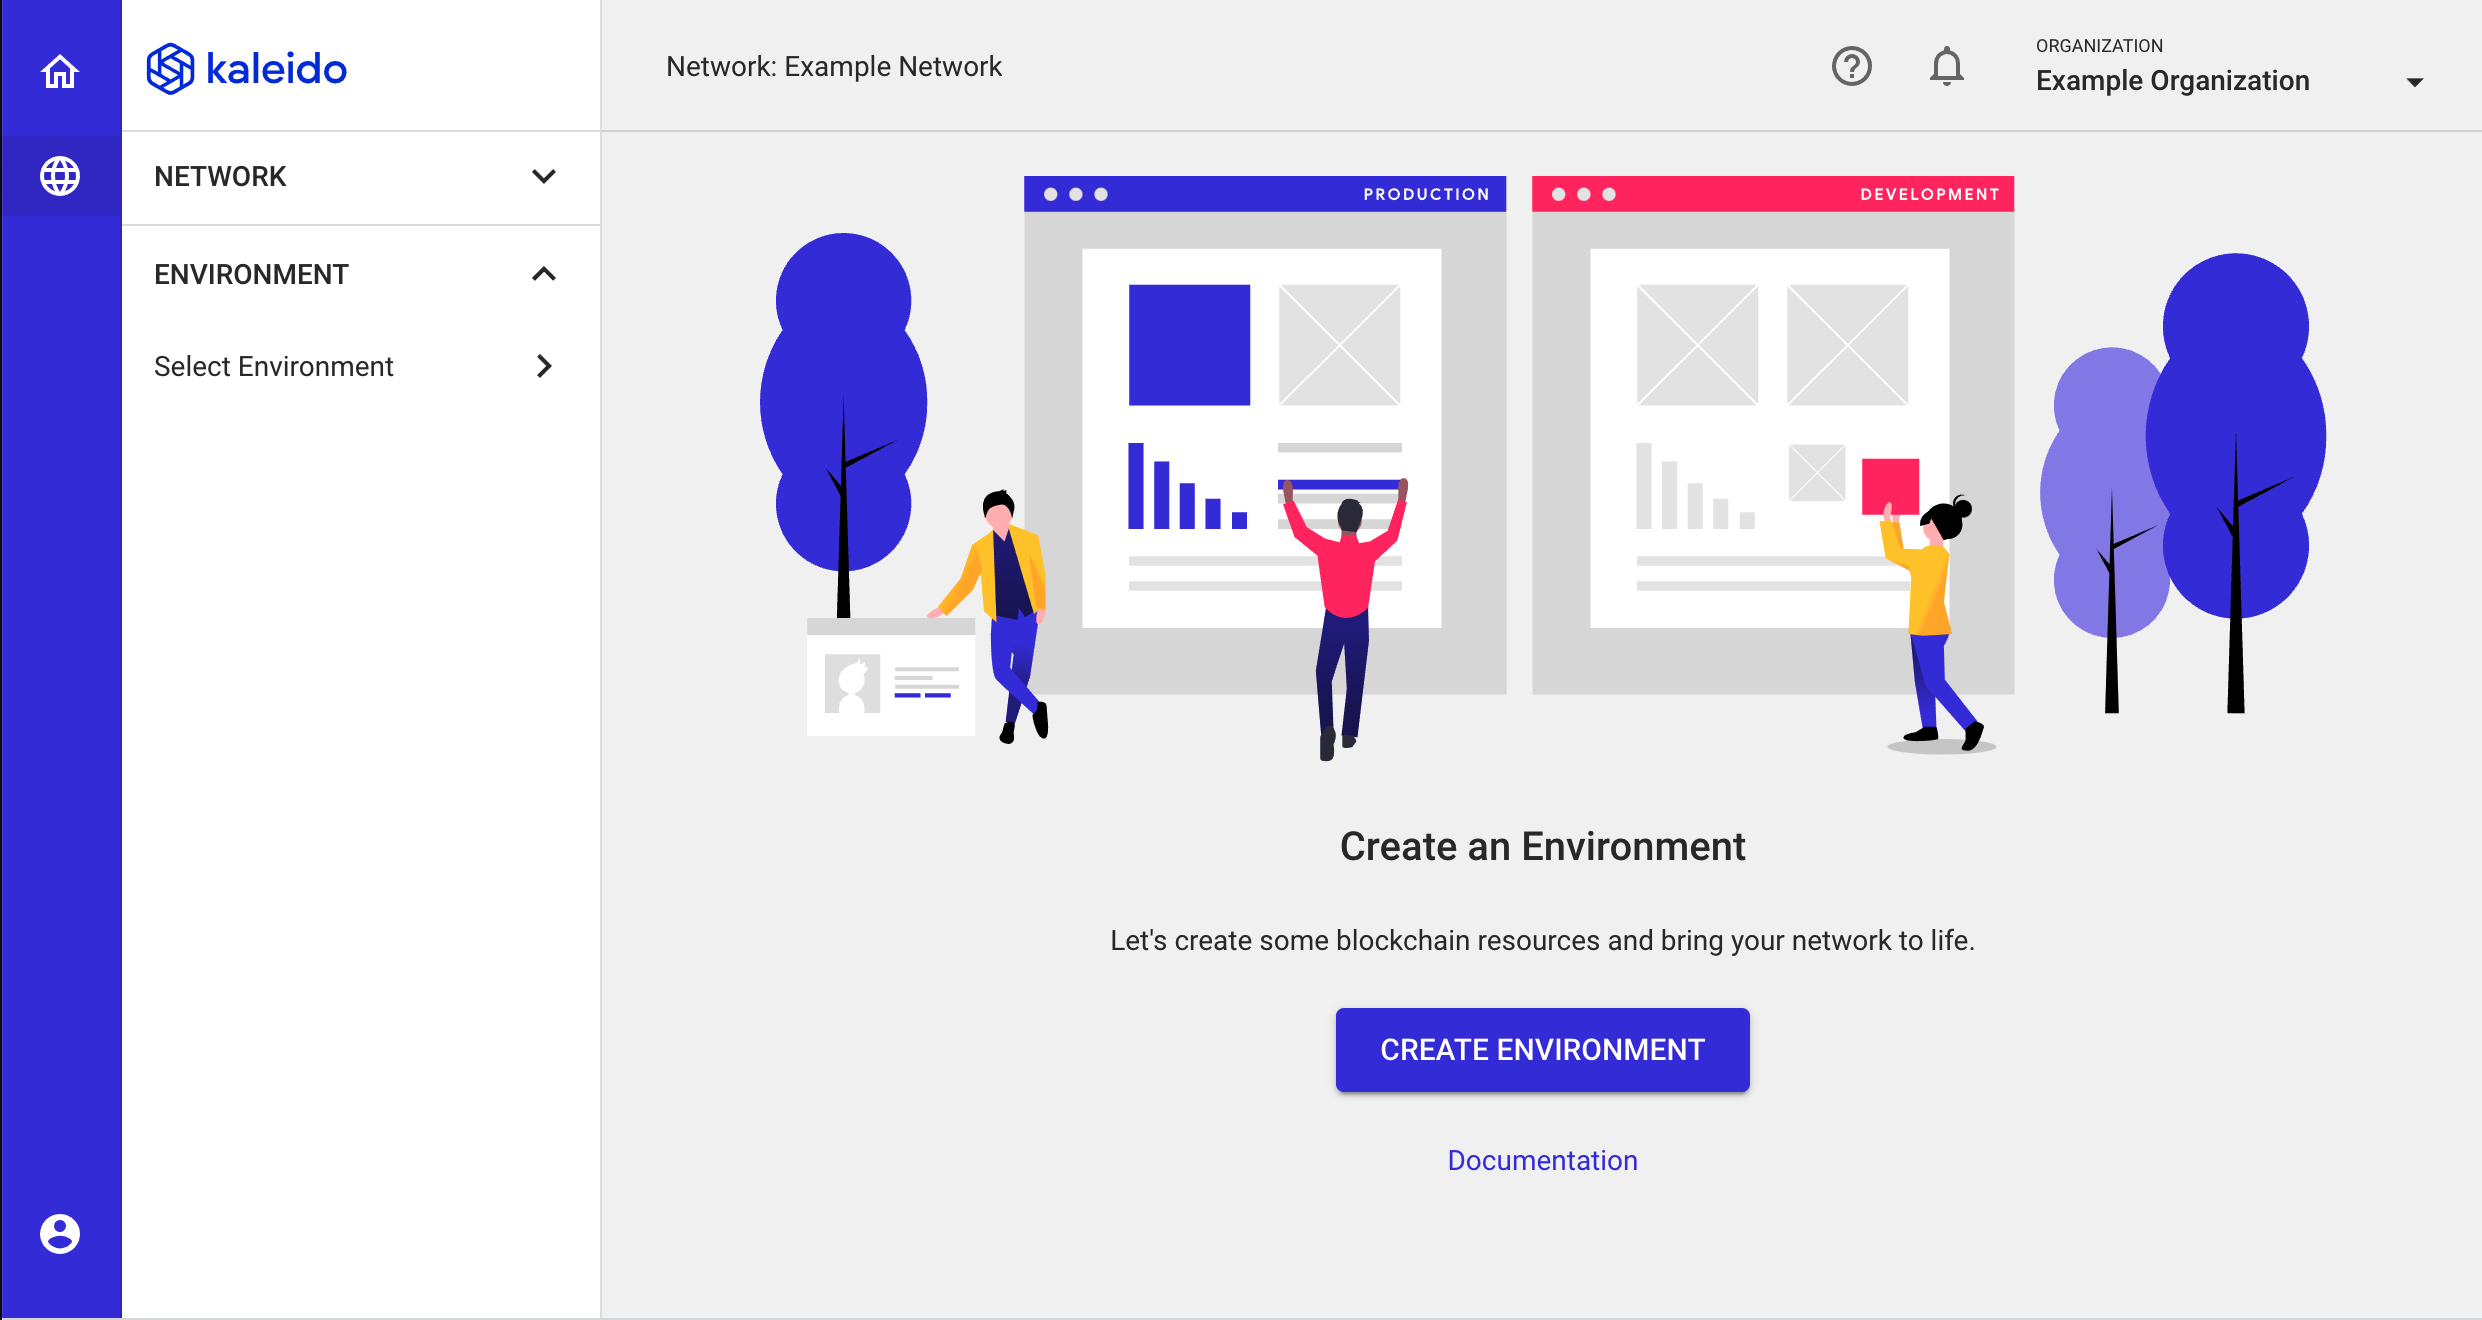
- Switch back to your business network home page by clicking the Dashboard tab in the lefthand navigation menu.
- Next, click the Create Environment button to generate your first blockchain namespace. An environment in Kaleido is an isolated domain with nodes, services, and security credentials confined solely to it. Each environment is its own unique blockchain.
Choosing an Environment Type
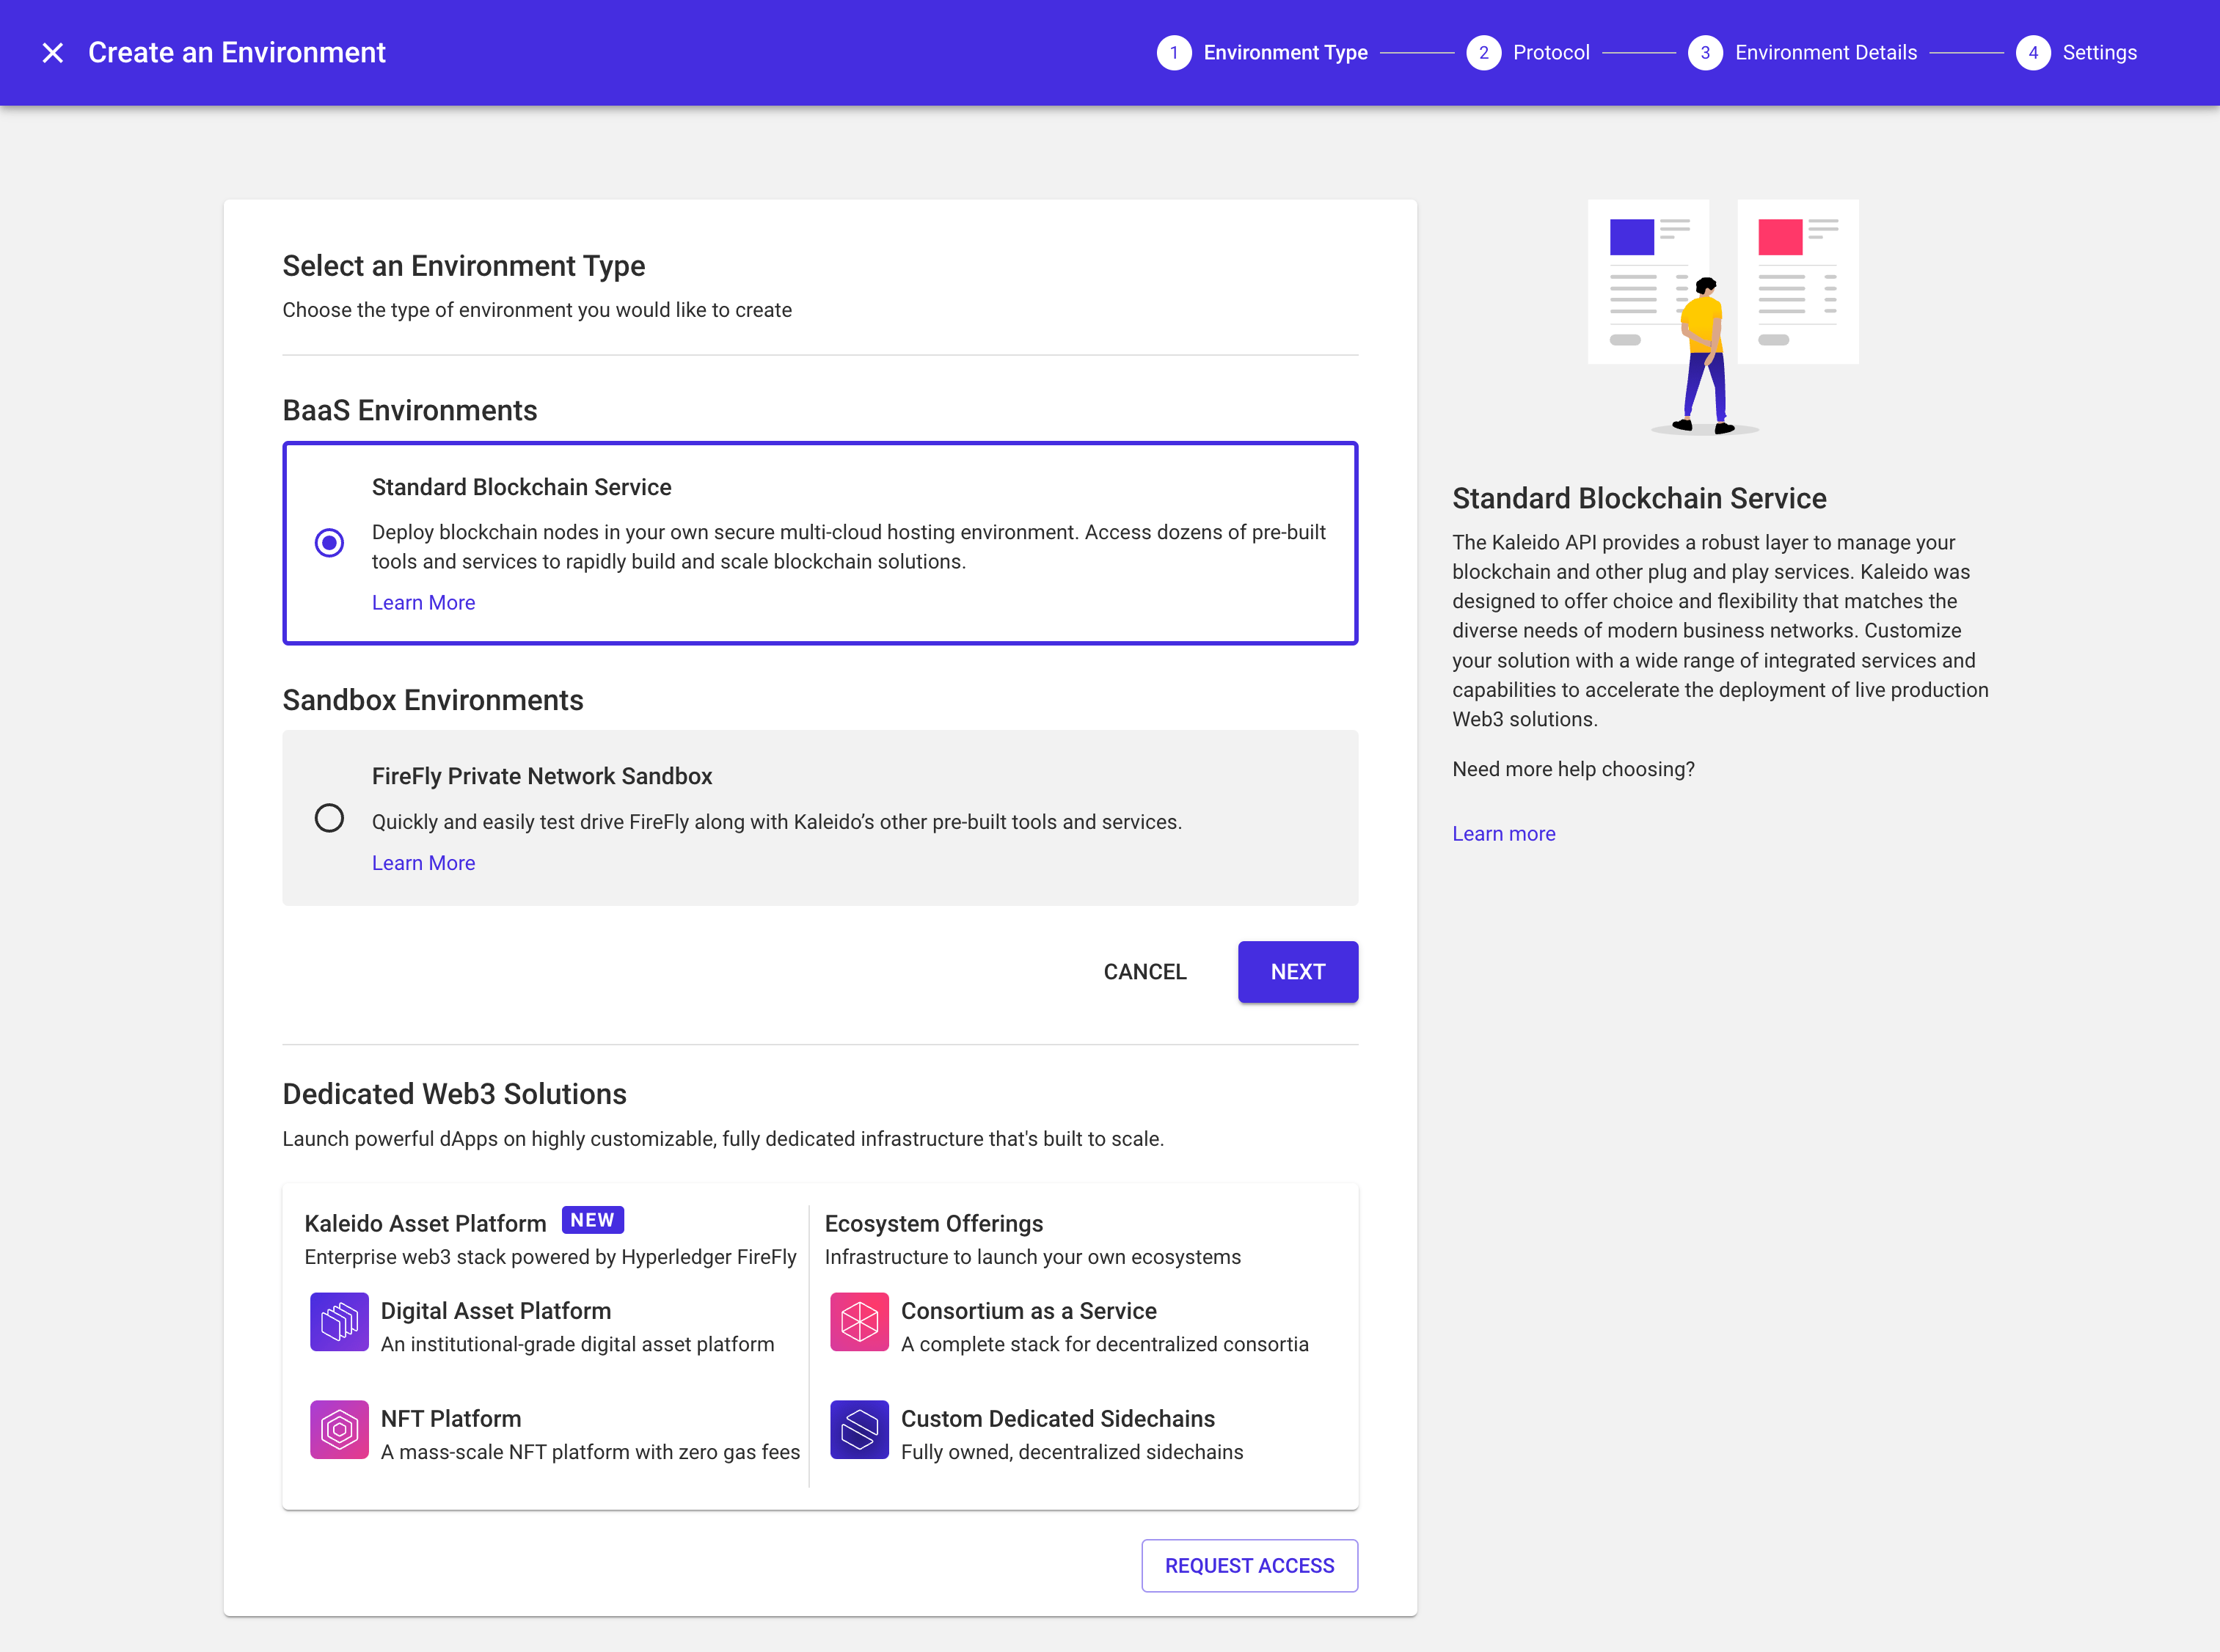
- Kaleido offers two top-level environment types: Multi-Party System (aka FireFly) and Standard Blockchain Service.
- Choose the Standard Blockchain Service tile and then click NEXT.
- The Standard Blockchain Service orchestration supports three protocol choices: Enterprise Ethereum variants (Polygon, Geth, Quorum and Besu), Corda and Hyperledger Fabric.
- Choose the Ethereum tile and click NEXT.
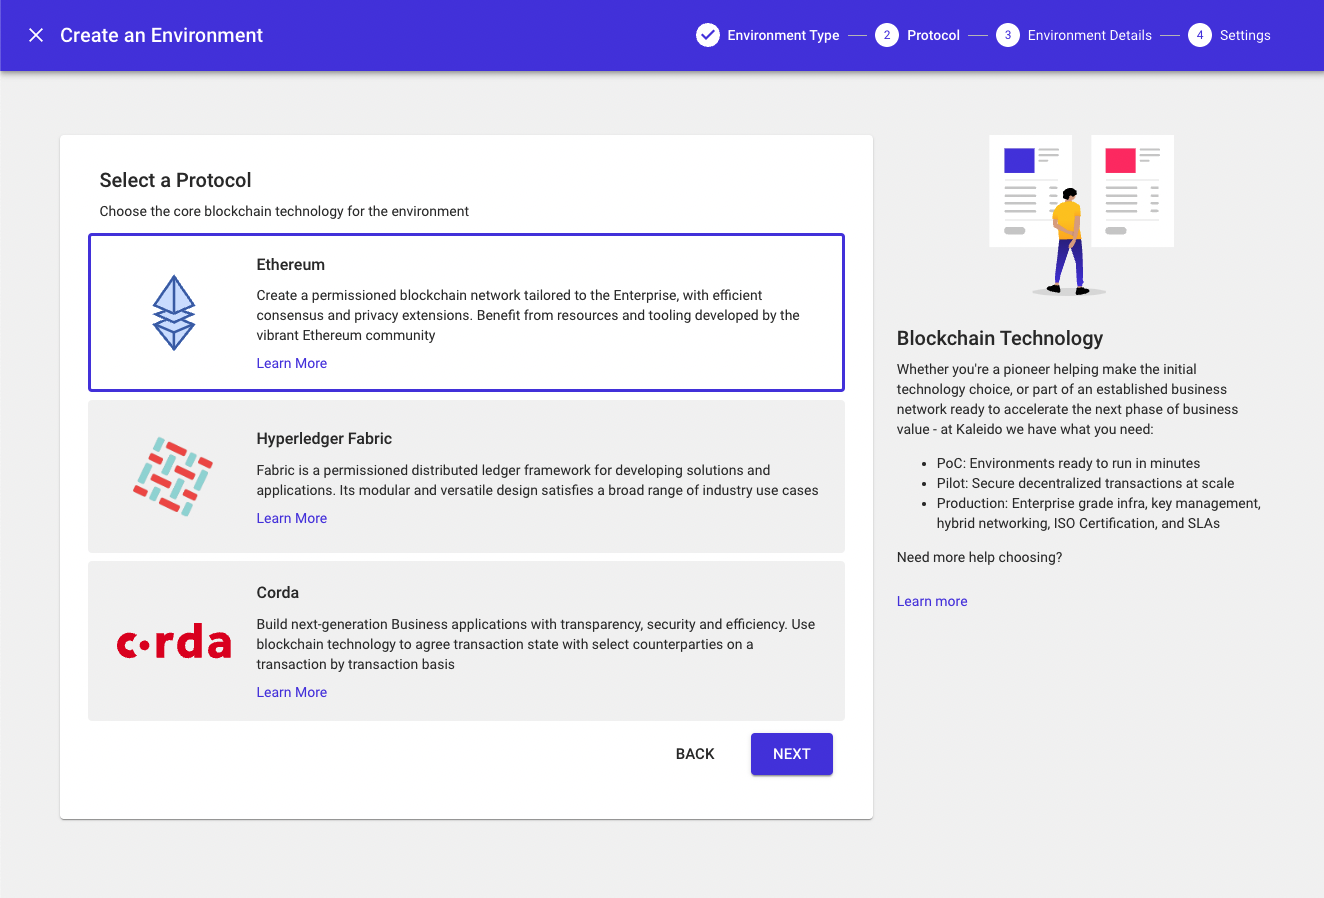
Creating a Polygon environment
- Provide a name for your environment (e.g.,
Development) and click NEXT. Note that the Deployment Region is automatically inherited from your business network configuration. - Lastly, choose the protocol settings for your environment. You can choose between four node clients - Geth, Quorum, Hyperledger Besu, and Polygon Edge - and their supported consensus algorithms.
- Click FINISH to provision your environmental namespace.
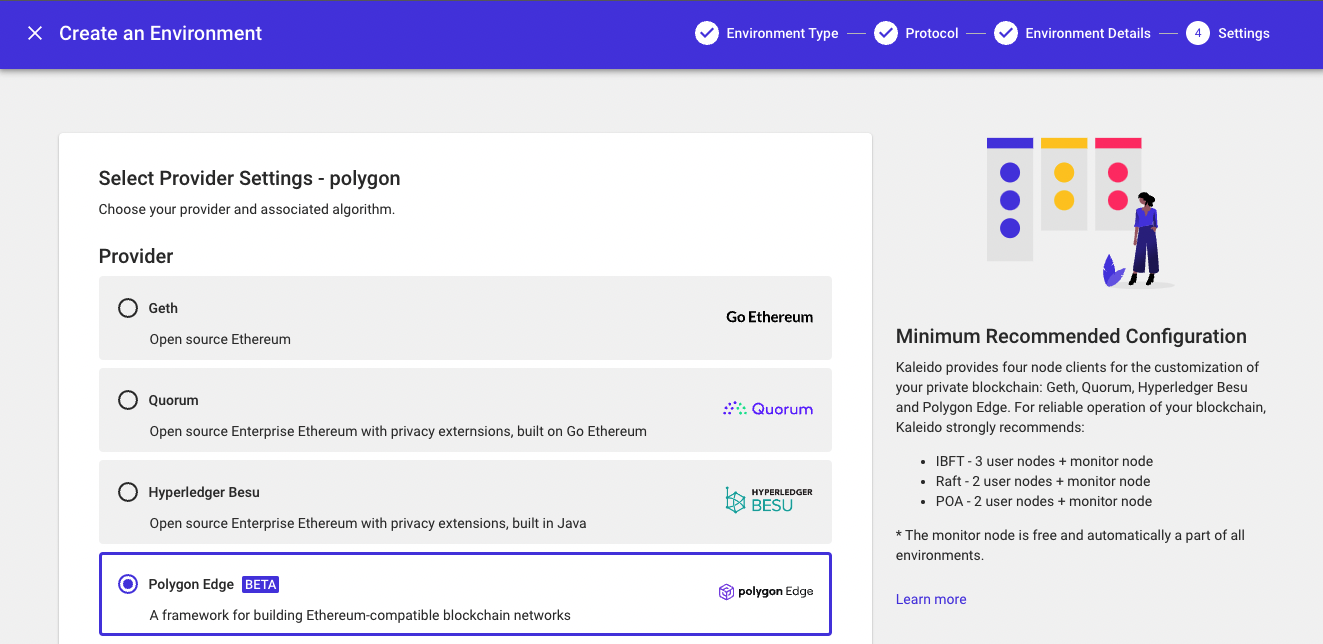
Add a Node to your Polygon Environment
- Now that the environment has been created, you can go ahead and add a blockchain node. A node will allow you to deploy smart contracts and perform meaningful chain-layer interactions. Polygon nodes are the core runtimes responsible for transaction execution and consensus.
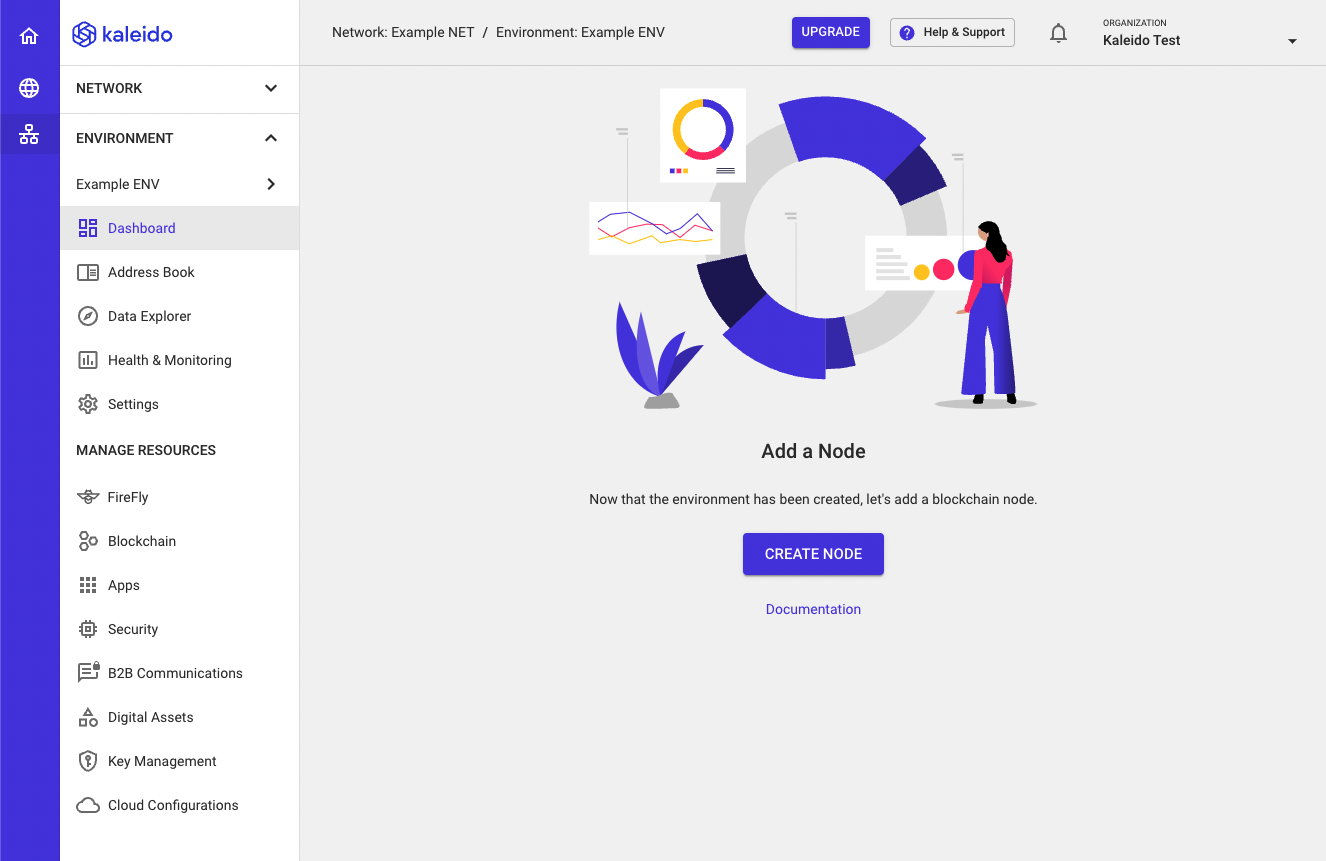
- Click the CREATE NODE button in the middle of the screen.
- Use the dropdown menu and choose the available membership that you wish to bind the node to.
- Supply a name for the node (e.g.
Node 1) and click NEXT.
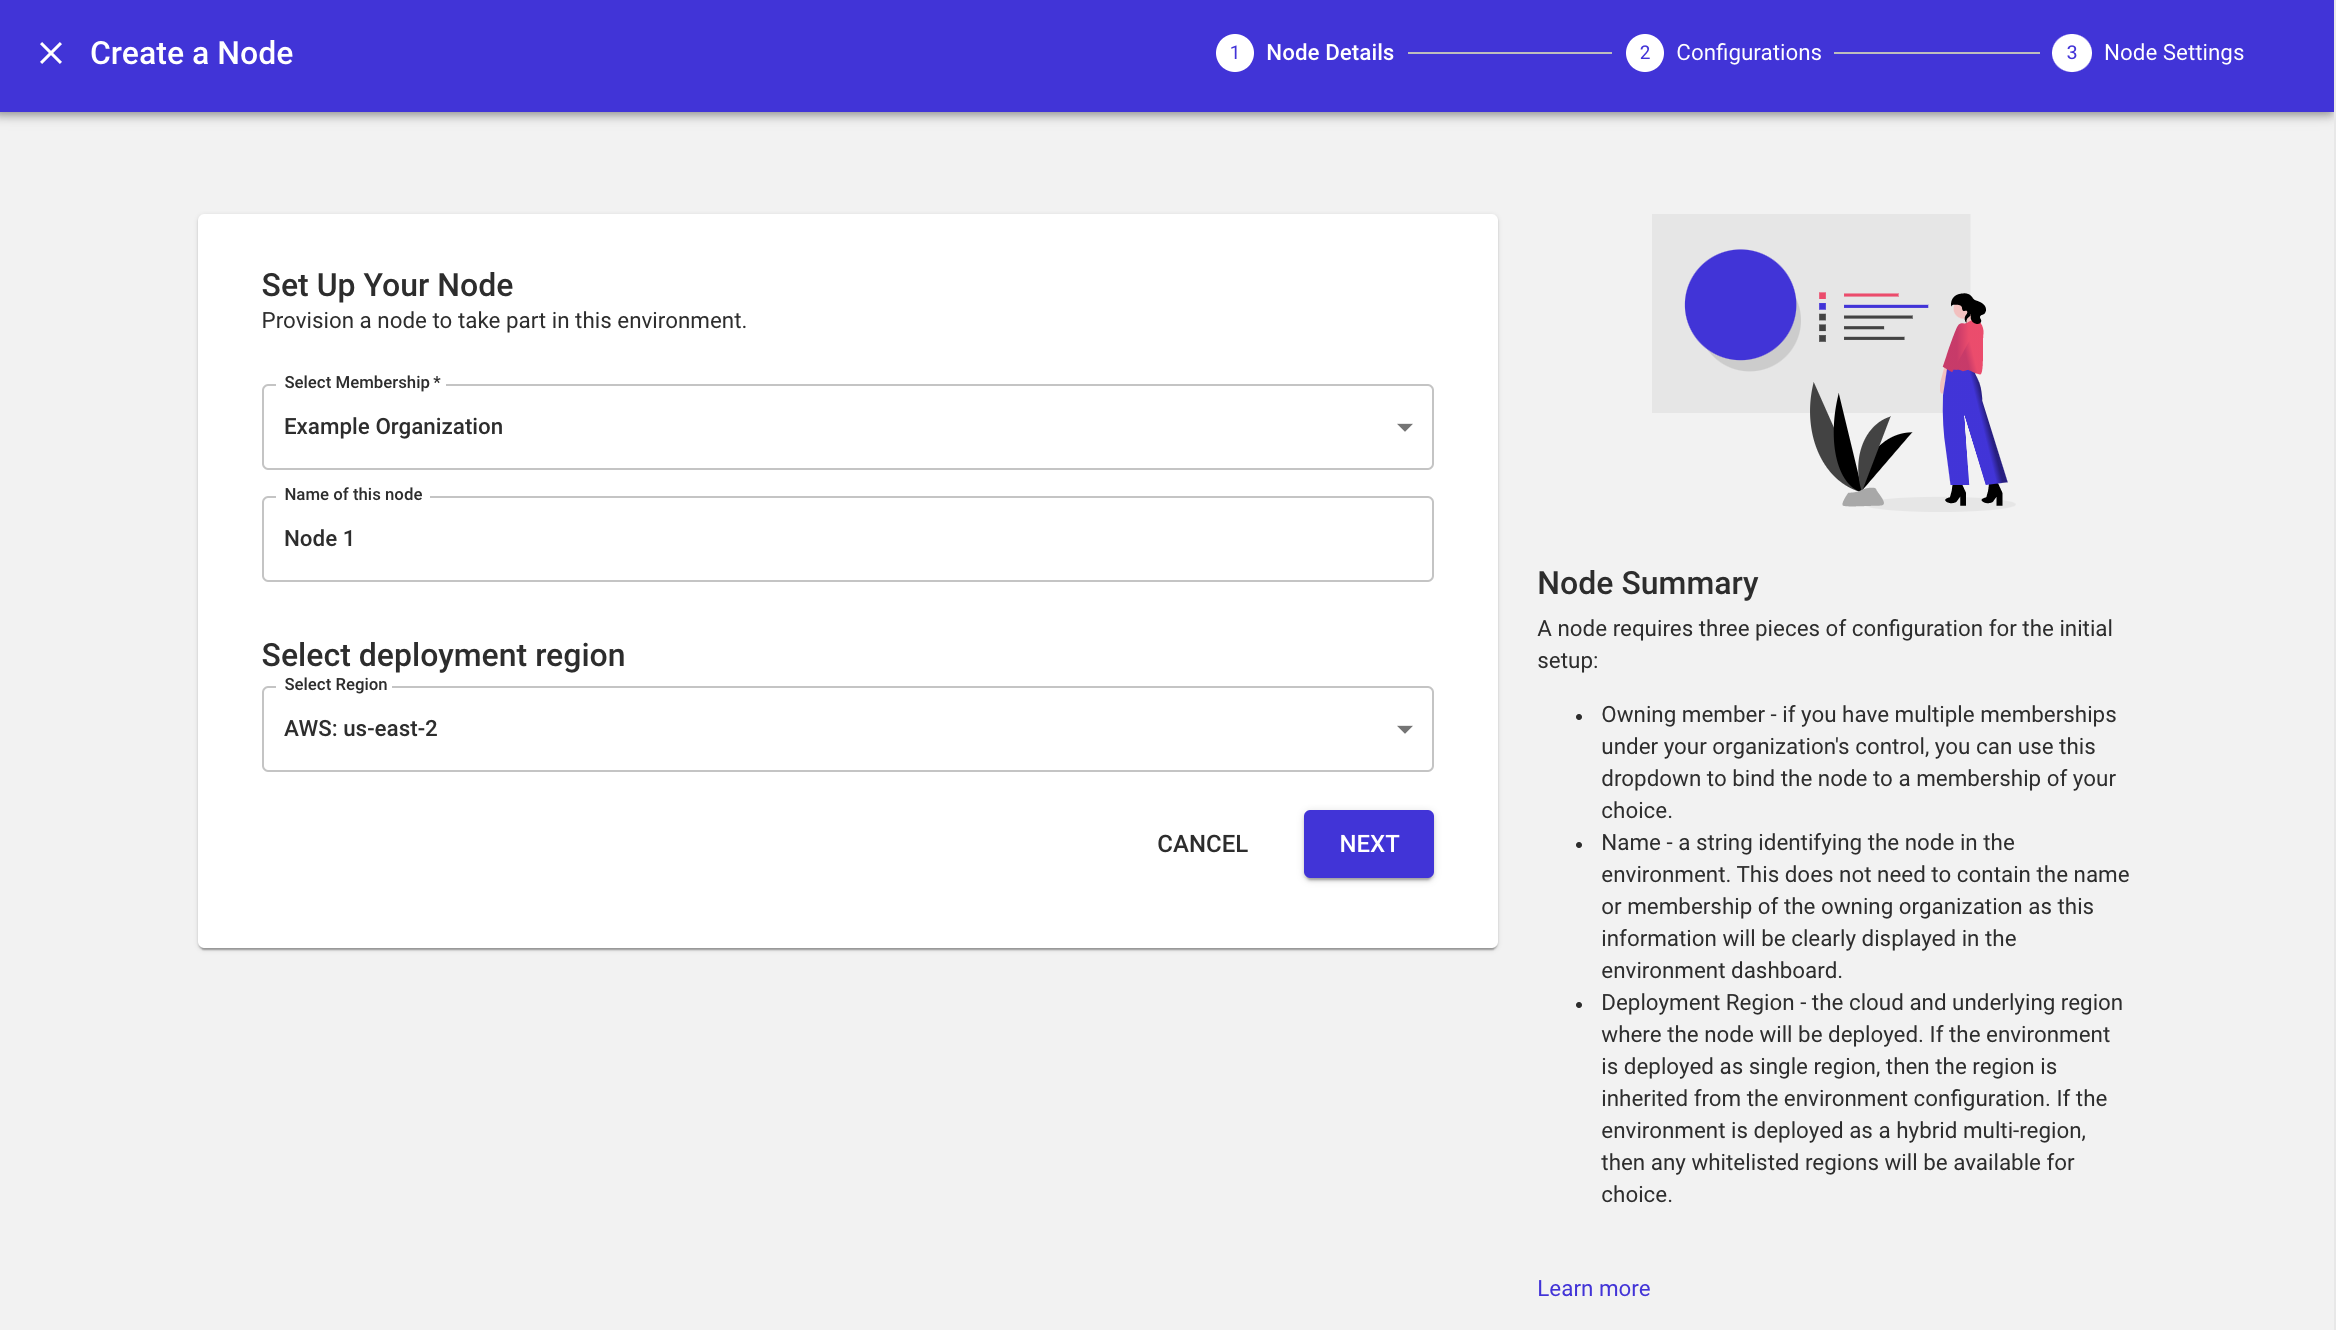
- Click NEXT to skip the cloud integrations panel. These are unavailable on the Starter Plan. Refer to the Manage Plan section of the docs if you wish to upgrade your subscription and subsequently apply cloud integrations.
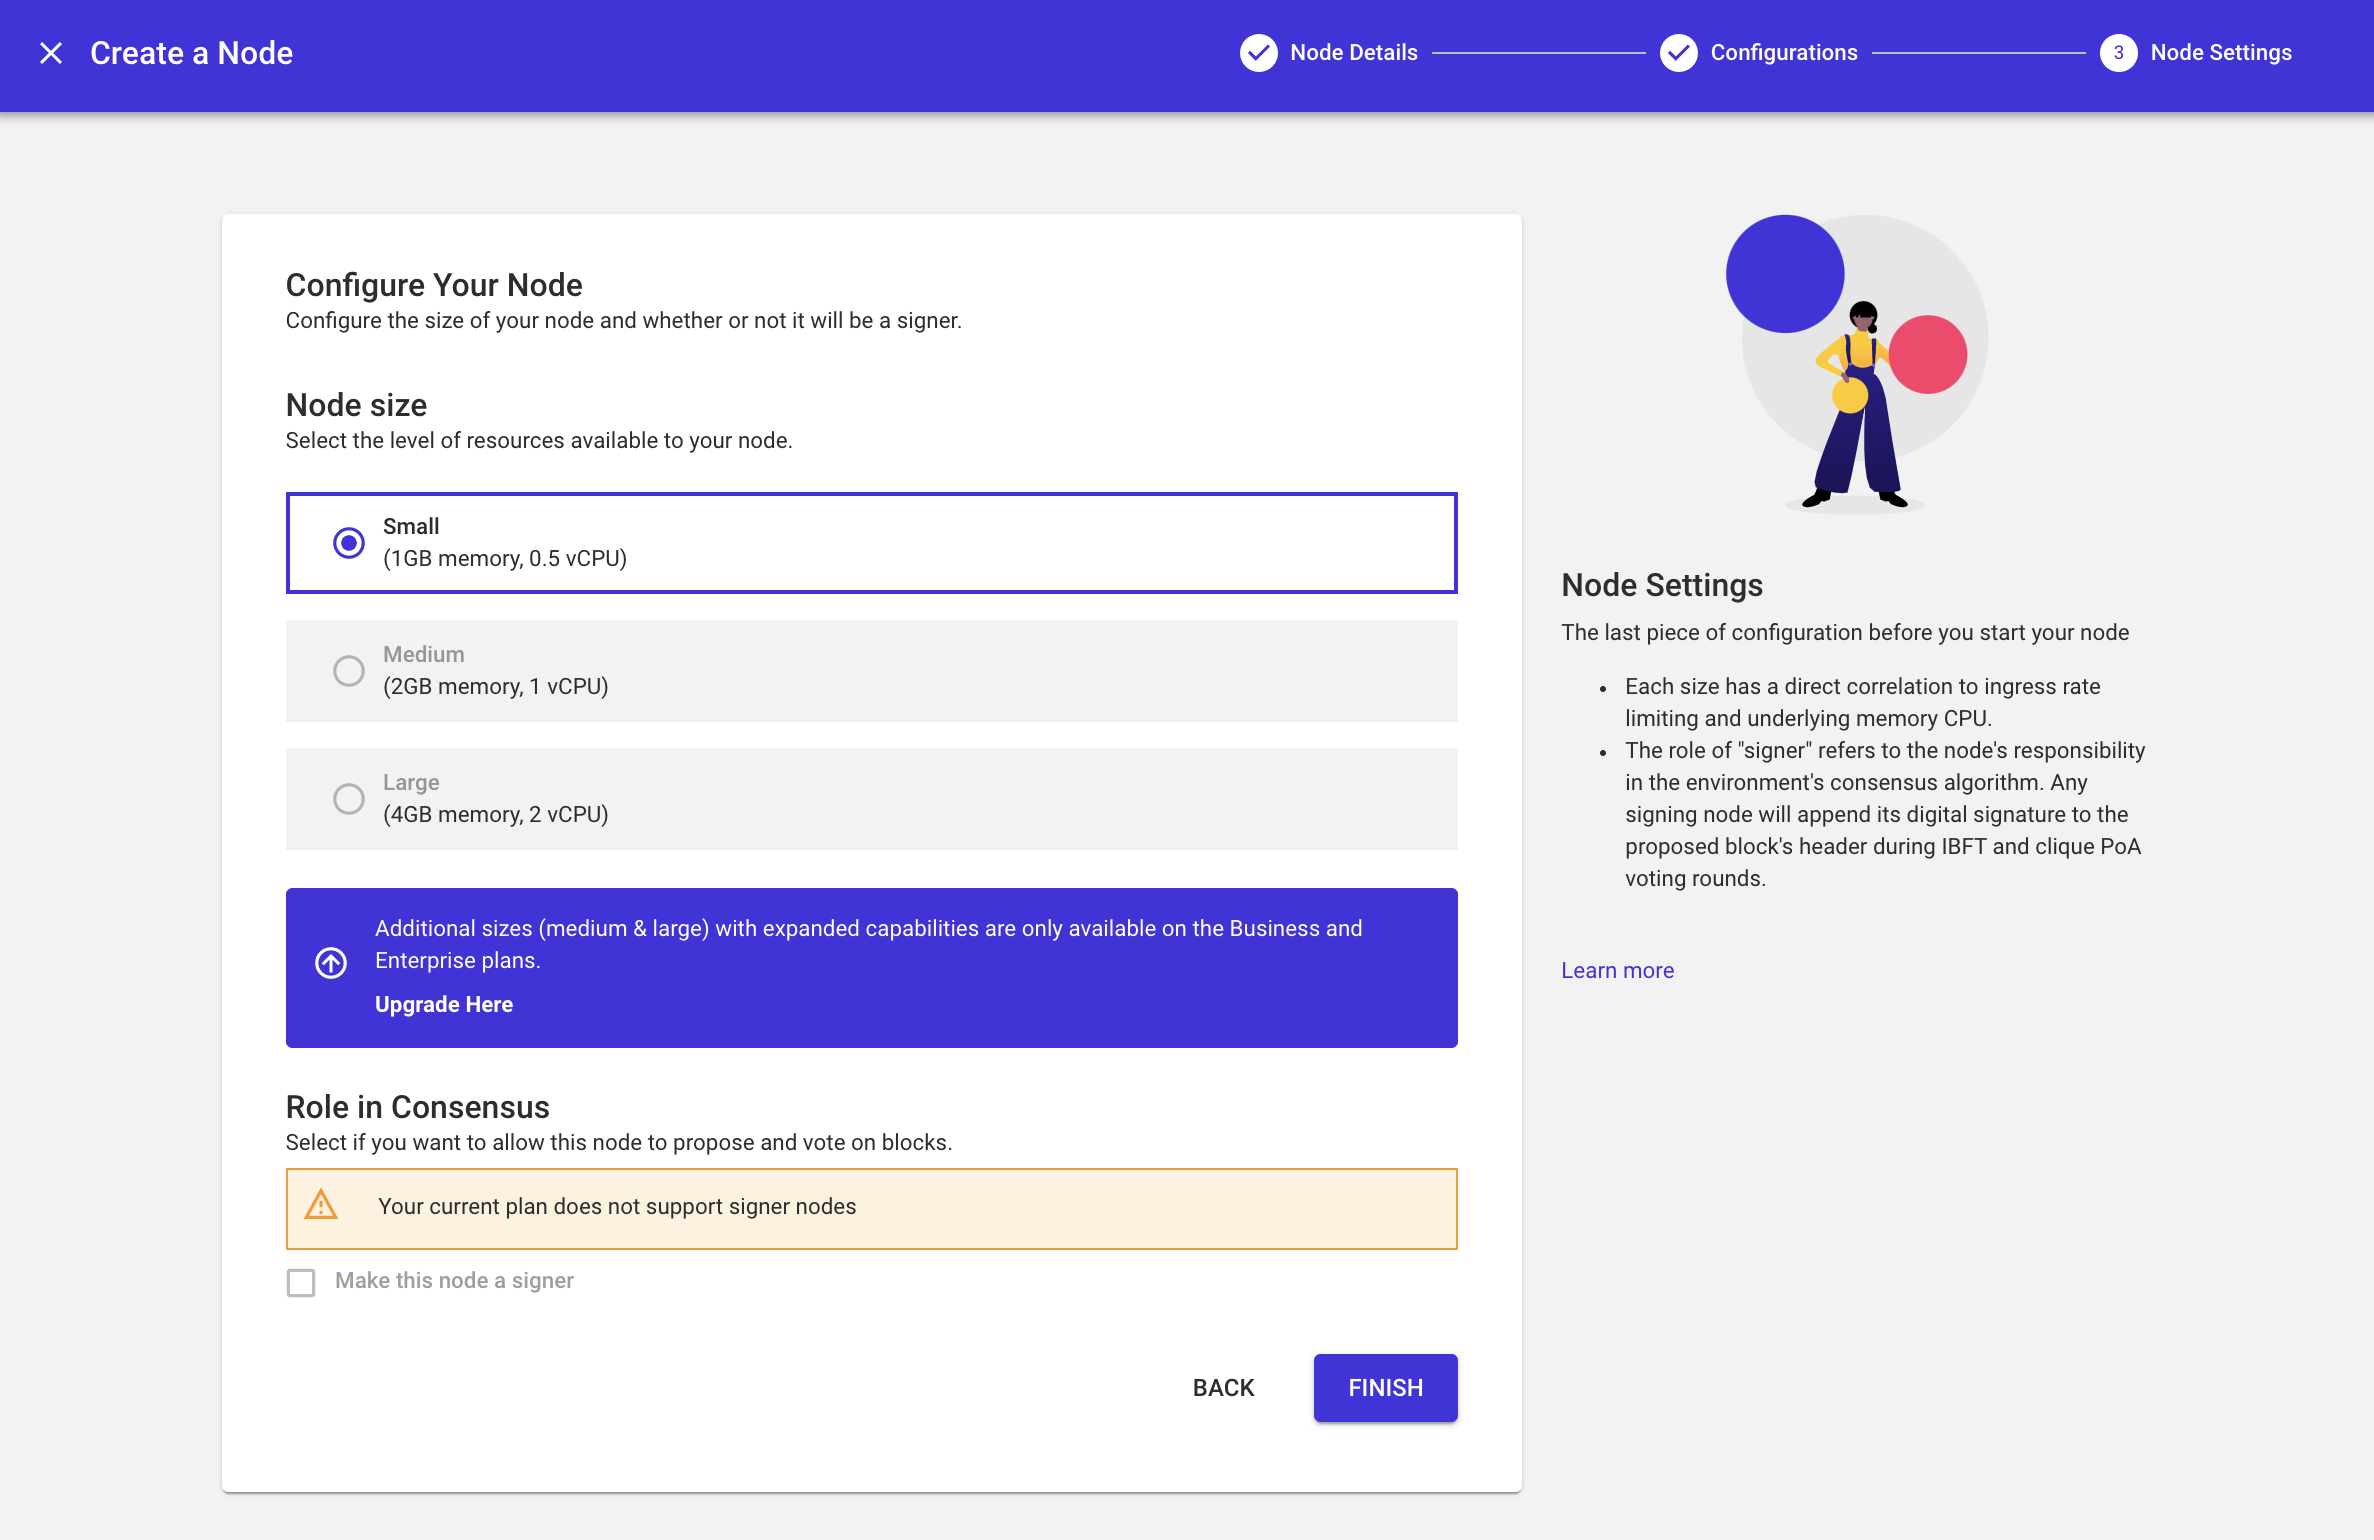
- Leave the default configurations of "Small" and "Signer" on the final panel. Click FINISH to deploy the node.
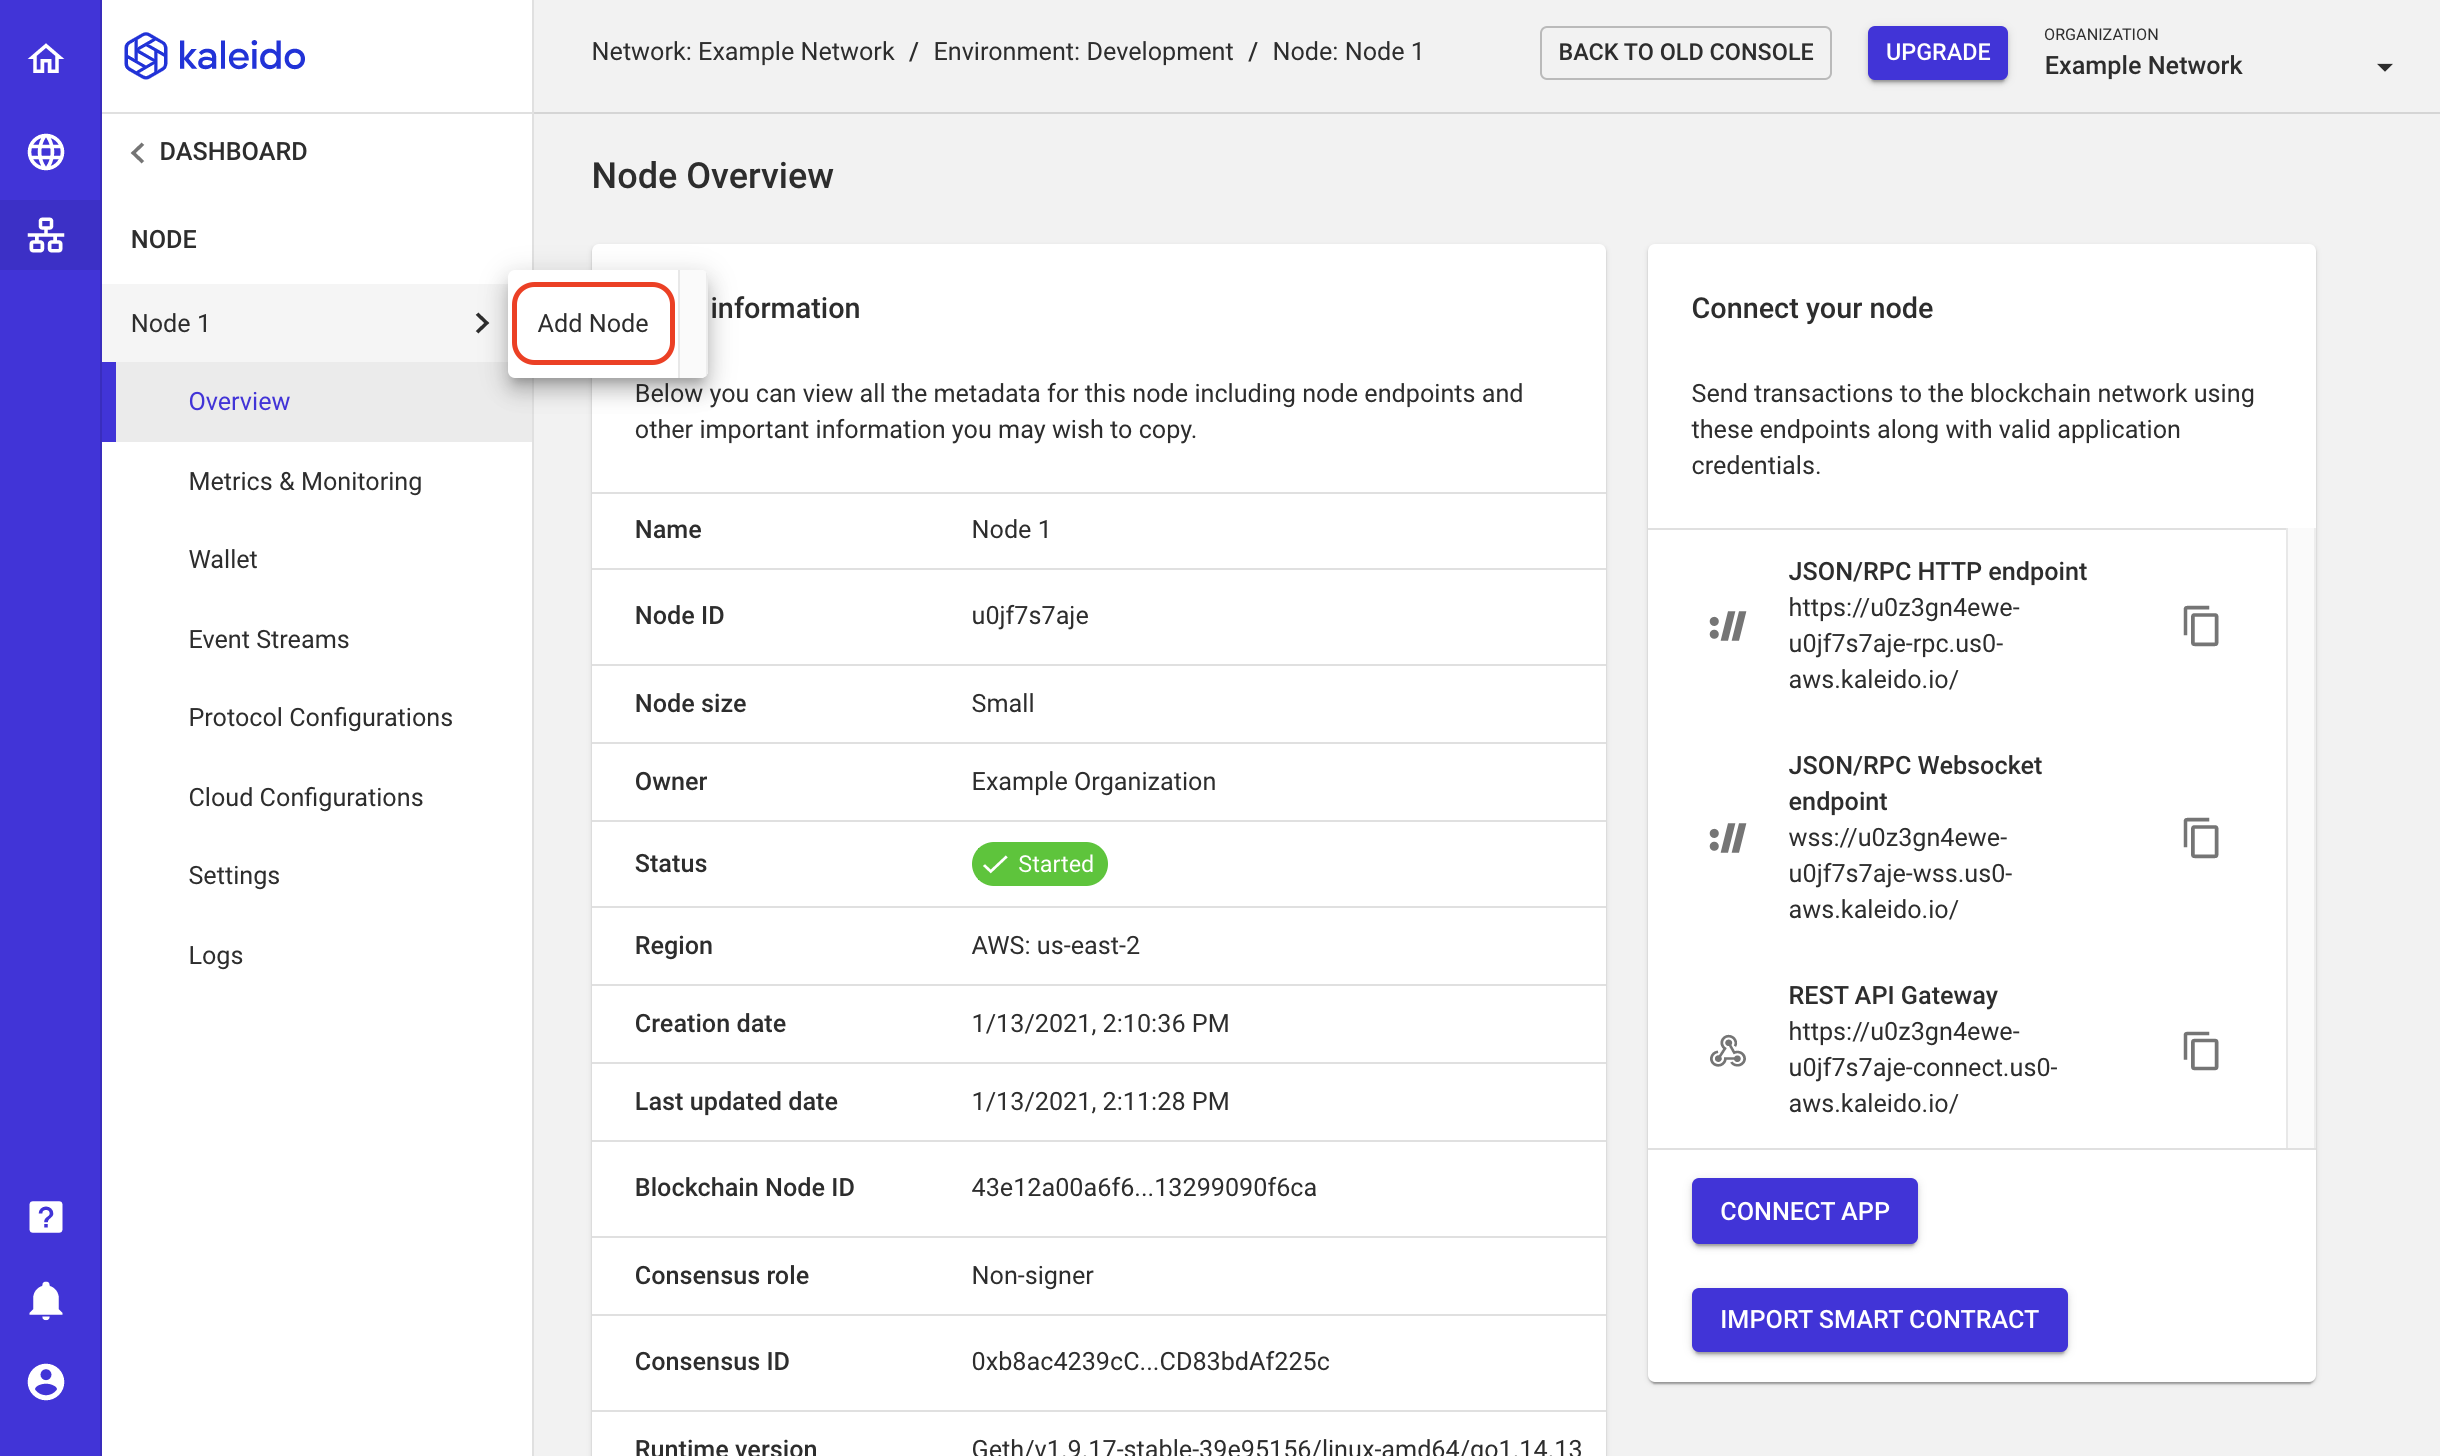
- Click on the breadcrumb for your newly created node and click Add Node to provision a second node. Use the same instructions used previously, supplying a name such as
Node 2. Refer to the How Many Nodes FAQ for details on the optimal number of nodes for your environmental configuration.
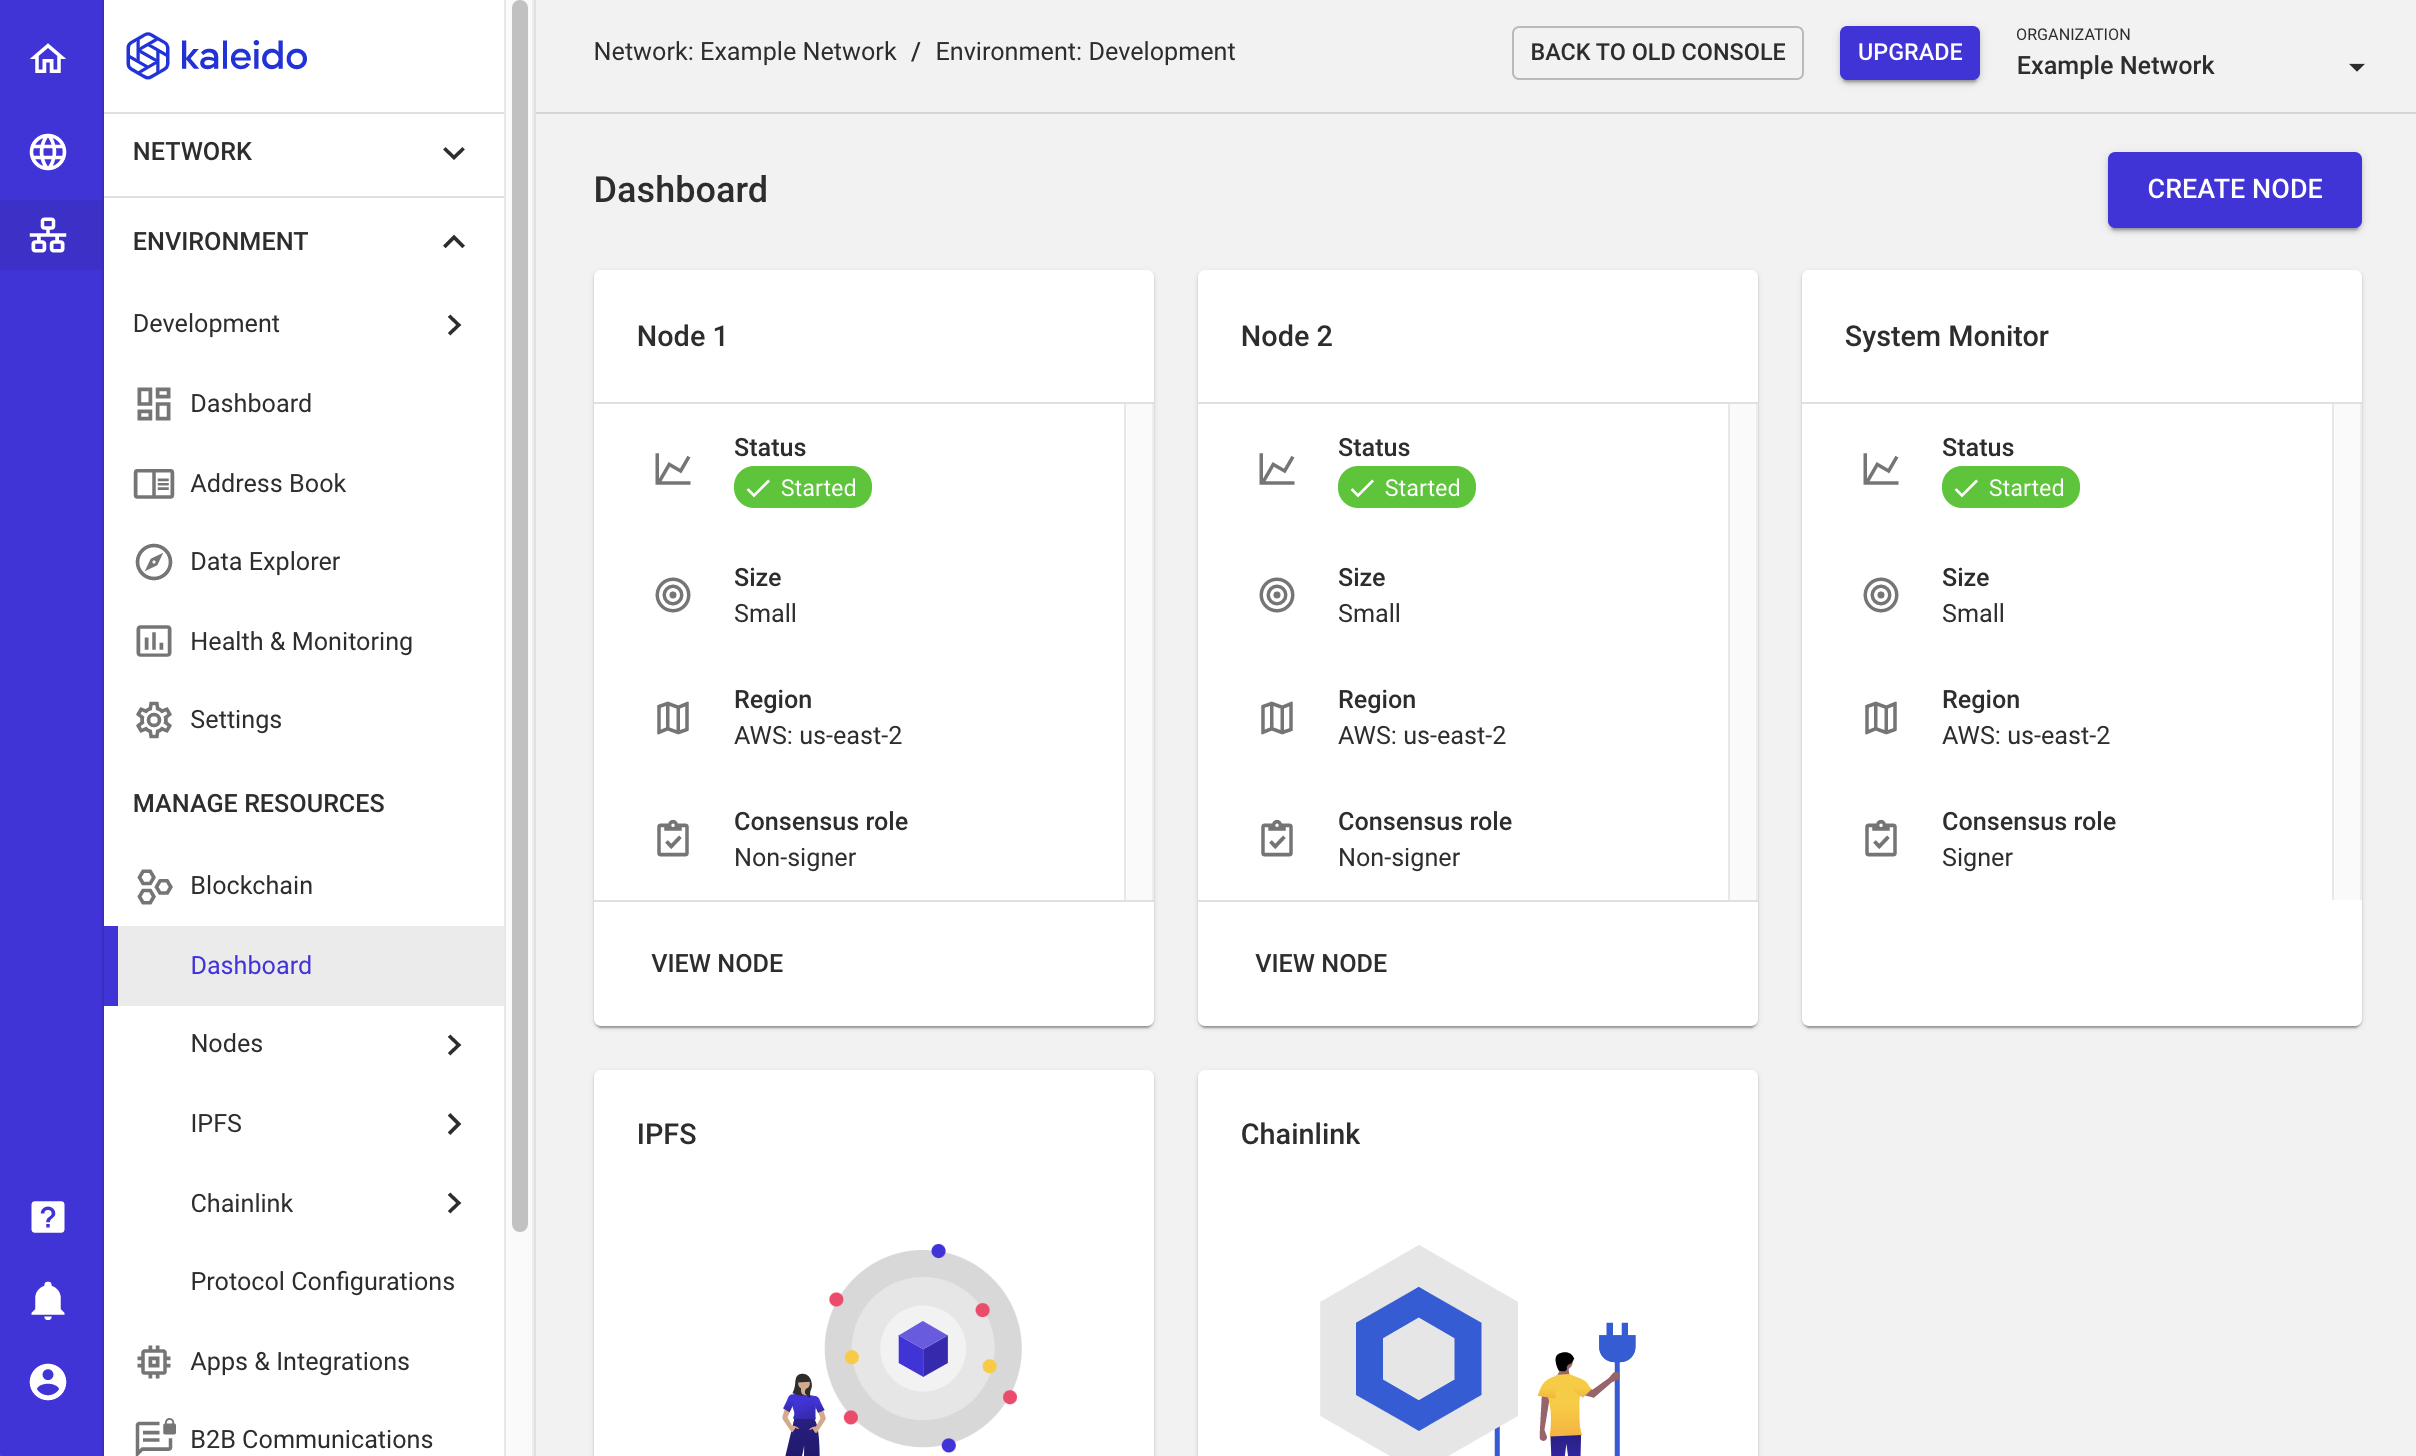
- Click on the Dashboard tab for your environment to see the deployment status of your nodes. When the resources are green and have a state of
Started, they are ready for use. - Note that the environment also contains a rich set of functionality out of the box. These components include a block explorer, health and monitoring metrics, token explorers, address books, and RESTful transaction submission layers.
