REST API Gateway Usage
Once you have an active environment with a running node, it’s a straightforward process to leverage the REST gateway to deploy smart contracts and issue transactions and queries. The Kaleido console will automatically generate the necessary interfaces and payloads for Ethereum-compatible transaction objects and inject them with application credentials for secure connection to a Kaleido node. No custom programming is required for the end user.
Also check out this quick start tutorial for step-by-step guidance with the REST API Gateway.
Uploading Contracts
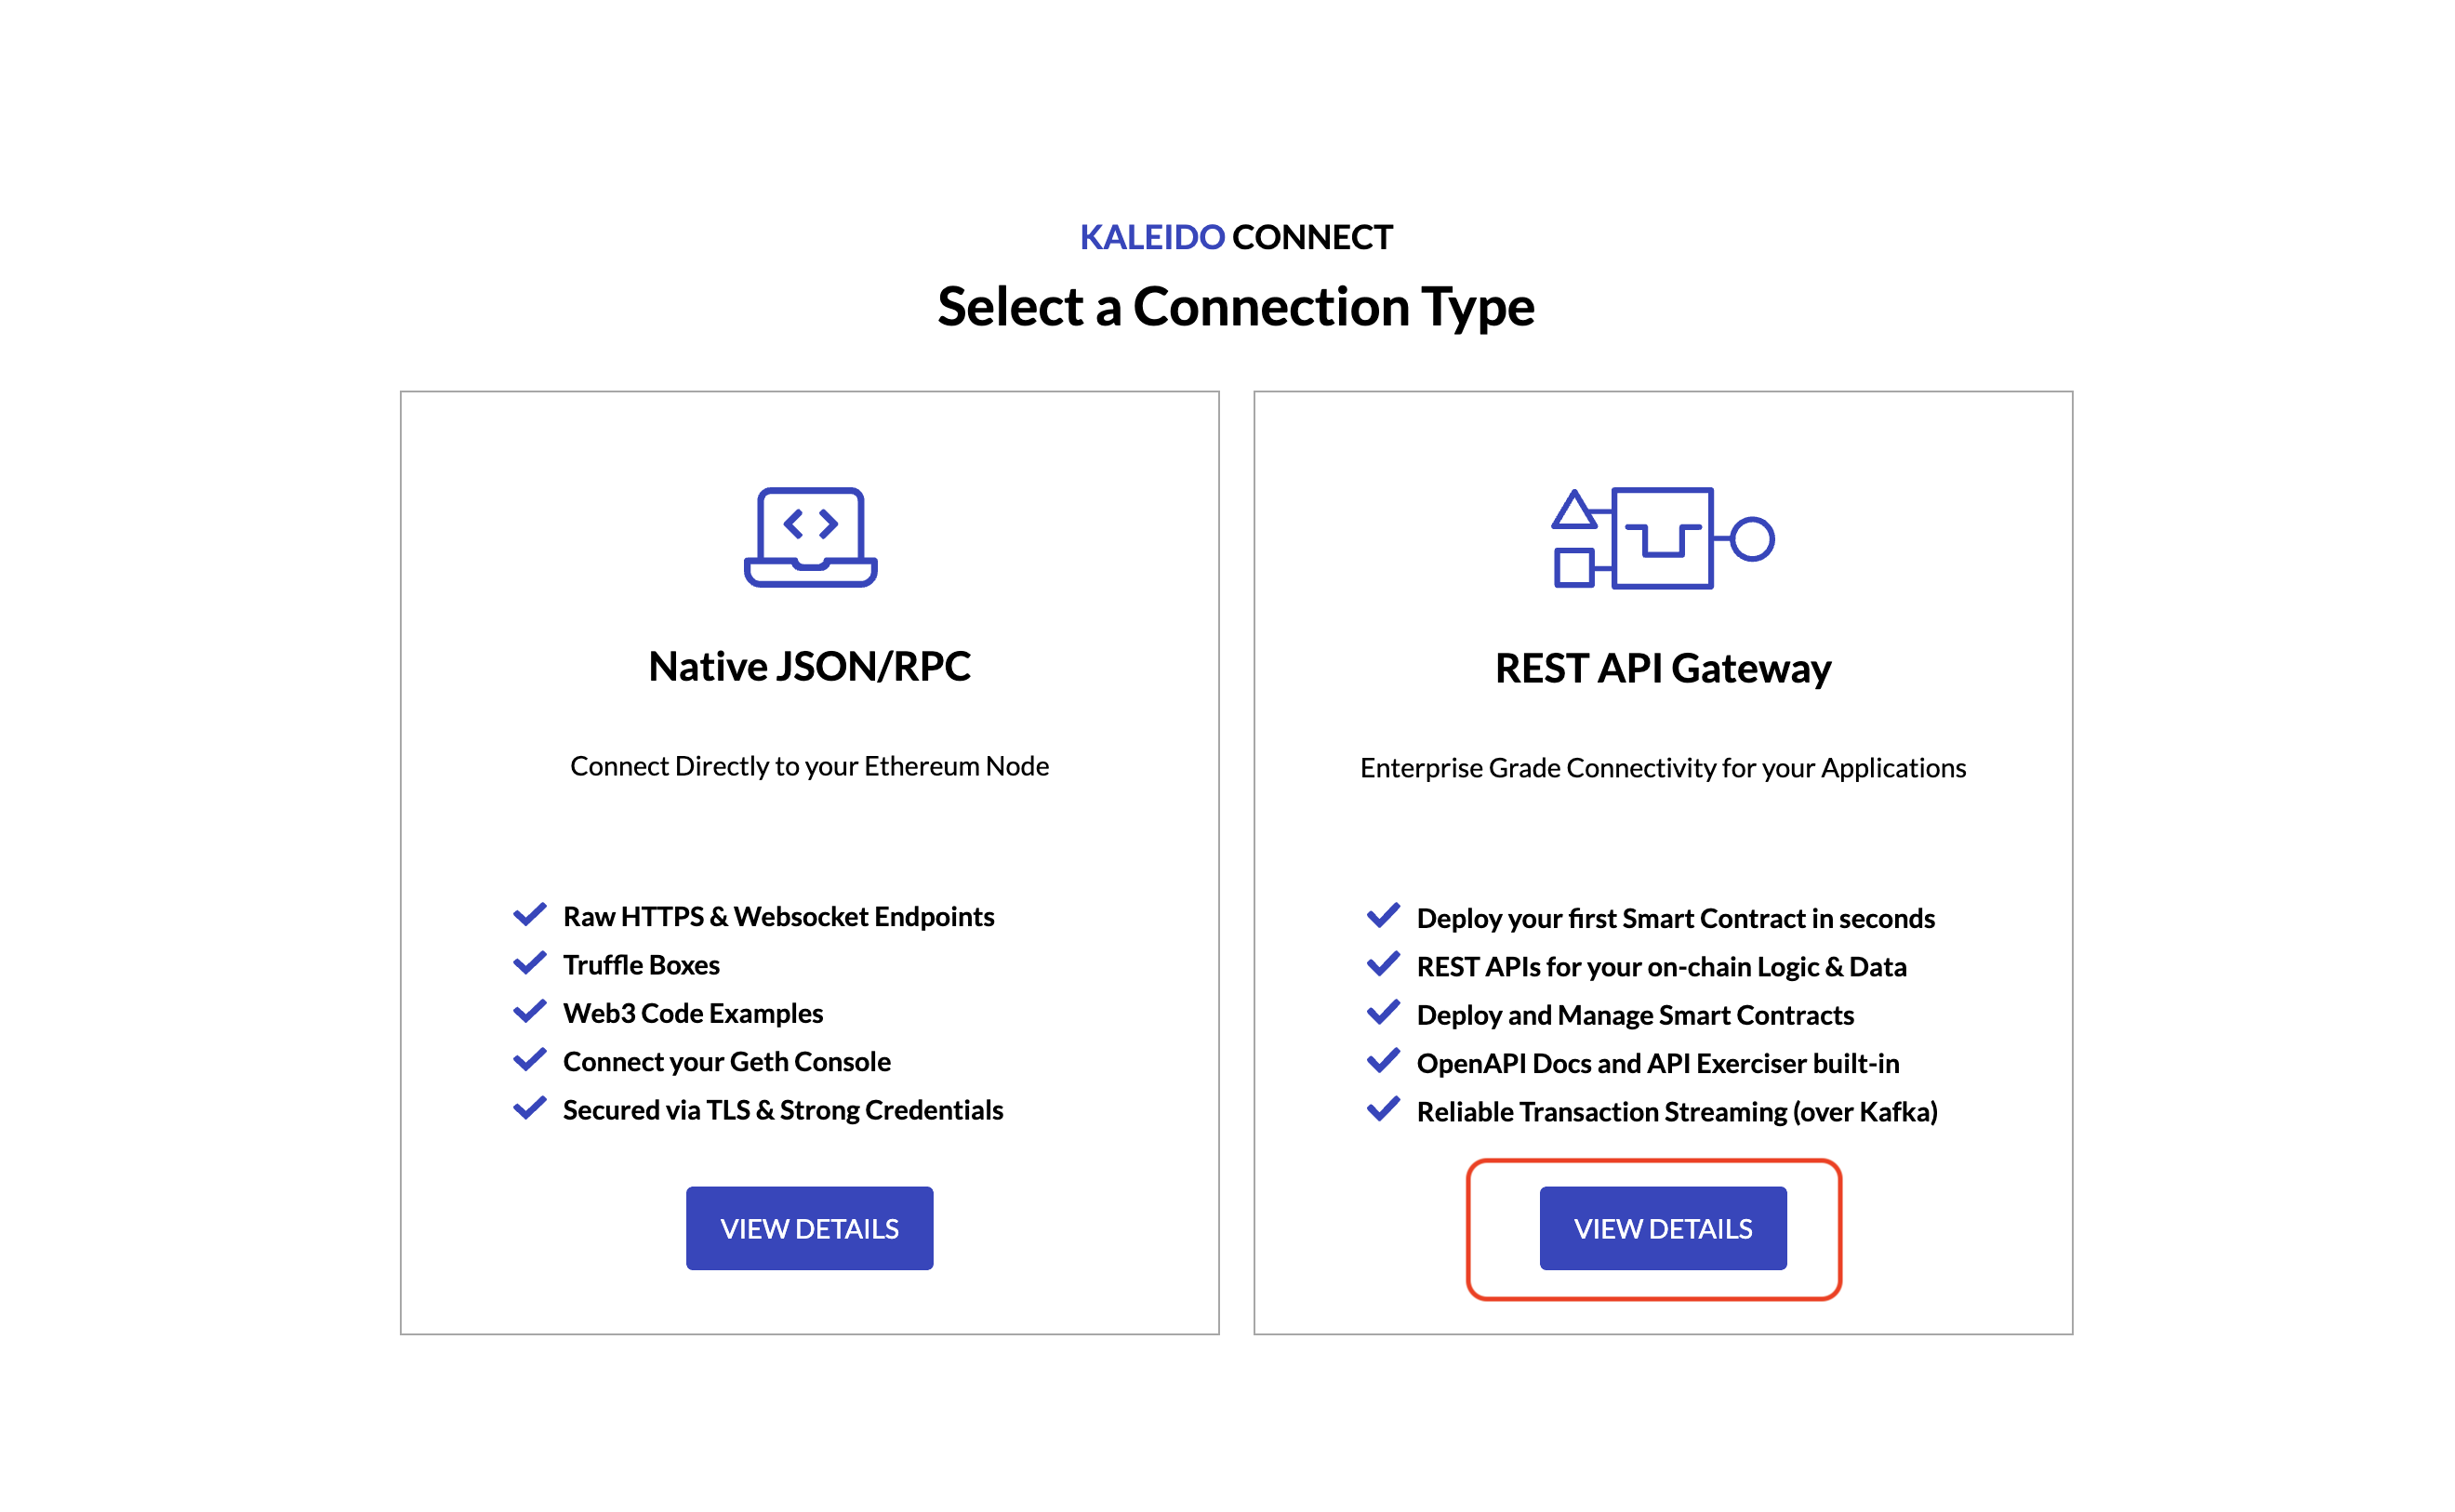
Access your REST API Gateway by selecting Connect in the node dropdown panel or by clicking a node and selecting + CONNECT on the node details screen.

Then select the REST API Gateway.
Smart Contracts tab
Switch to the Smart Contracts tab in the lefthand navigation
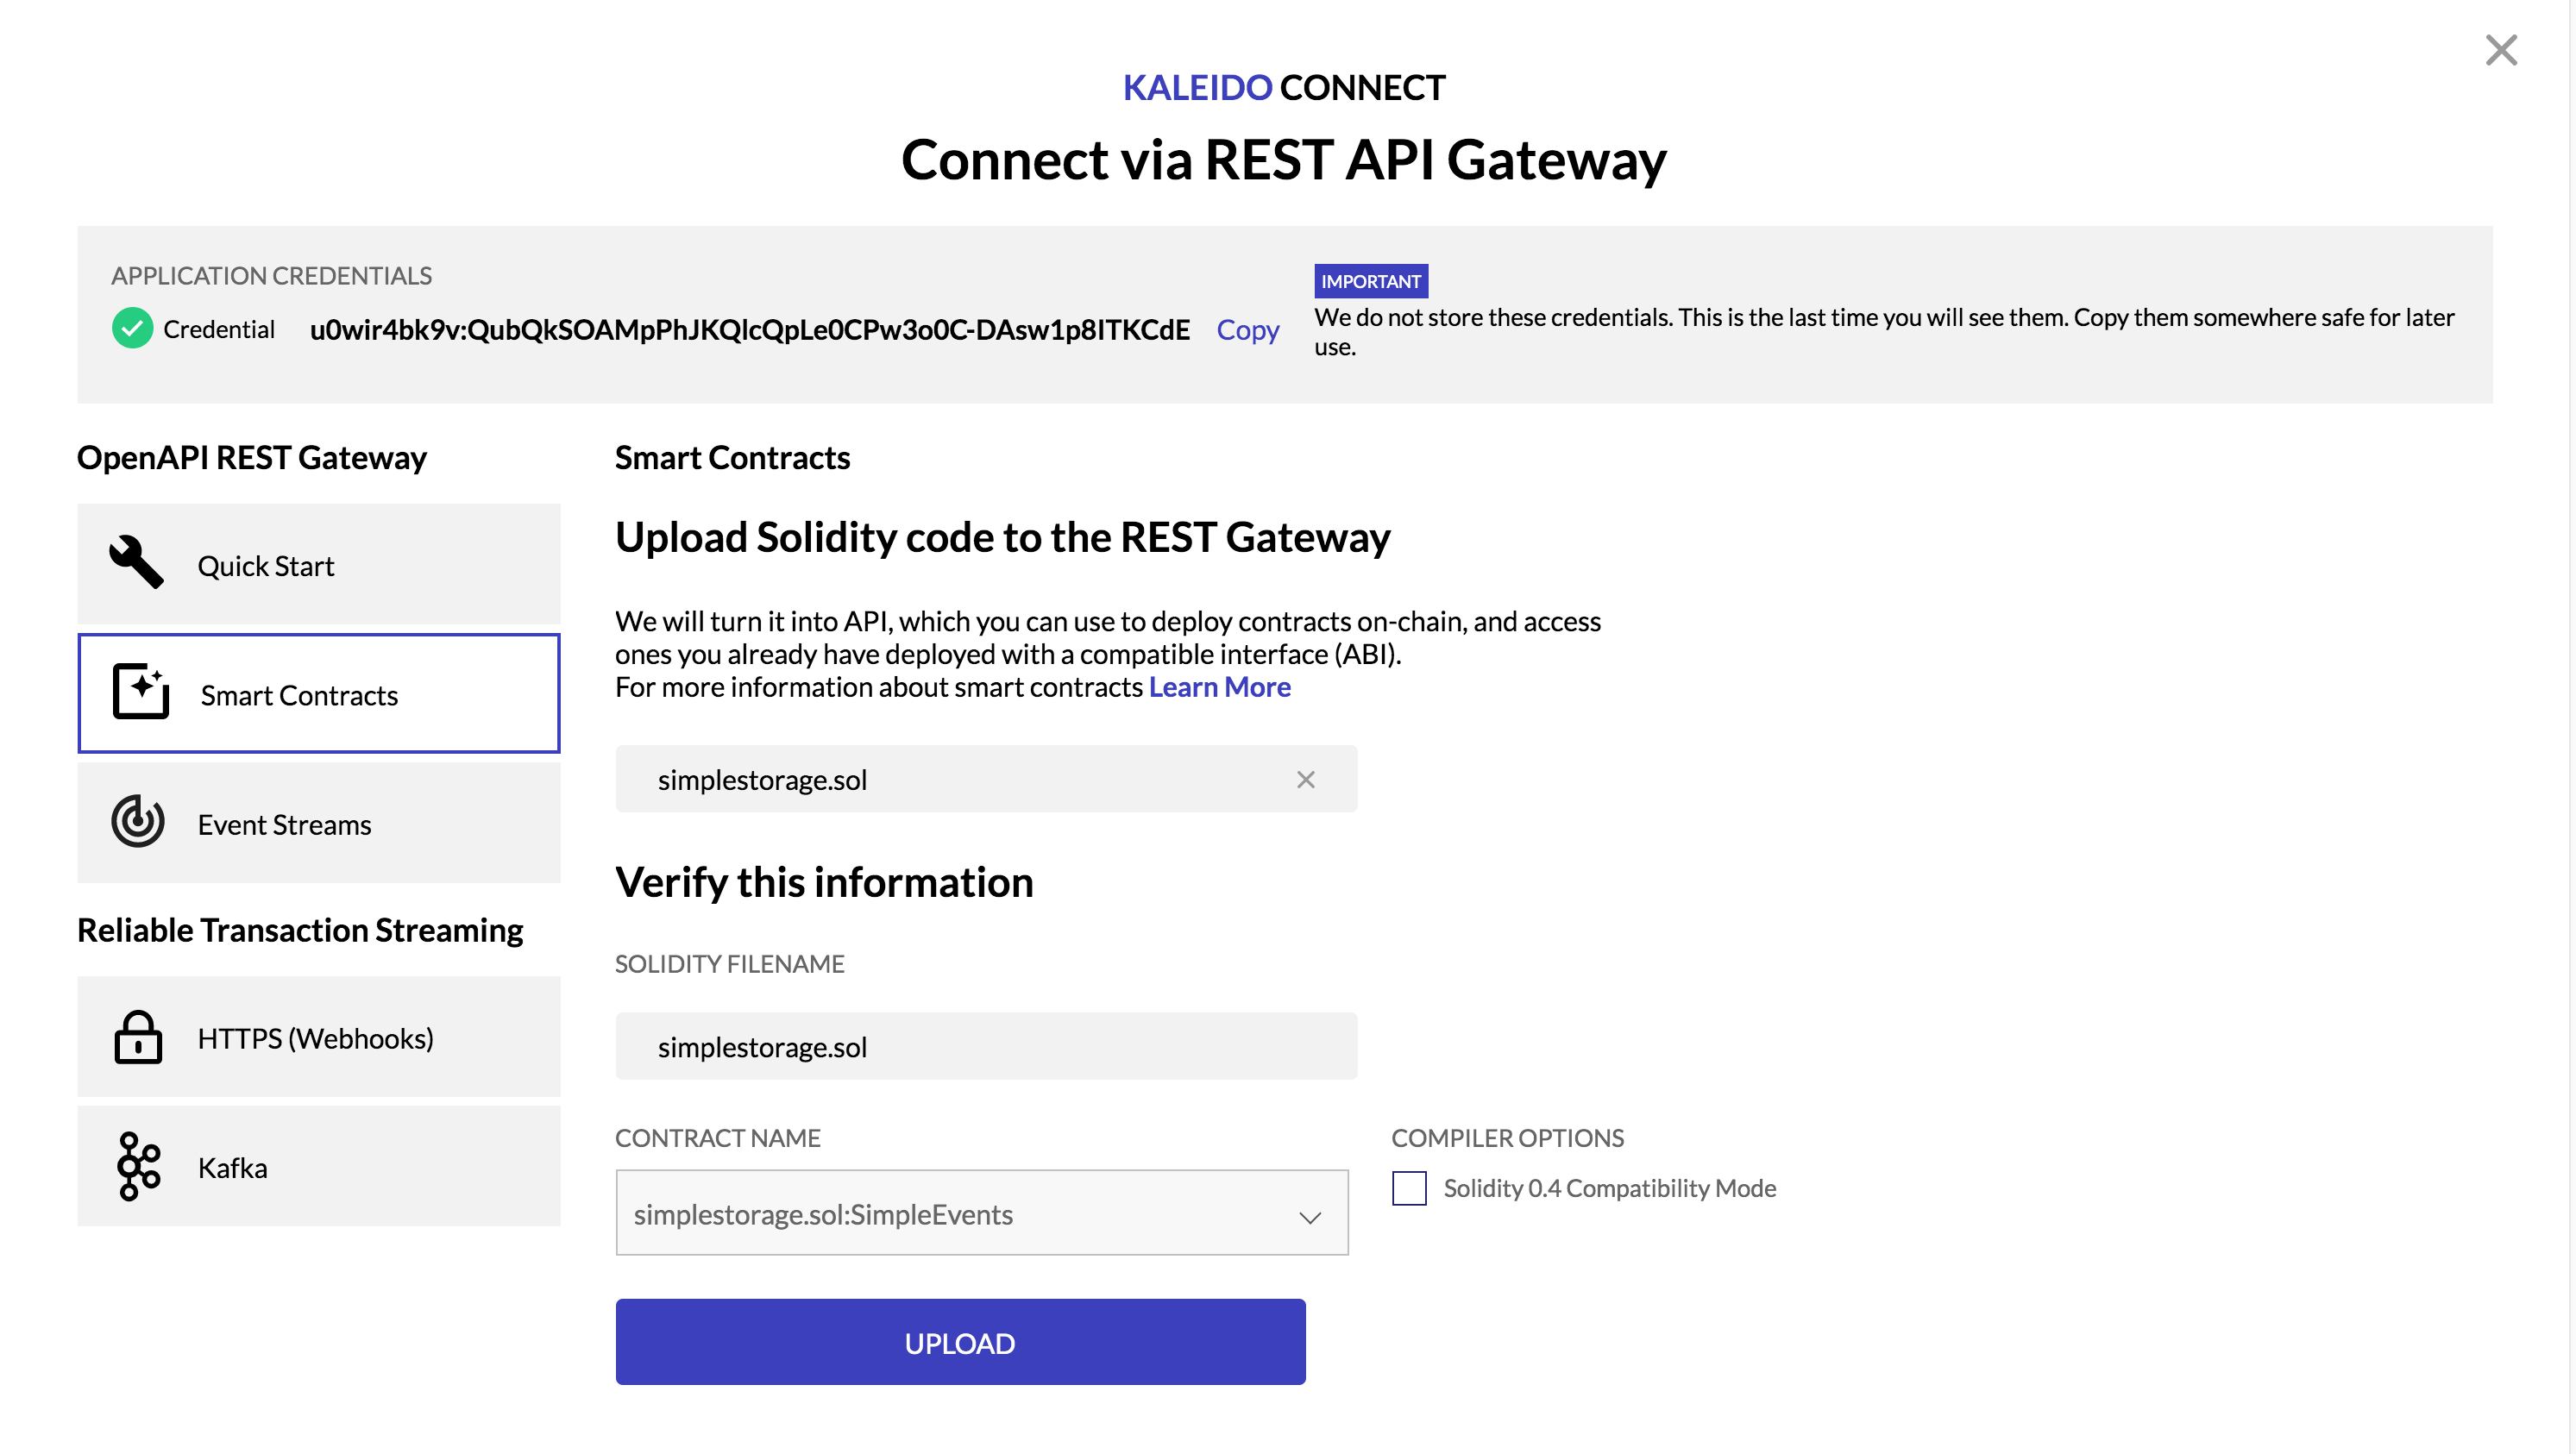
Click the CHOOSE FILES button to upload a single or multi-part smart contract. The service accepts .sol, .zip and .tgz extensions. As such, you can upload an entire smart contract directory if you wish. For example, Open-Zeppelin token directories.
Example Smart Contract
You can use simplestorage.sol to try out the functionality if you do not have a contract handy.
File types & dependencies
If you have a simple single file solidity contract with no dependencies, you can upload the .sol file directly.
For more complex contracts the upload requires all Solidity source code to be packaged up into a single .zip, or .tgz and uploaded.
The console will search the zip for Solidity files, and the contracts within them, giving you a drop-down menu to choose which one you want to compile.
Set options and compile your contract
- If the pragma for your contract is below 0.5, select the Solidity 0.4 compatibility mode checkbox
- Otherwise, click the UPLOAD button to build the ABI and generate the Swagger interface
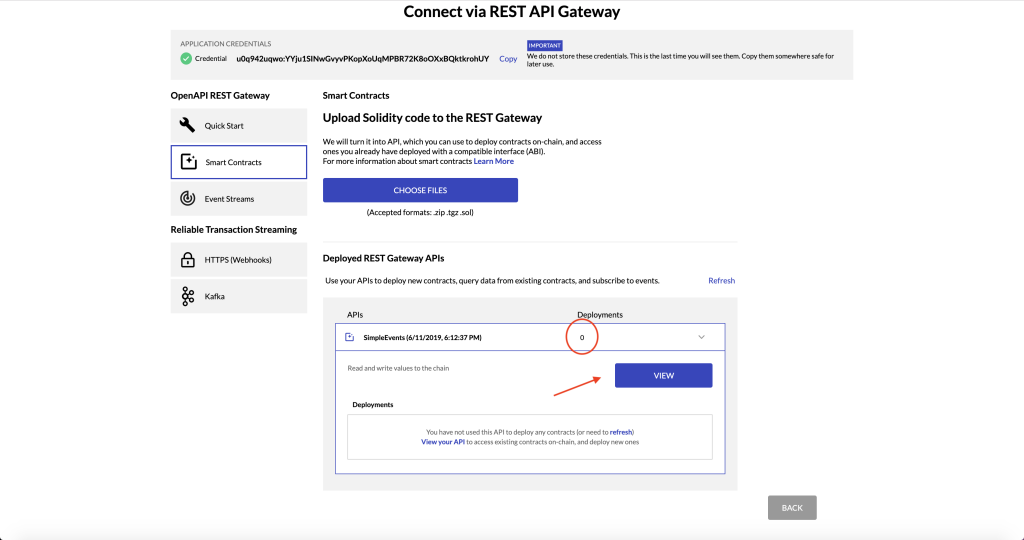
- The contract will appear underneath the Deployed REST Gateway APIs section at the bottom of the page
- Click VIEW to open up the exerciser for the REST API
Note this has not yet deployed an instance of the contract to the blockchain. You have simply generated a Gateway API that can be used to deploy instances, or talk to existing instances.
Built-in UI Exerciser for your Gateway API
This will open a new page with an OpenAPI (Swagger) UI exerciser, and a Download option for the OpenAPI spec itself.
Call the constructor to deploy an instance
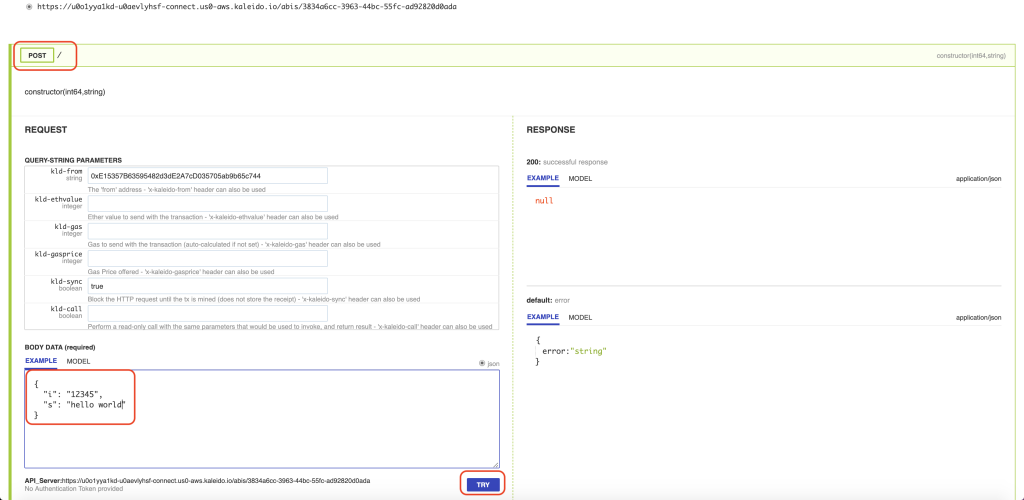
- You can use this API to deploy your smart contract programmatically or directly through the console
- Alternatively, you can leverage the API to interact with existing on-chain smart contracts by passing the contract address as a parameter in the call
- To deploy, call the
POSTmethod and supply any required arguments to your constructor. - The contract address will be returned in the response payload
"contractAddress": "0x6d83ce121c91a7d7959245fe6c3a4a10a9196d04"for example
Capture the
contractAddressto interact with the deployed contract, query its data, and invoke its methods
Invoking a method on any deployed contract address
This Gateway API has all the methods of the contract available, with an address parameter in the path.
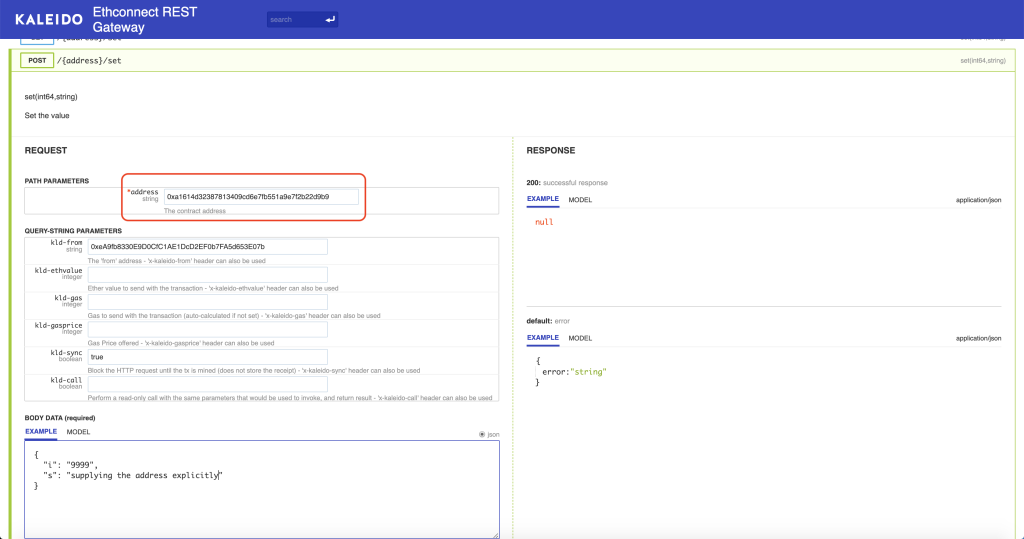
Getting a scoped API for one contract instance
Once the contract has been deployed through the API Gateway, there will also be a separate Swagger instance available that targets the specific address.
- Return to your Smart Contract tab in the REST Gateway and click Refresh next to your contract.
- You should see the Deployments field change from 0 to 1
- You will also notice the contract specific address displayed
- Click the View button next to the address to access the swagger interface for that particular contract address
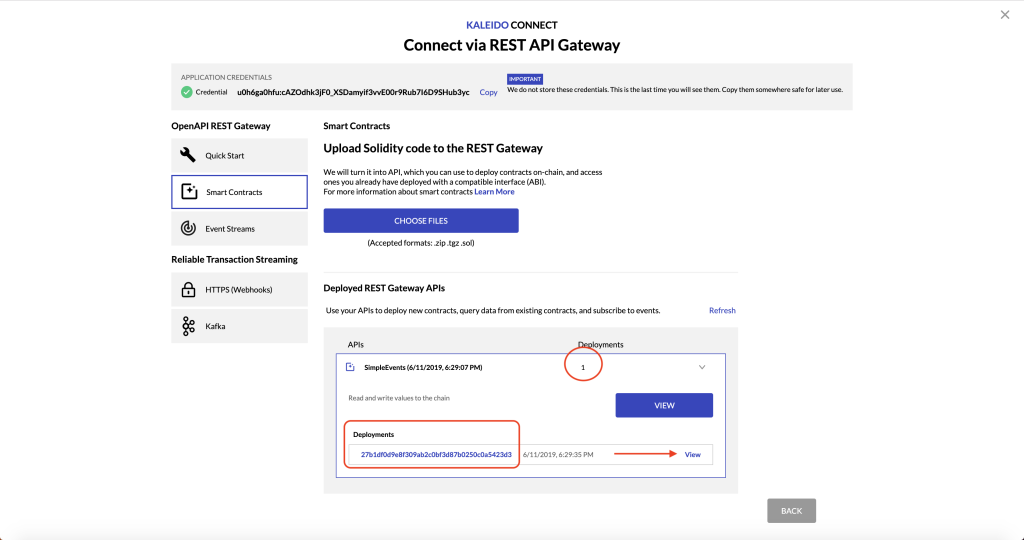
Open UI Exerciser / Swagger for an individual contract
Notice that /abis has been removed from the path and replaced by /contracts/{contract_address}
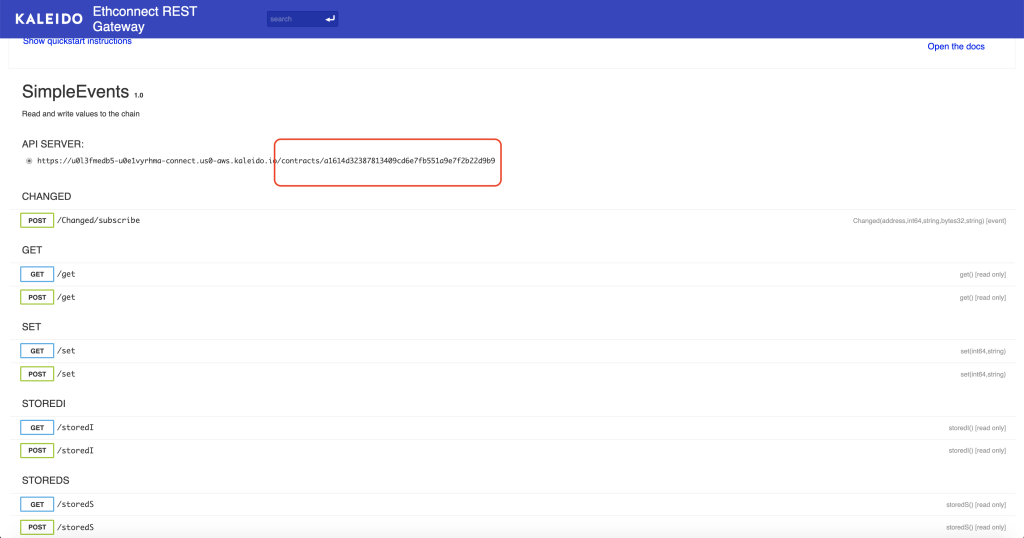
You can use the interactive swagger interface for the specific contract instance to invoke any of the available methods. For this example you have a set and a get that can be called.
