Public Ethereum Tether Introduction

Counter against collusion and add assurances to the historical finality of confirmed transactions by appending collectively signed state proofs of a private Kaleido chain to a public Ethereum network.
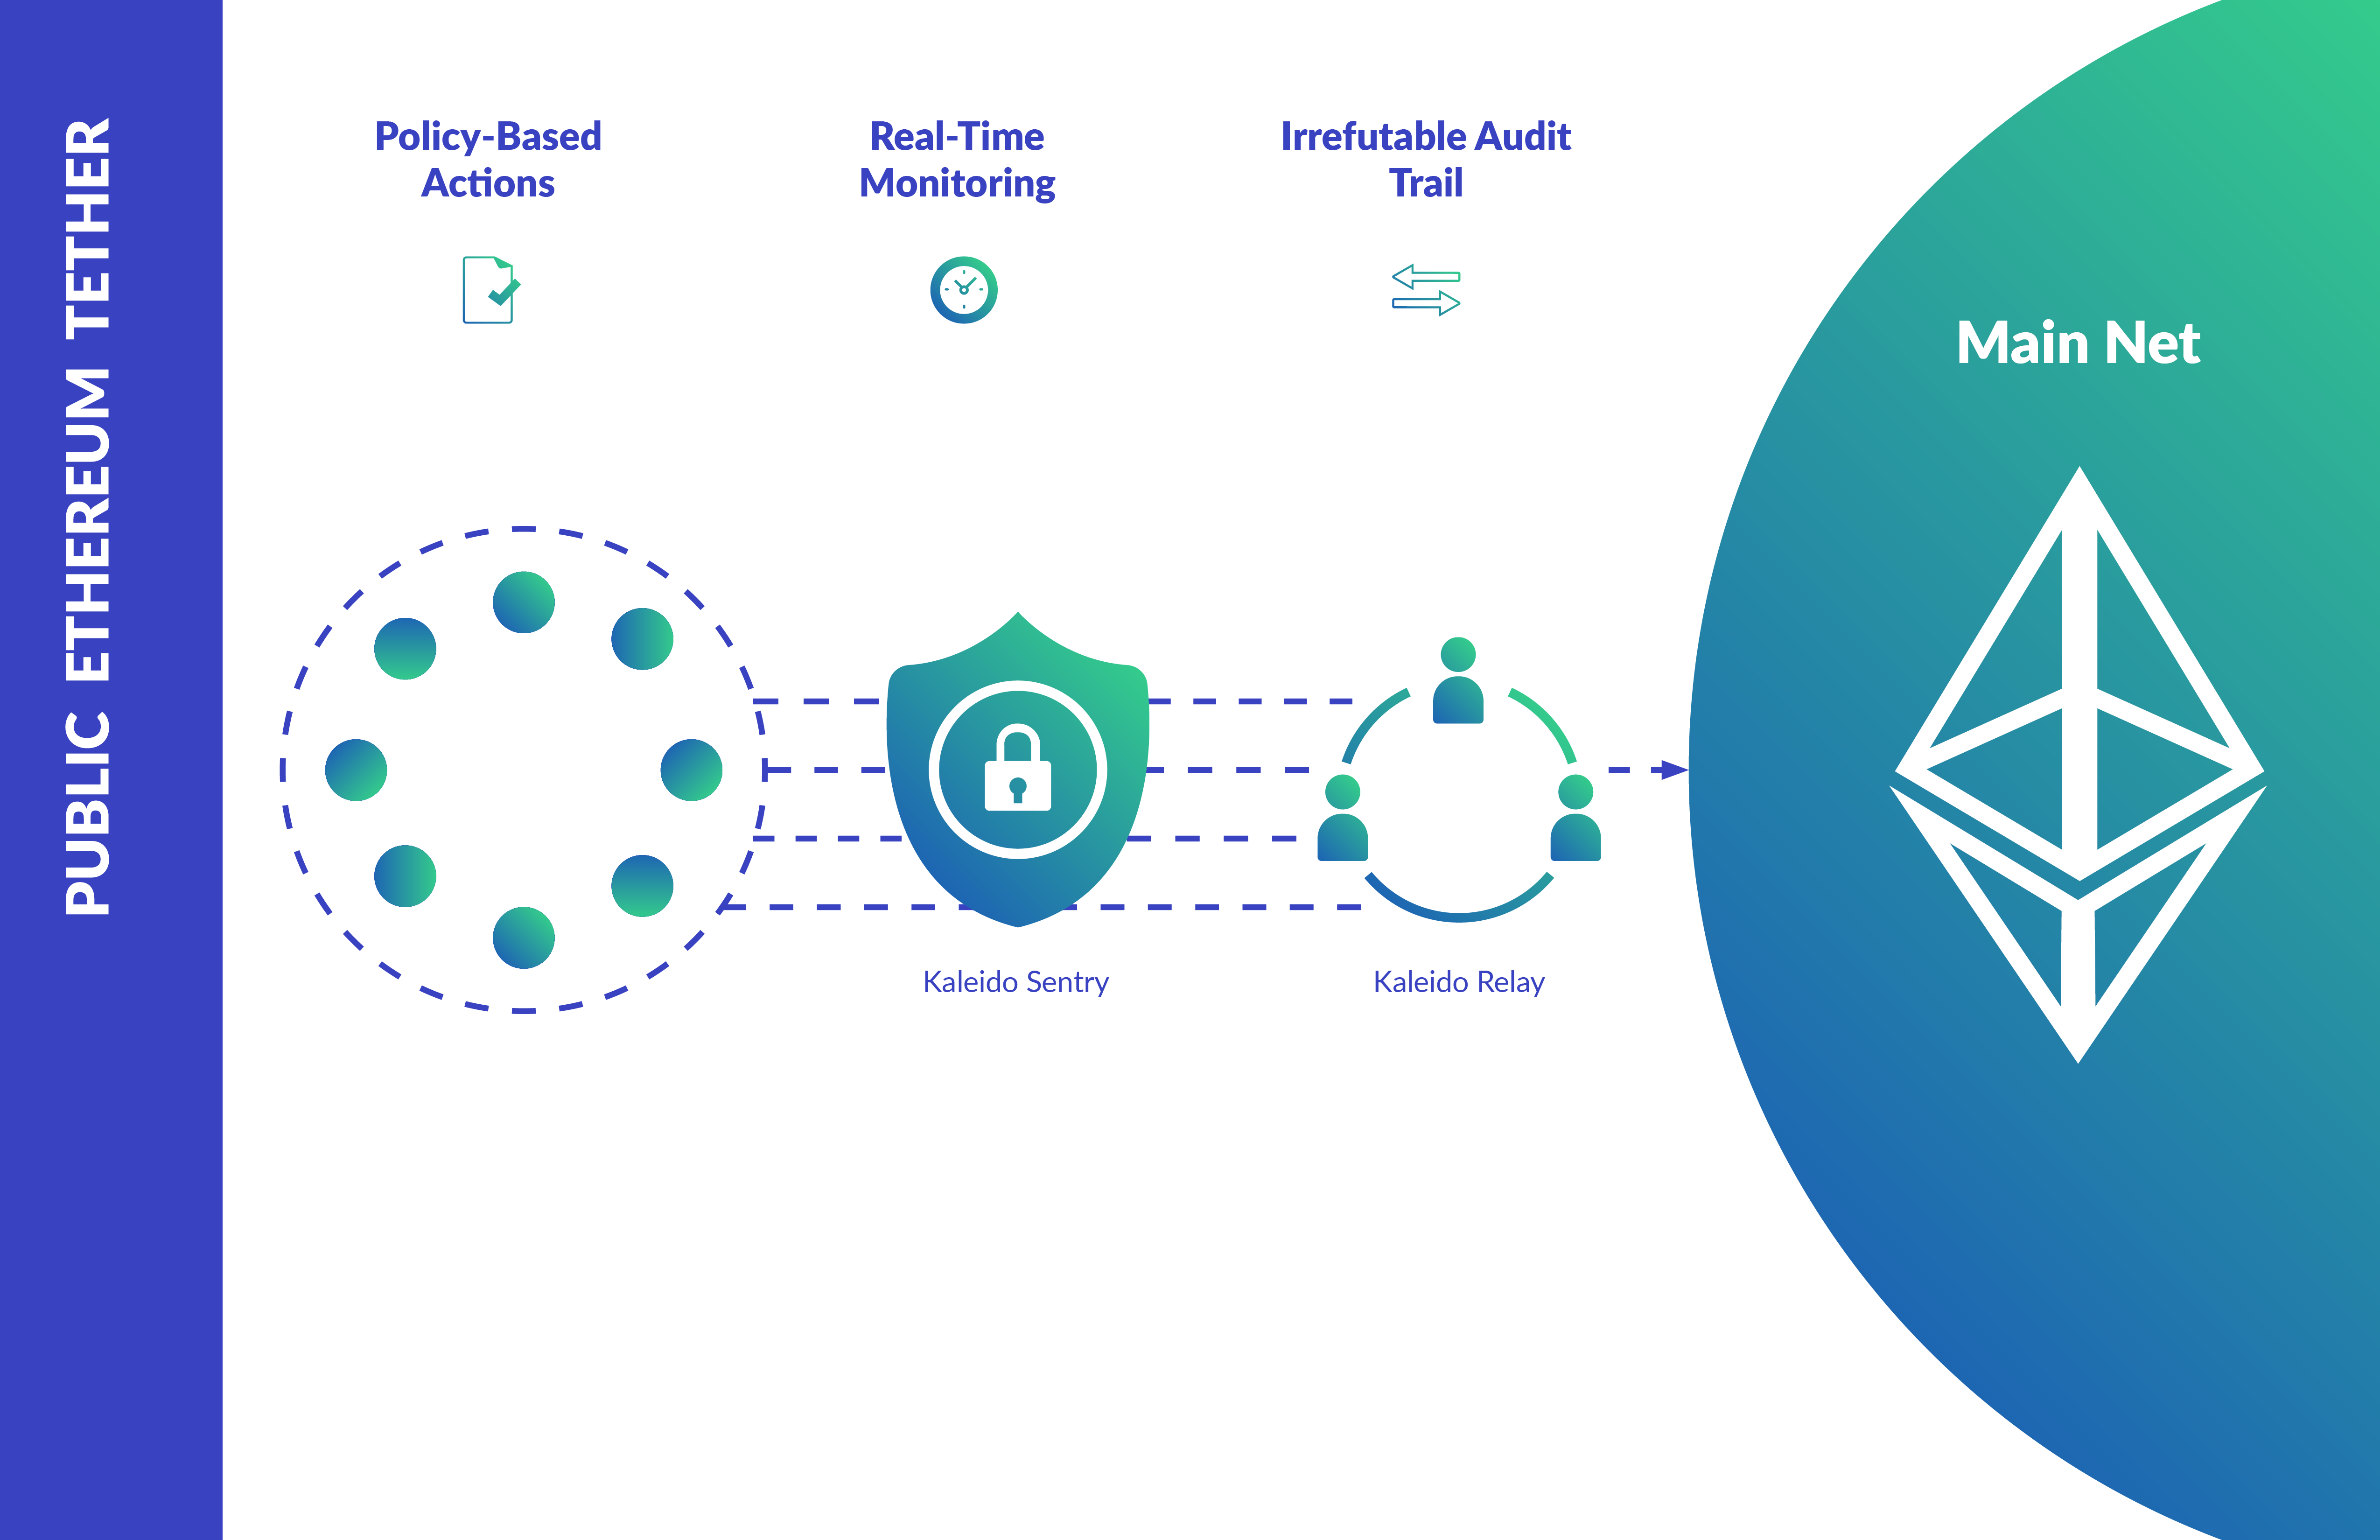
The Public Ethereum Tether is an environmental utility service that allows for synchronized views of the chain, designated via a block hash, to be signed by each node and periodically (based on a specified configuration) relayed to a public Ethereum network. This subsequently creates an irrefutable state proof of the private network at that point in time.
Why the Ethereum Tether?
Setting aside the technical complexities of such an operation, it’s hypothetically possible for a supermajority or entirety of the participants in a network to, for mutual benefit or malicious purposes, collectively collude in an effort to alter the blockchain or its underlying state database. Pinning aggregated signed agreements of the private chain’s state to a public network makes collusion attempts futile and provides a trustworthy attestation in the event of litigation or dispute. The state reports are retrievable by any member of the consortium, with the embedded digital signature on each report mapping deterministically to the public key of the signing node.
More details are available in the white paper.
Enable the Service
The recommended happy path for provisioning the Public Tether Service is the Kaleido user interface. An end-to-end successful activation will ultimately result in a new utility service instance within the specified environment, as well as the creation of an Ethereum account (needed to hold ether for public network gas costs), the deployment of a tether smart contract on the targeted network (responsible for storing the signed state proofs from the environment’s nodes) and an initial transaction pinning your environment’s current state (i.e. signed block hash) to the configured endpoint.
Via the console
- Navigate to the environment which you would like to anchor to a public network, and click the +ADD dropdown in the top right portion of the screen.
- Select the Add Services option. This will open a new panel exposing the currently available Kaleido Services.
- Click the ADD button beneath the Public Ethereum Tether.
- Supply a name for the tether service and click ADD. Click DONE to finish the deployment.
- The newly created tether service will appear under the Services view on your environment dashboard.
Configure the Tether
- Expand the dropdown next to your Public Ethereum Tether service and click View Dashboard.
- Click the Generate Account button to create a new Ethereum account for the service.
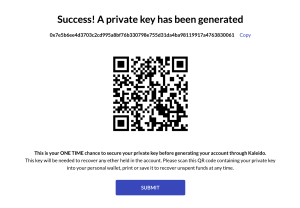
- You will be taken to a new screen displaying the account’s private signing key and a QR code for the key.

IMPORTANT: Take great care in the security and storage of this private key; it belongs to you. Once ether has been deposited into the account, it can ONLY ever be withdrawn by the individual(s) in possession of the private key. As such, you are strongly encouraged to follow best practices (hardware wallets, multiple copies, cold storage, etc.) in order to preserve the durability and integrity of the key. Manage the key and account in the same fashion as you would for a regular cryptocurrency wallet.
-
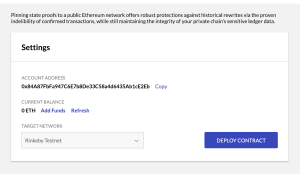
Once you have safely stored the account’s private key, click the Submit button at the bottom of the page. You will be taken to a new screen displaying the corresponding address for your Public Ethereum Tether account. Behind the scenes the public key is cryptographically derived and the account address is represented as the last 20 bytes of its Keccak-256 hash.
-
Using the dropdown box, decide which public network you would like to target for tethering. Select between the Ethereum Mainnet and Goerli Testnet.
-
Next, fund the Public Ethereum Tether account on the targeted network by clicking on the Add Funds button. This will redirect you to Metamask, an intuitive interface offering secure identity management and transaction signing capabilities. You are, however, welcome to employ alternative approaches if you wish (e.g. programmatically using web3 APIs).

Ether Consumption
We have performed internal testing with regards to the tether service’s ether consumption, and offer the following conservative estimates as guidance for your initial funding – Tether Smart Contract Deployment: 0.001306 ETH | Pinning Transaction on a per node basis: 0.0002 ETH apiece. Each transaction contains the aggregated signed state reports from all nodes in the environment and activation of the service results in an immediate pinning transaction to the targeted public network. As such, if you have an environment with n nodes and a Public Ethereum Tether service configured with hourly intervals, the estimated monthly ether usage would equate to – [((0.001306+(0.0002n)) + 31((0.0002n)*24))]. Also, be cognizant that any reactivation of the service will also result in an immediate anchor transaction (i.e. an expenditure of 0.0002*n ETH). Reactivations occur upon any restart of a node (environmental quiesce/restart and environmental upgrades) and when the service itself is manually deactivated/reactivated by a member of the consortium.
DISCLAIMER: While the aforementioned behavior has been repeatedly revealed during testing, we offer no explicit guarantees on the enumerated ETH values. You are strongly encouraged to peruse the Tether Service’s logs and ascertain the specific
gasUsedvalues for your individual service in order reach your own funding conclusions.
- If you’ve chosen to target the Goerli Testnet, ether can be acquired via the Goerli Faucet. If you are targeting the Ethereum Mainnet, you are responsible for acquiring real ether or accessing a funded account.
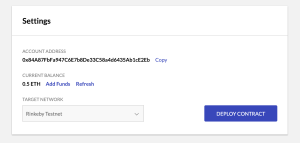
- After your funding transaction has been confirmed click the Refresh button to see the available balance. These are the funds that Kaleido will make use of when sending transactions on your behalf.

- Next, click Deploy to instantiate the tether smart contract on the targeted network. This is the smart contract that will maintain the private Kaleido state proofs (i.e. the signed block hashes). The deployment should take roughly 10-15 seconds.
- Lastly, choose the frequency with which you wish to send state snapshots to the publicly targeted network. The choices are: 1, 6, 12 and 24 hour intervals, with 6 hours enabled as the default. Click Activate to enable the tether service.
NOTE: Refer to the API Reference tab for details on setting custom, user-defined intervals.
At any point, you can elect to stop pinning transactions by clicking the Manage button and selecting Deactivate Tether Relay.
