Managed Wallet Usage
Deploying a Wallet
The managed wallet allows the generation and management of individual ethereum accounts that can be used for signing transactions by other linked Kaleido services. These include generating and transferring tokens, as well as submitting transactions via the REST API Gateway.
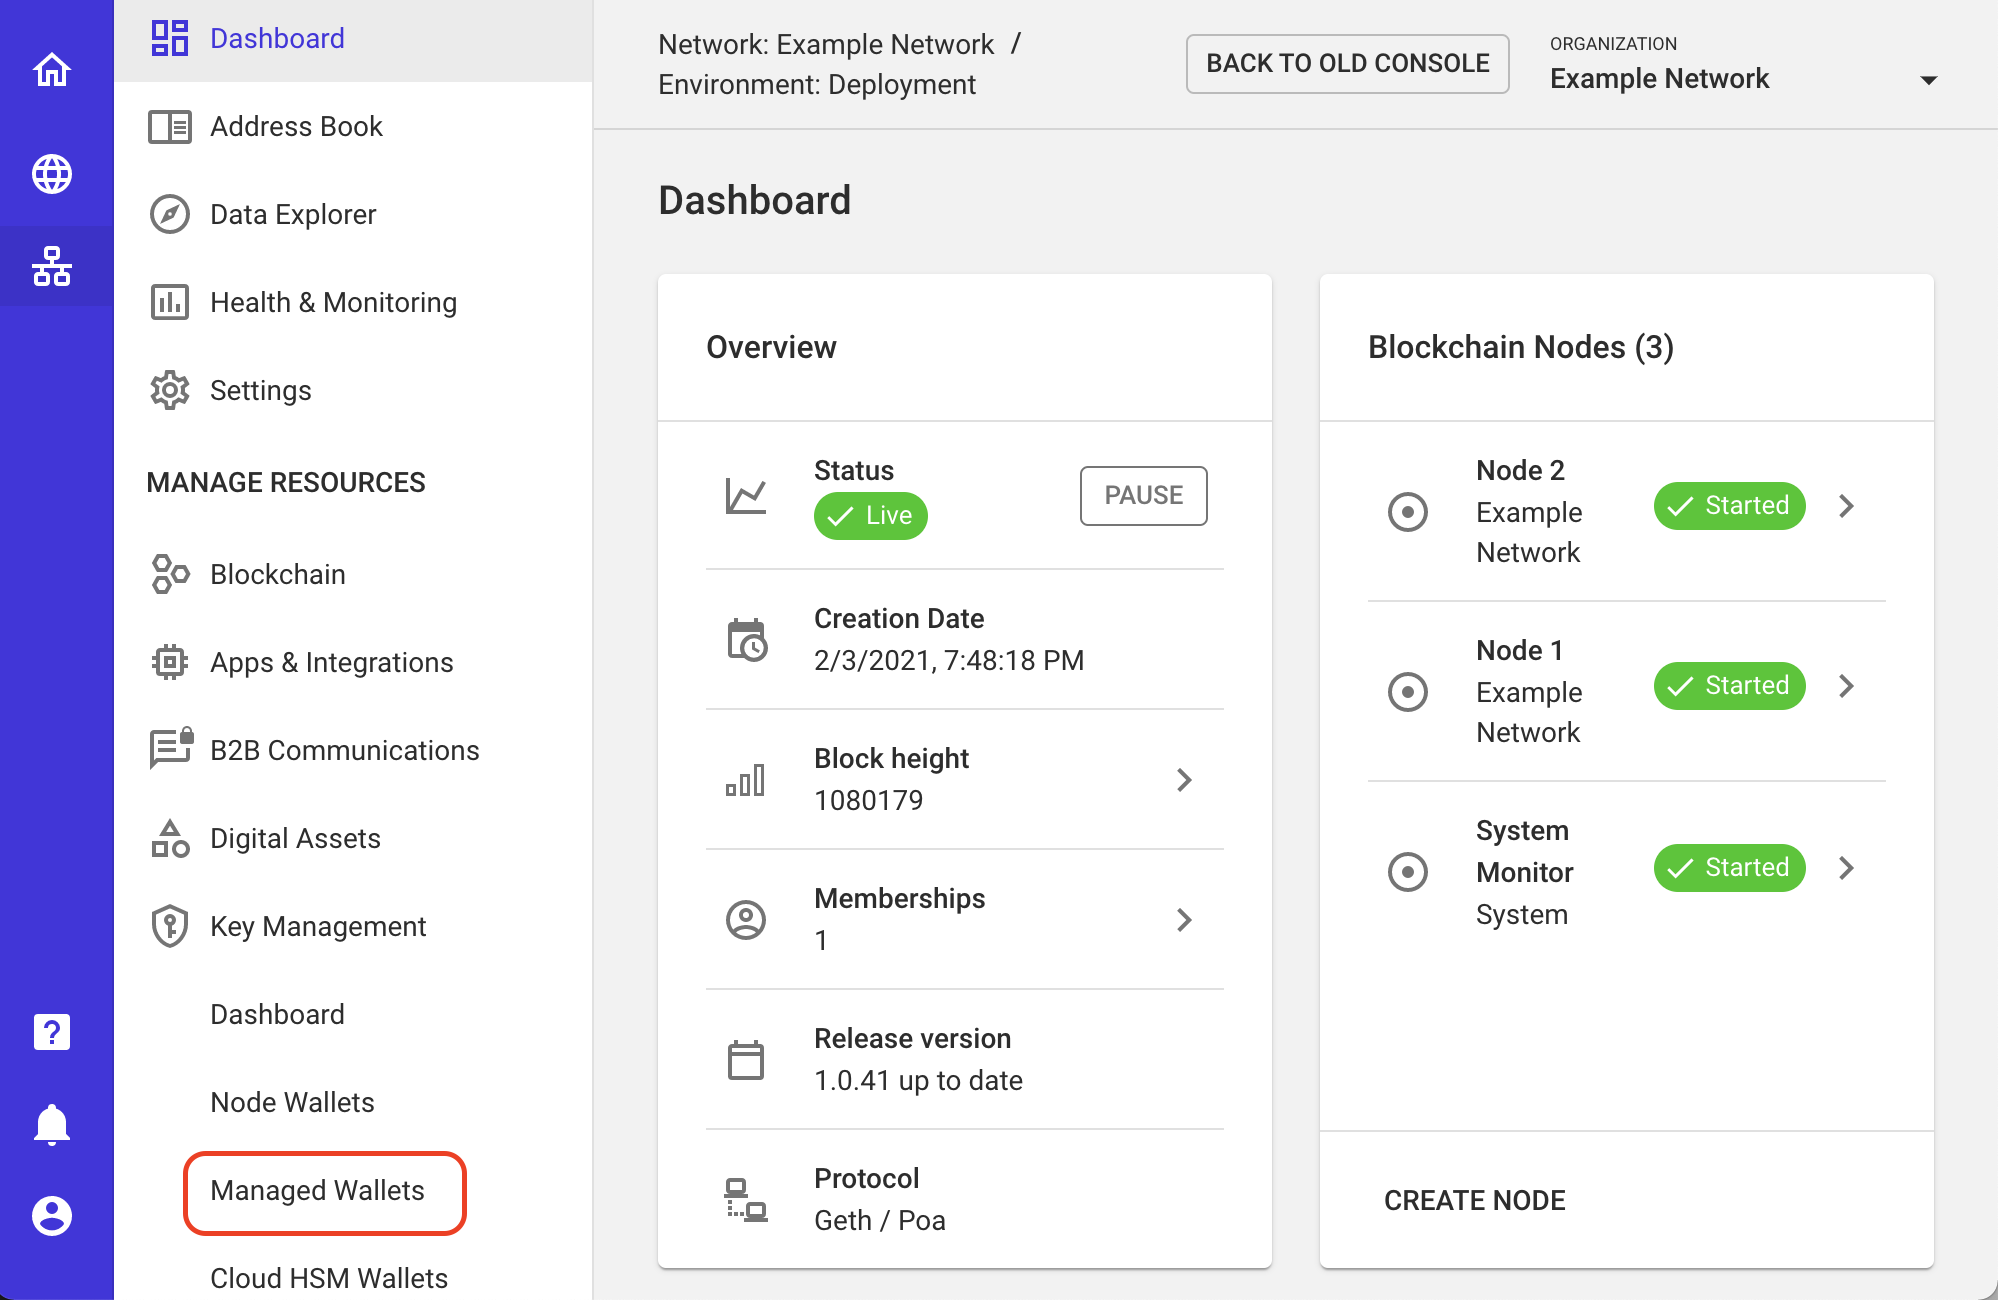
- From within an existing environment dashboard, expand the Key Management section and click Managed Wallets from the left-hand navigation menu.
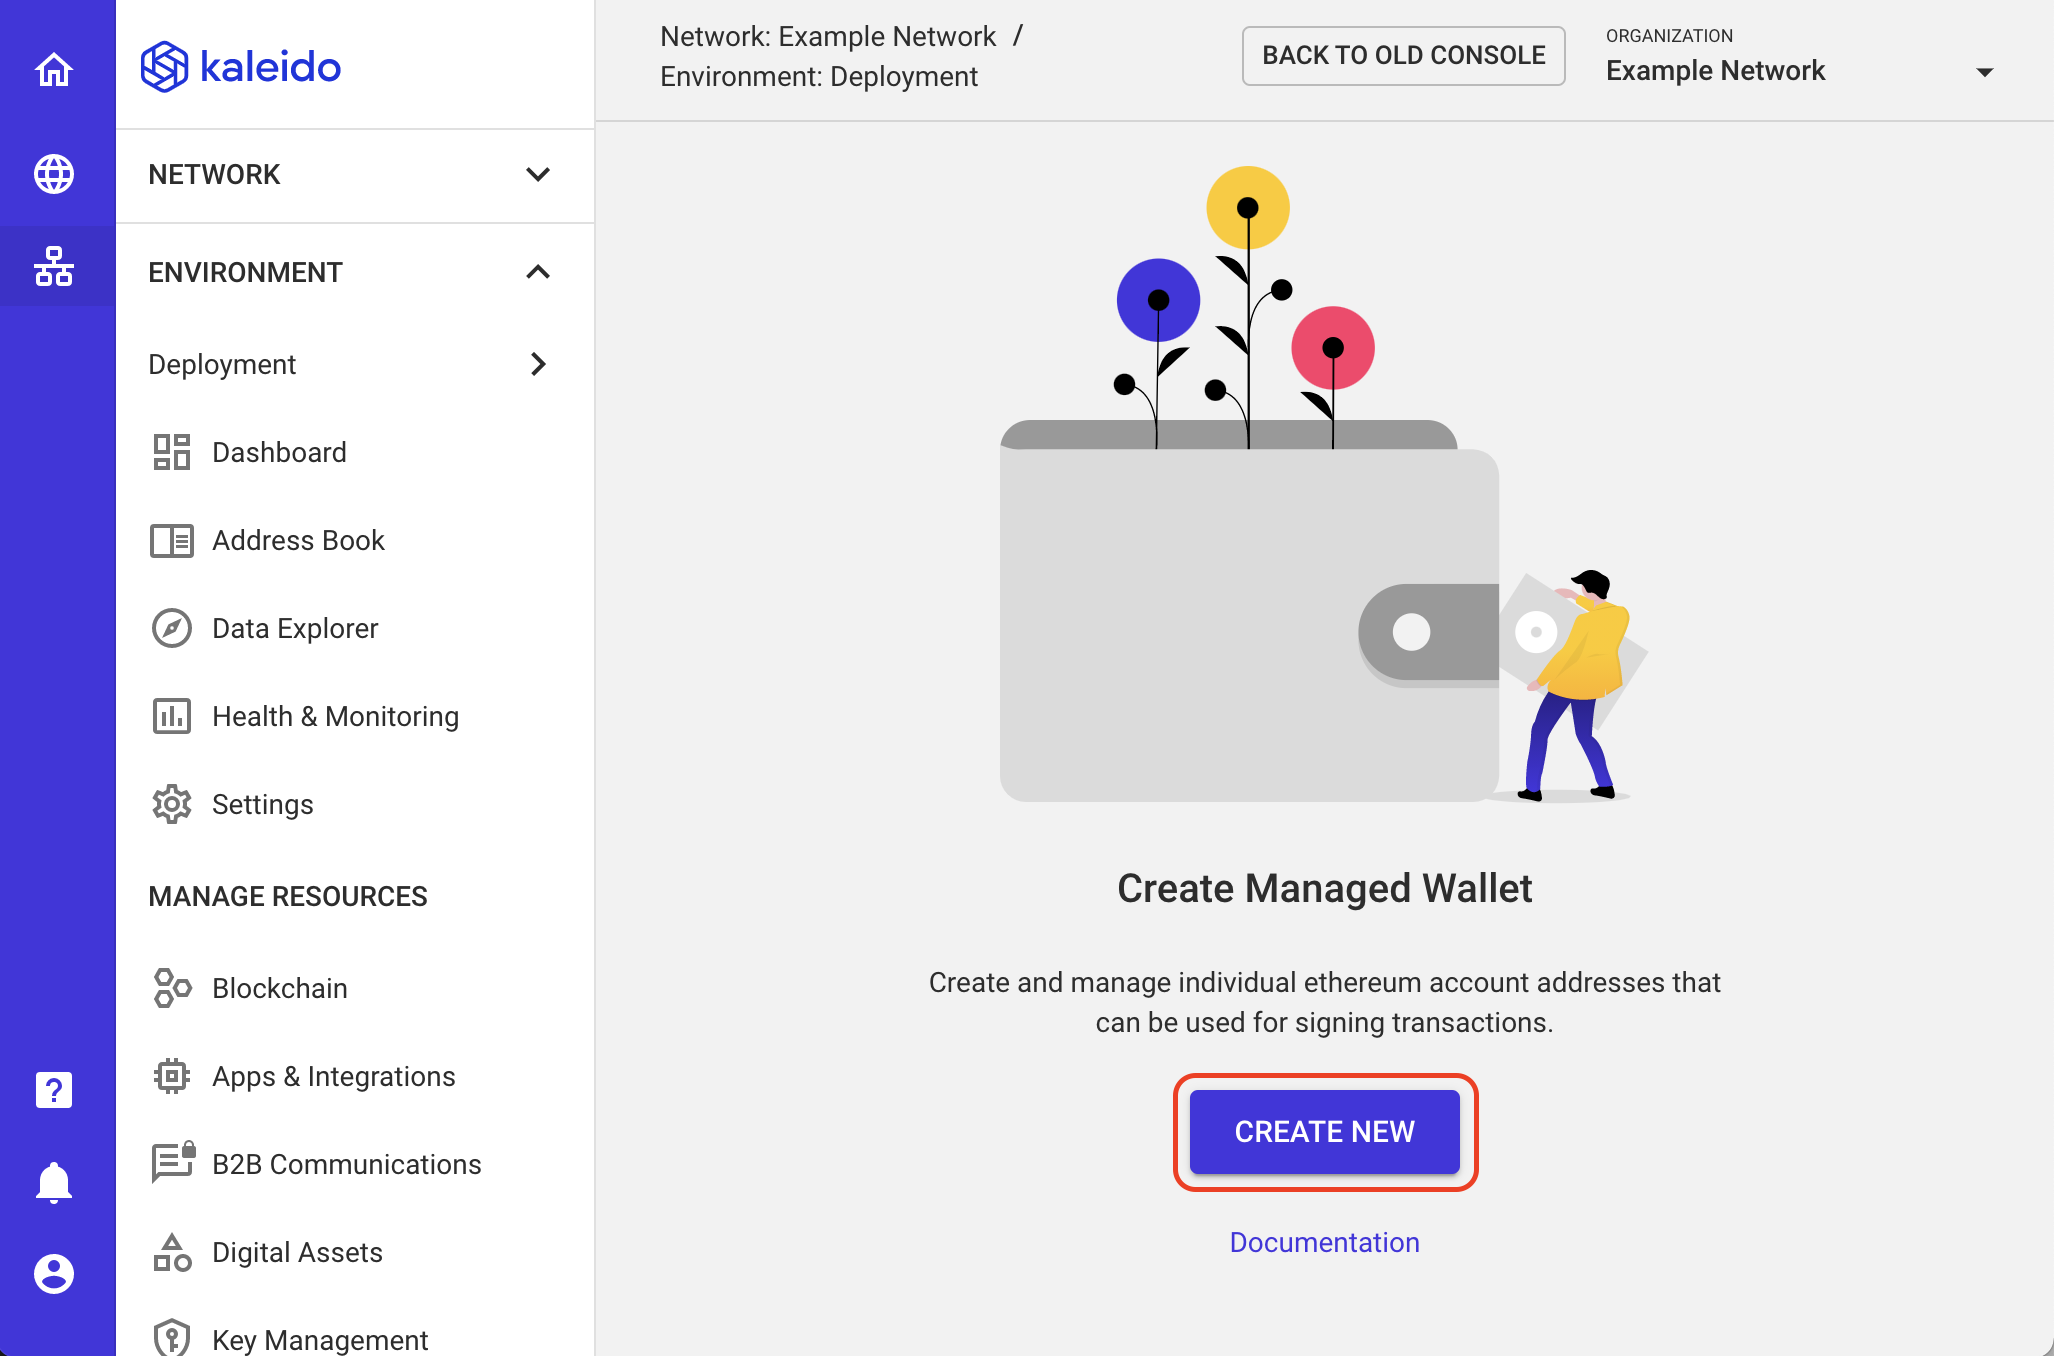
- Here, select Create New to create a new wallet runtime for your Ethereum accounts.
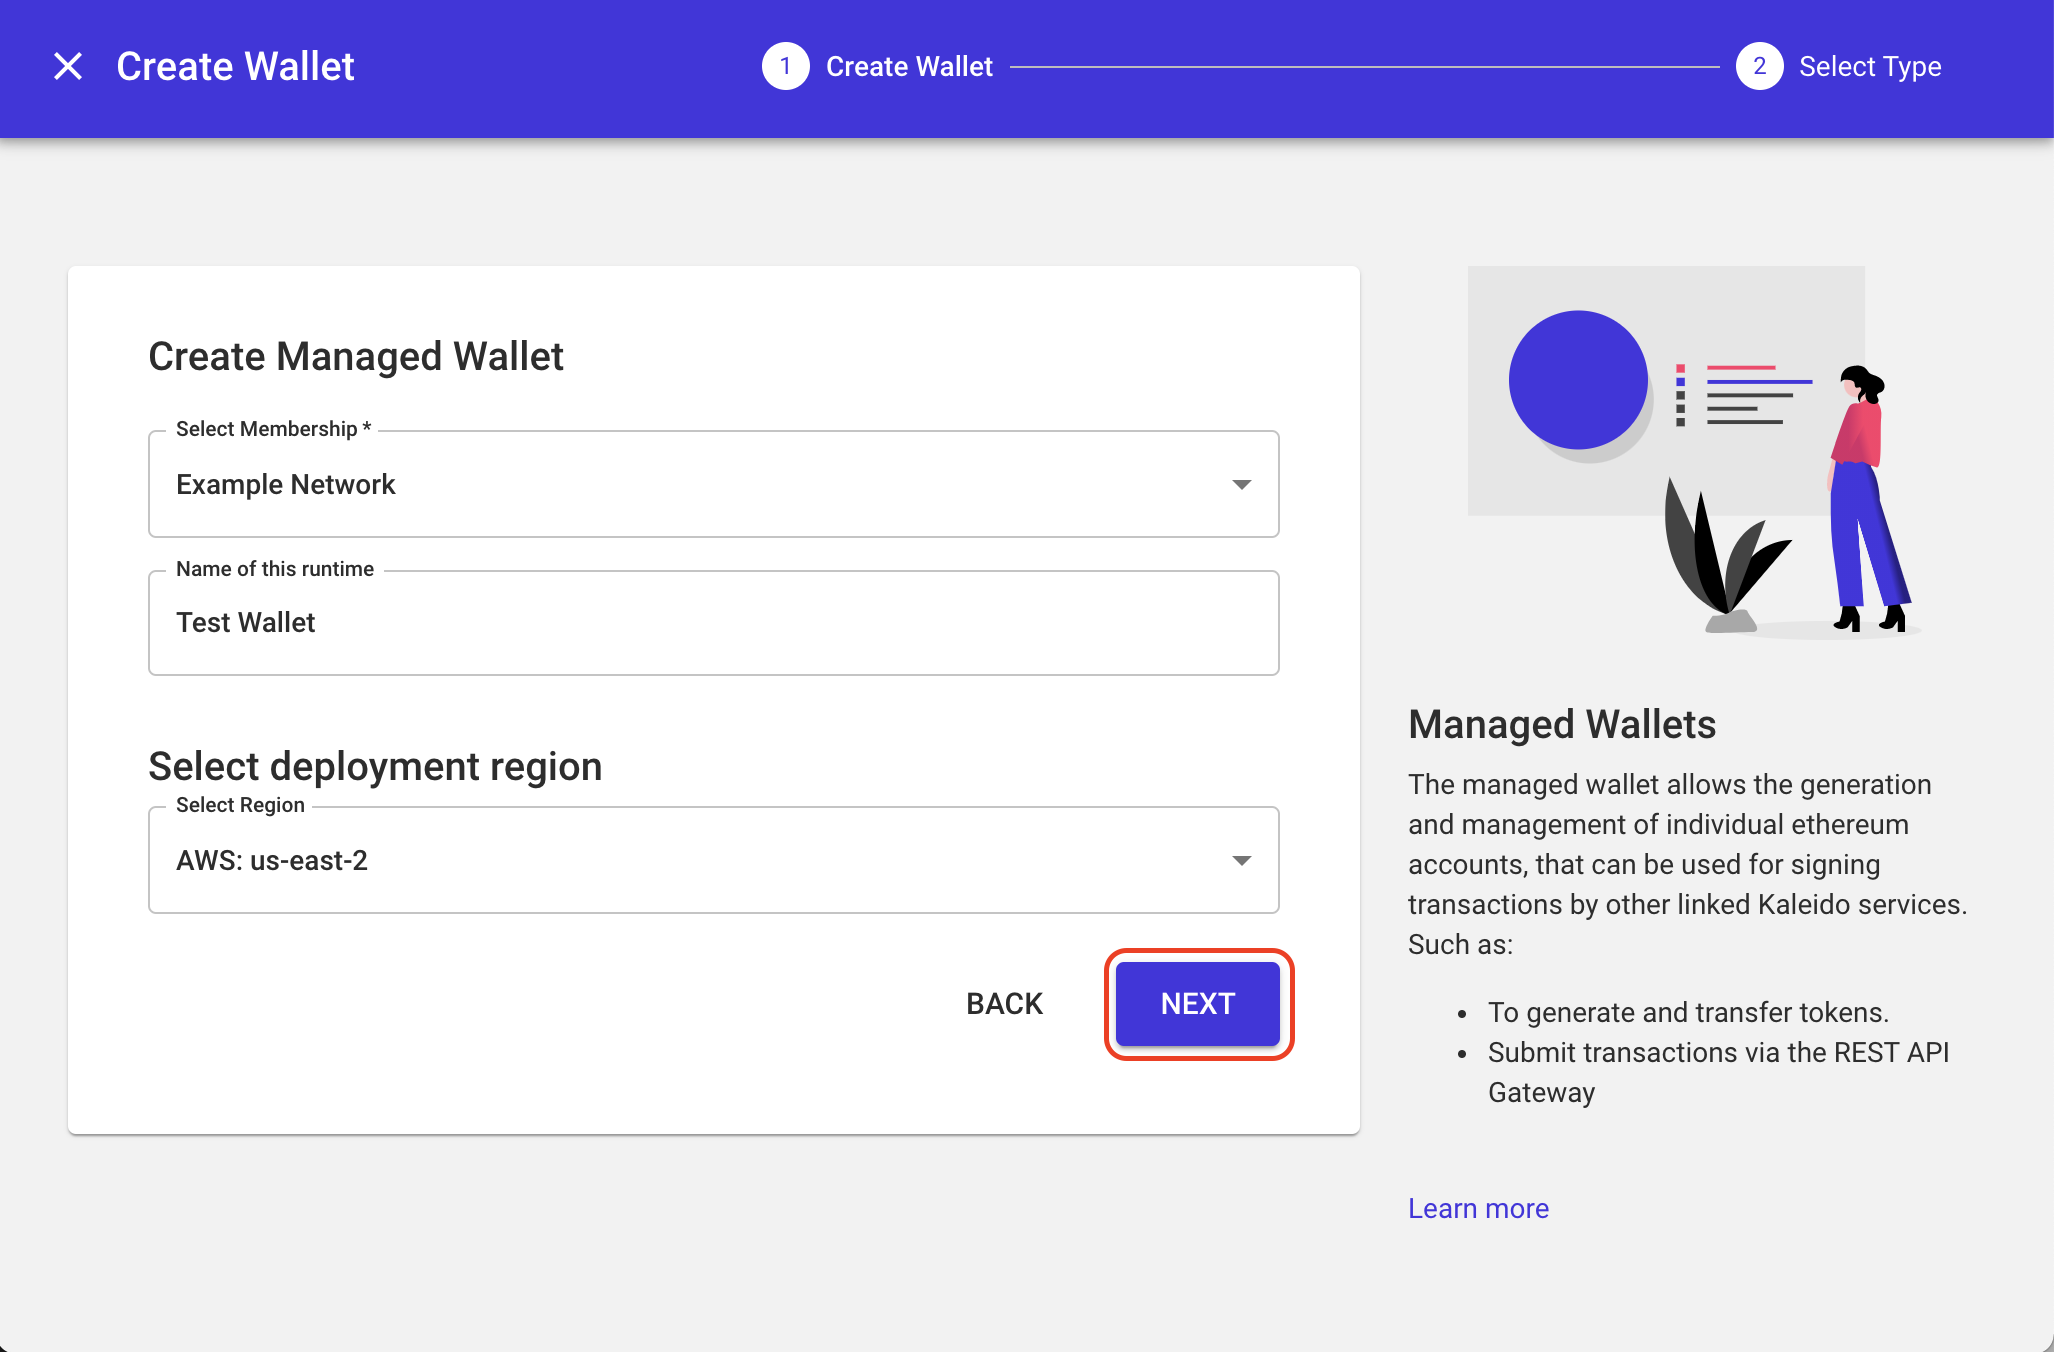
- Select the wallet's membership, and provide a name for the runtime (e.g.
Test Wallet). Click Next to proceed and select wallet type.
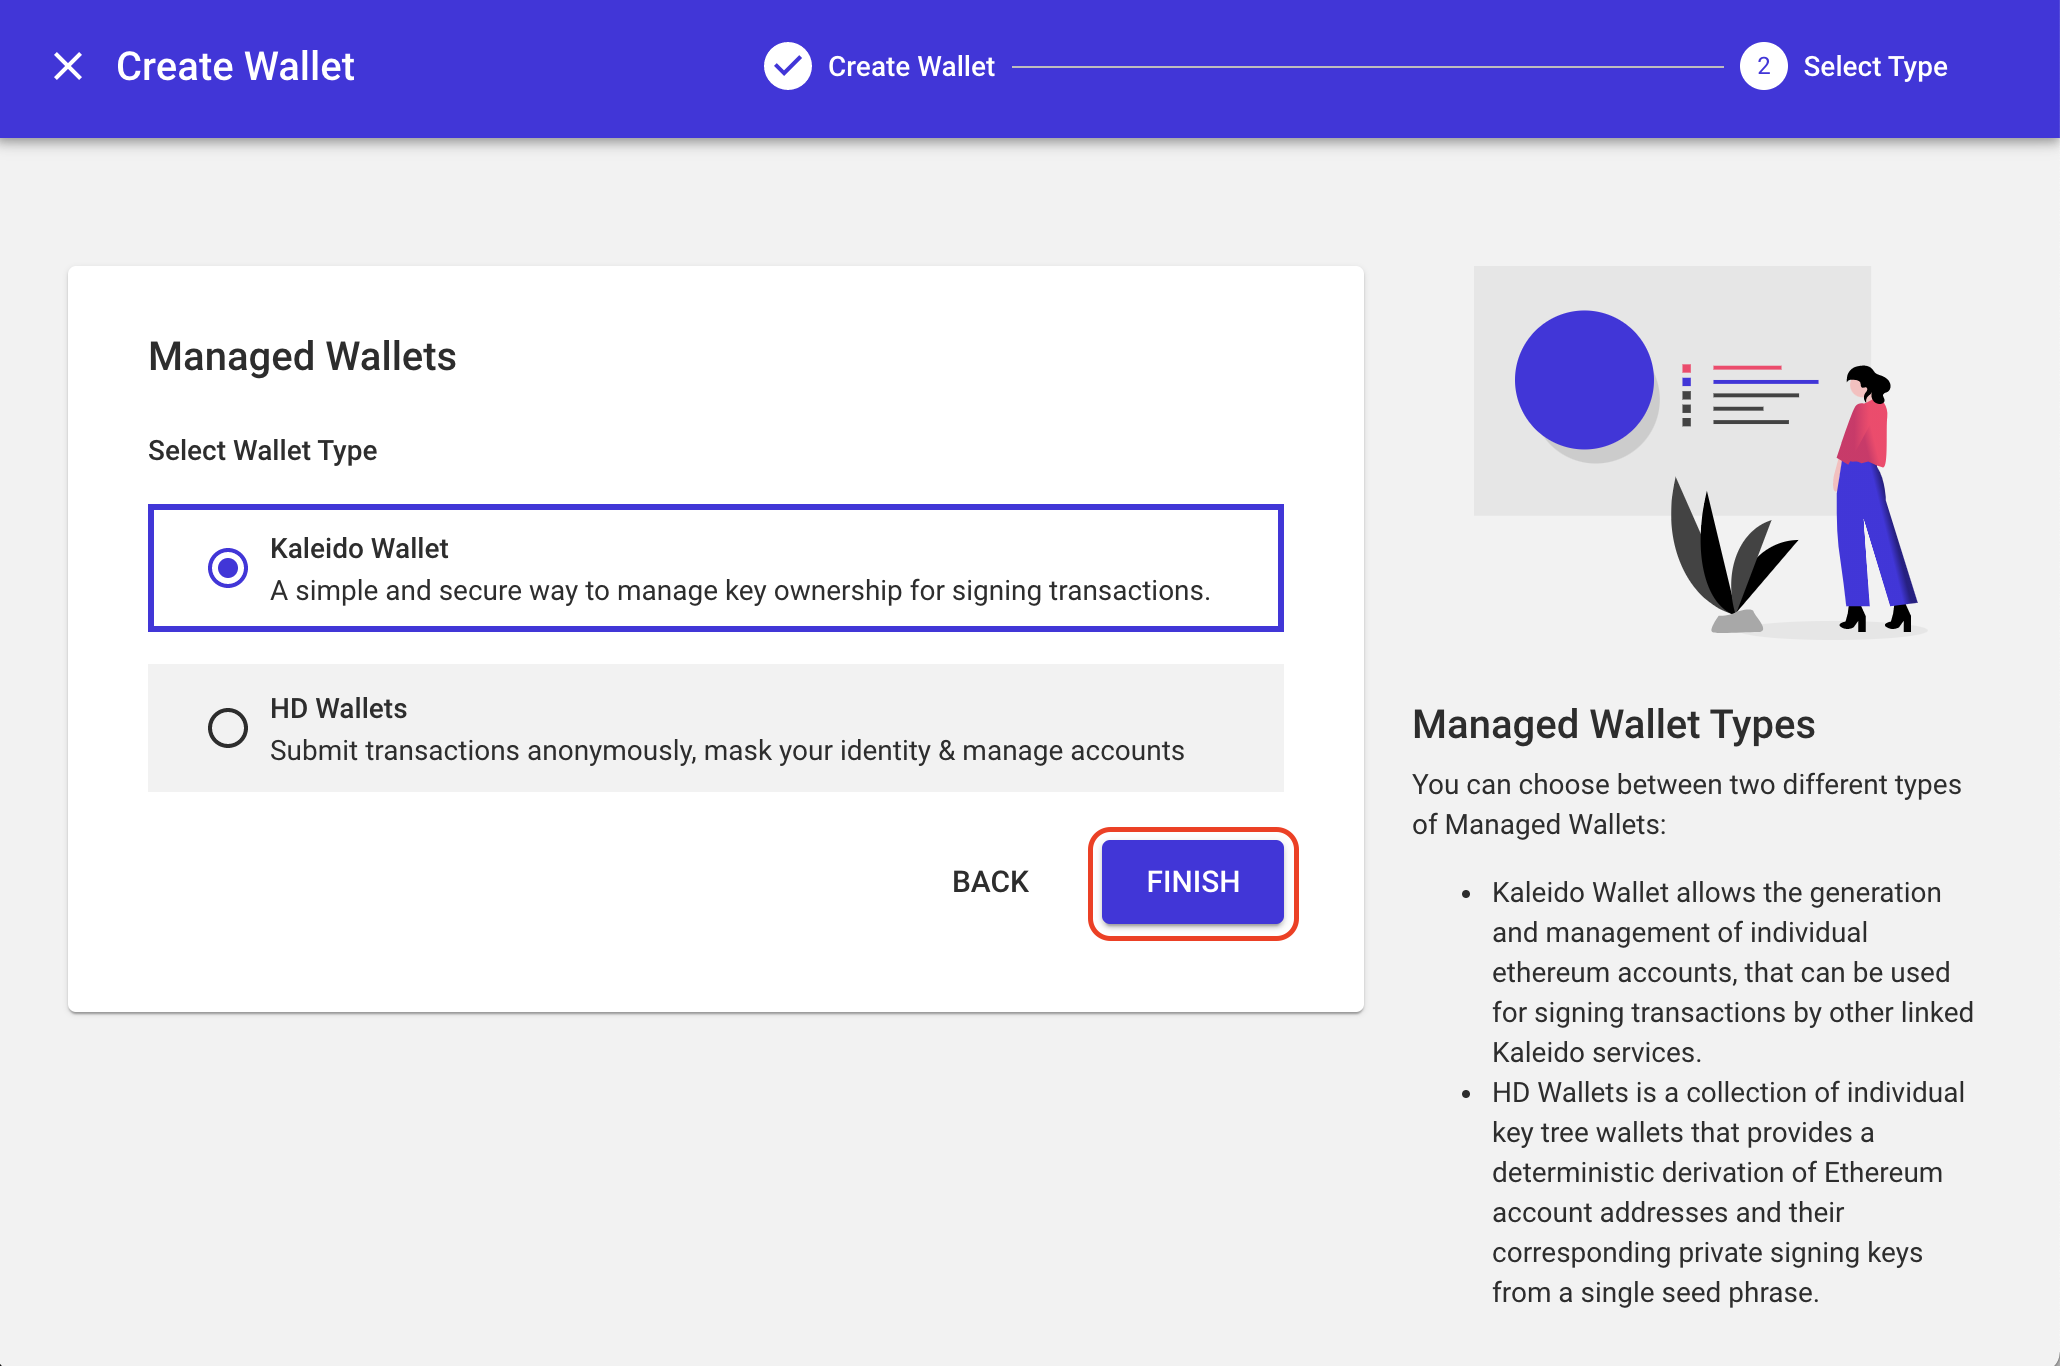
- Kaleido provides functionality for two managed wallet types: a standard Kaleido Wallet and HD Wallets. We'll be creating a Kaleido Wallet, which allows for the generation and management of individual Ethereum accounts, that can be used for signing transactions by other linked Kaleido services. Select Kaleido Wallet and click Next.
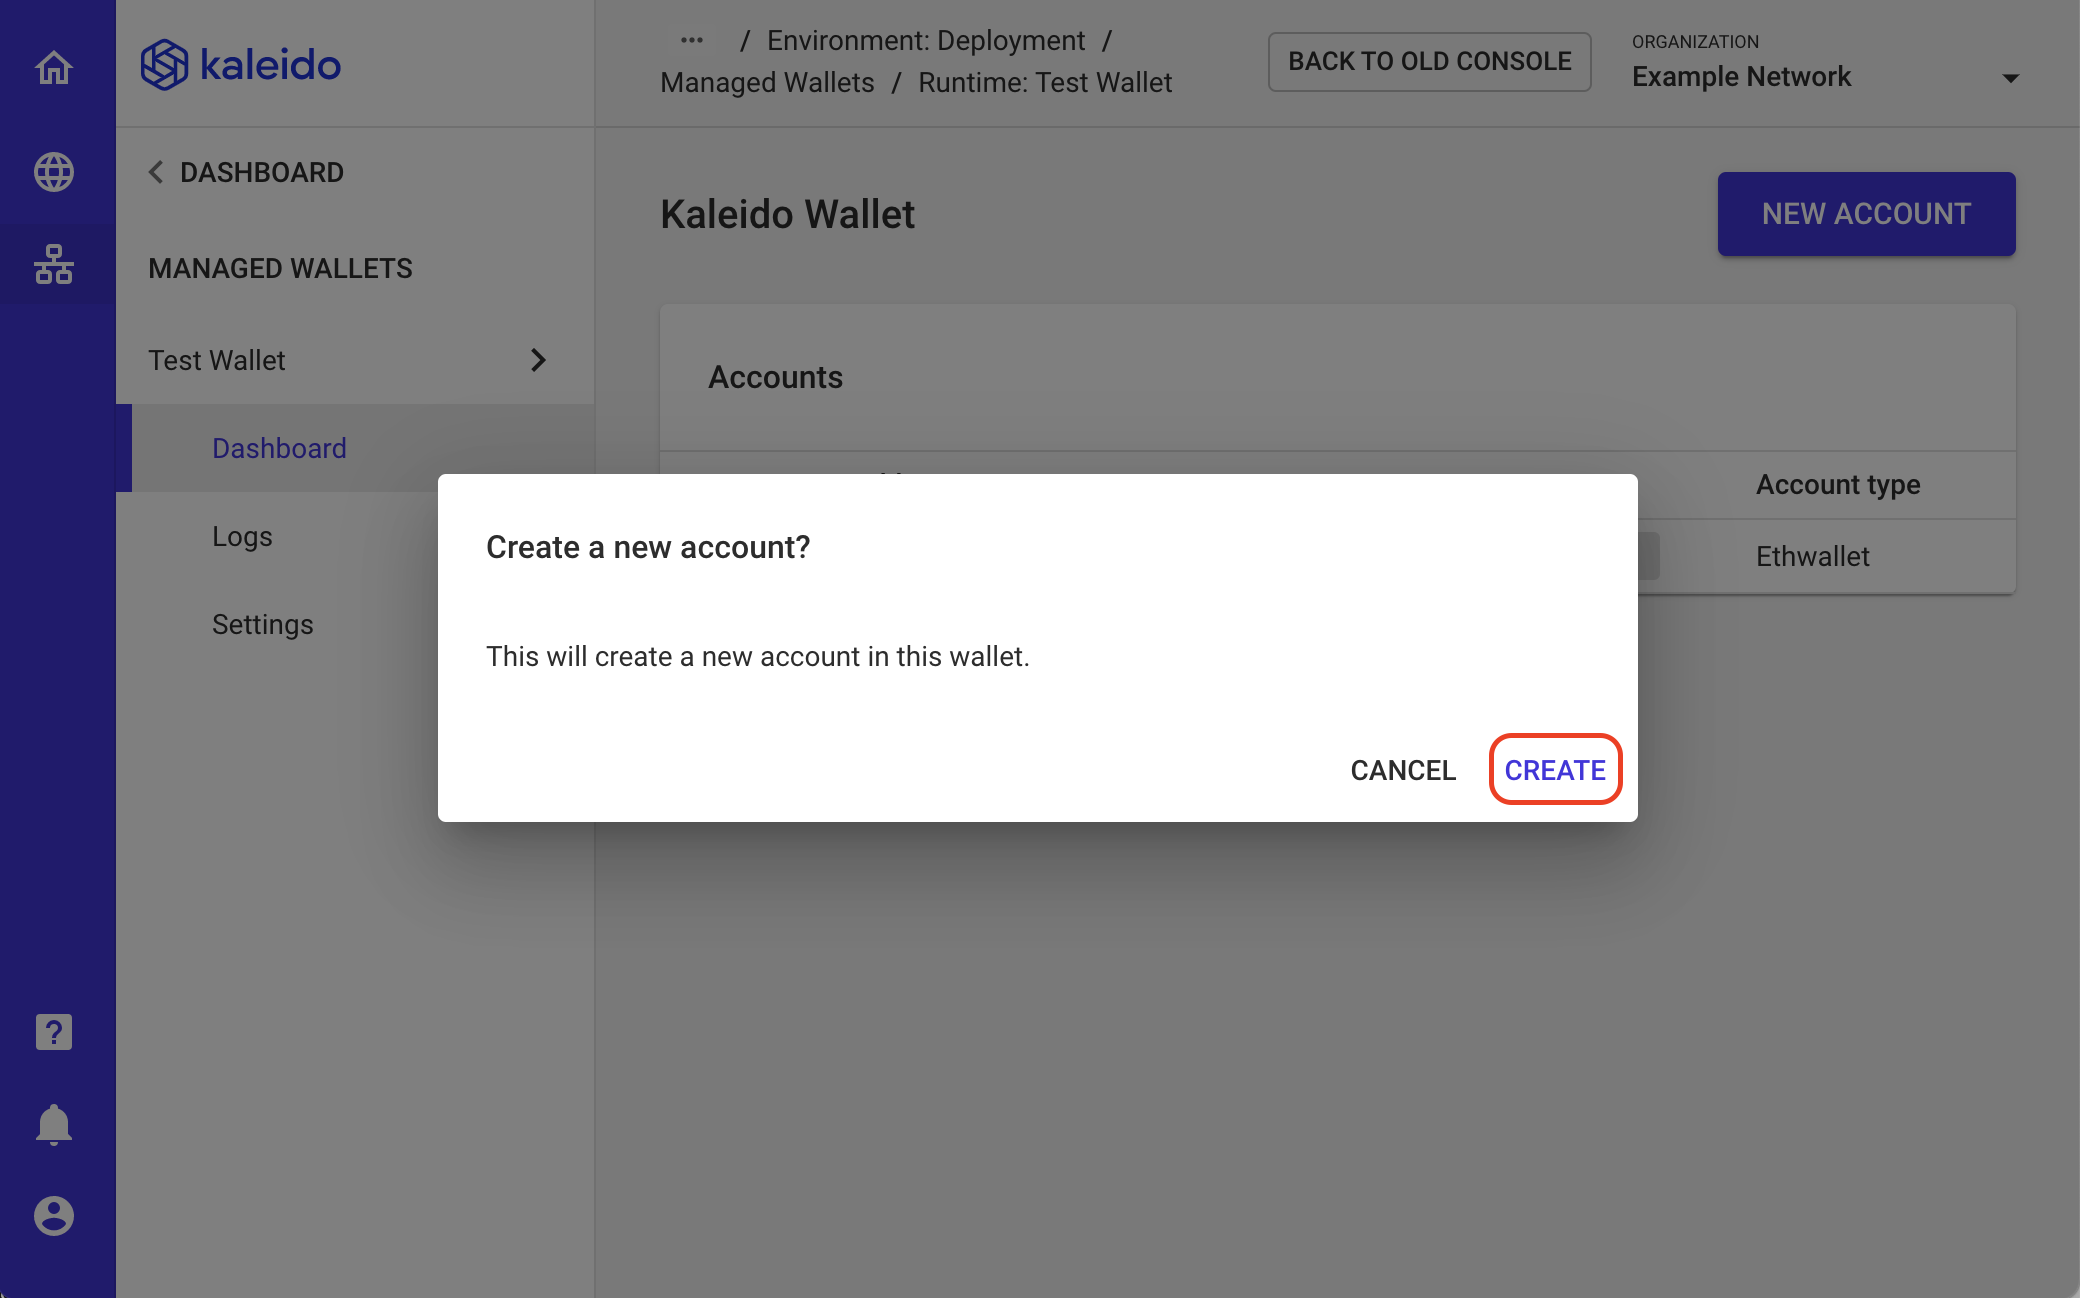
- Once finished provisioning, you'll now have a new managed wallet containing one or more accounts that can be used to generate and transfer tokens, or to submit transactions via the REST API Gateway. The wallet automatically creates the first account for you, but feel free to click New Account to create additional accounts which will be visible in the Accounts table on your wallet dashboard.
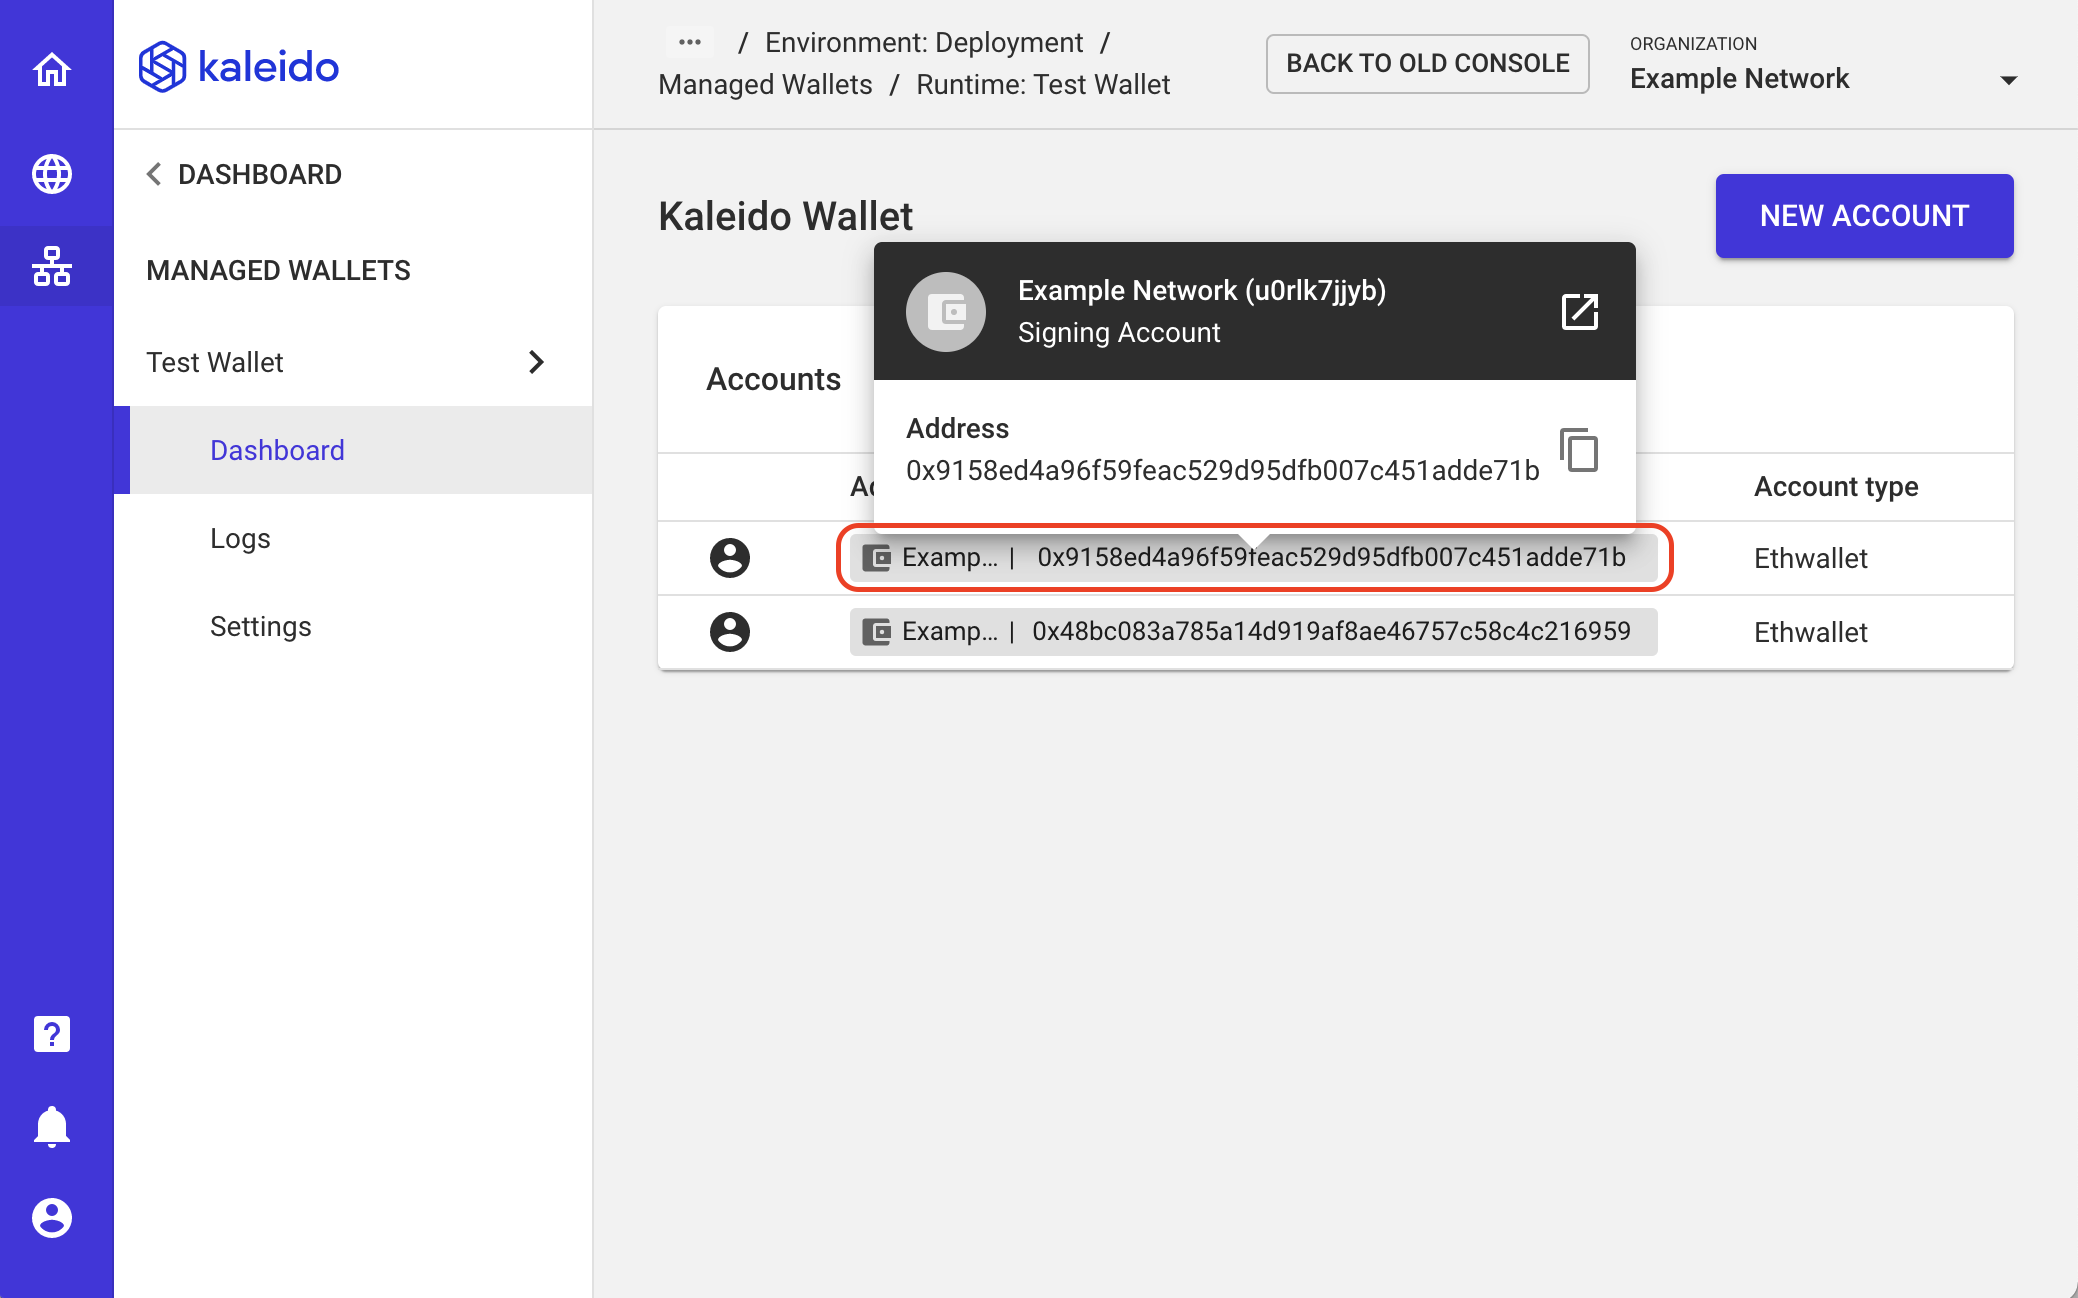
- Now that you have a new account you can click directly on it to copy the address string or navigate to additional account details (e.g. balances and transactions).
Submit transactions via the REST API Gateway
The best way to make use of your newly created wallet is to submit a simple transaction using one of the available addresses, and this can be done seamlessly with the functionality of the REST API Gateway. Identify one of the available wallet addresses that you'd like to leverage and refer to the REST API Gateway usage instructions to deploy a new smart contract.
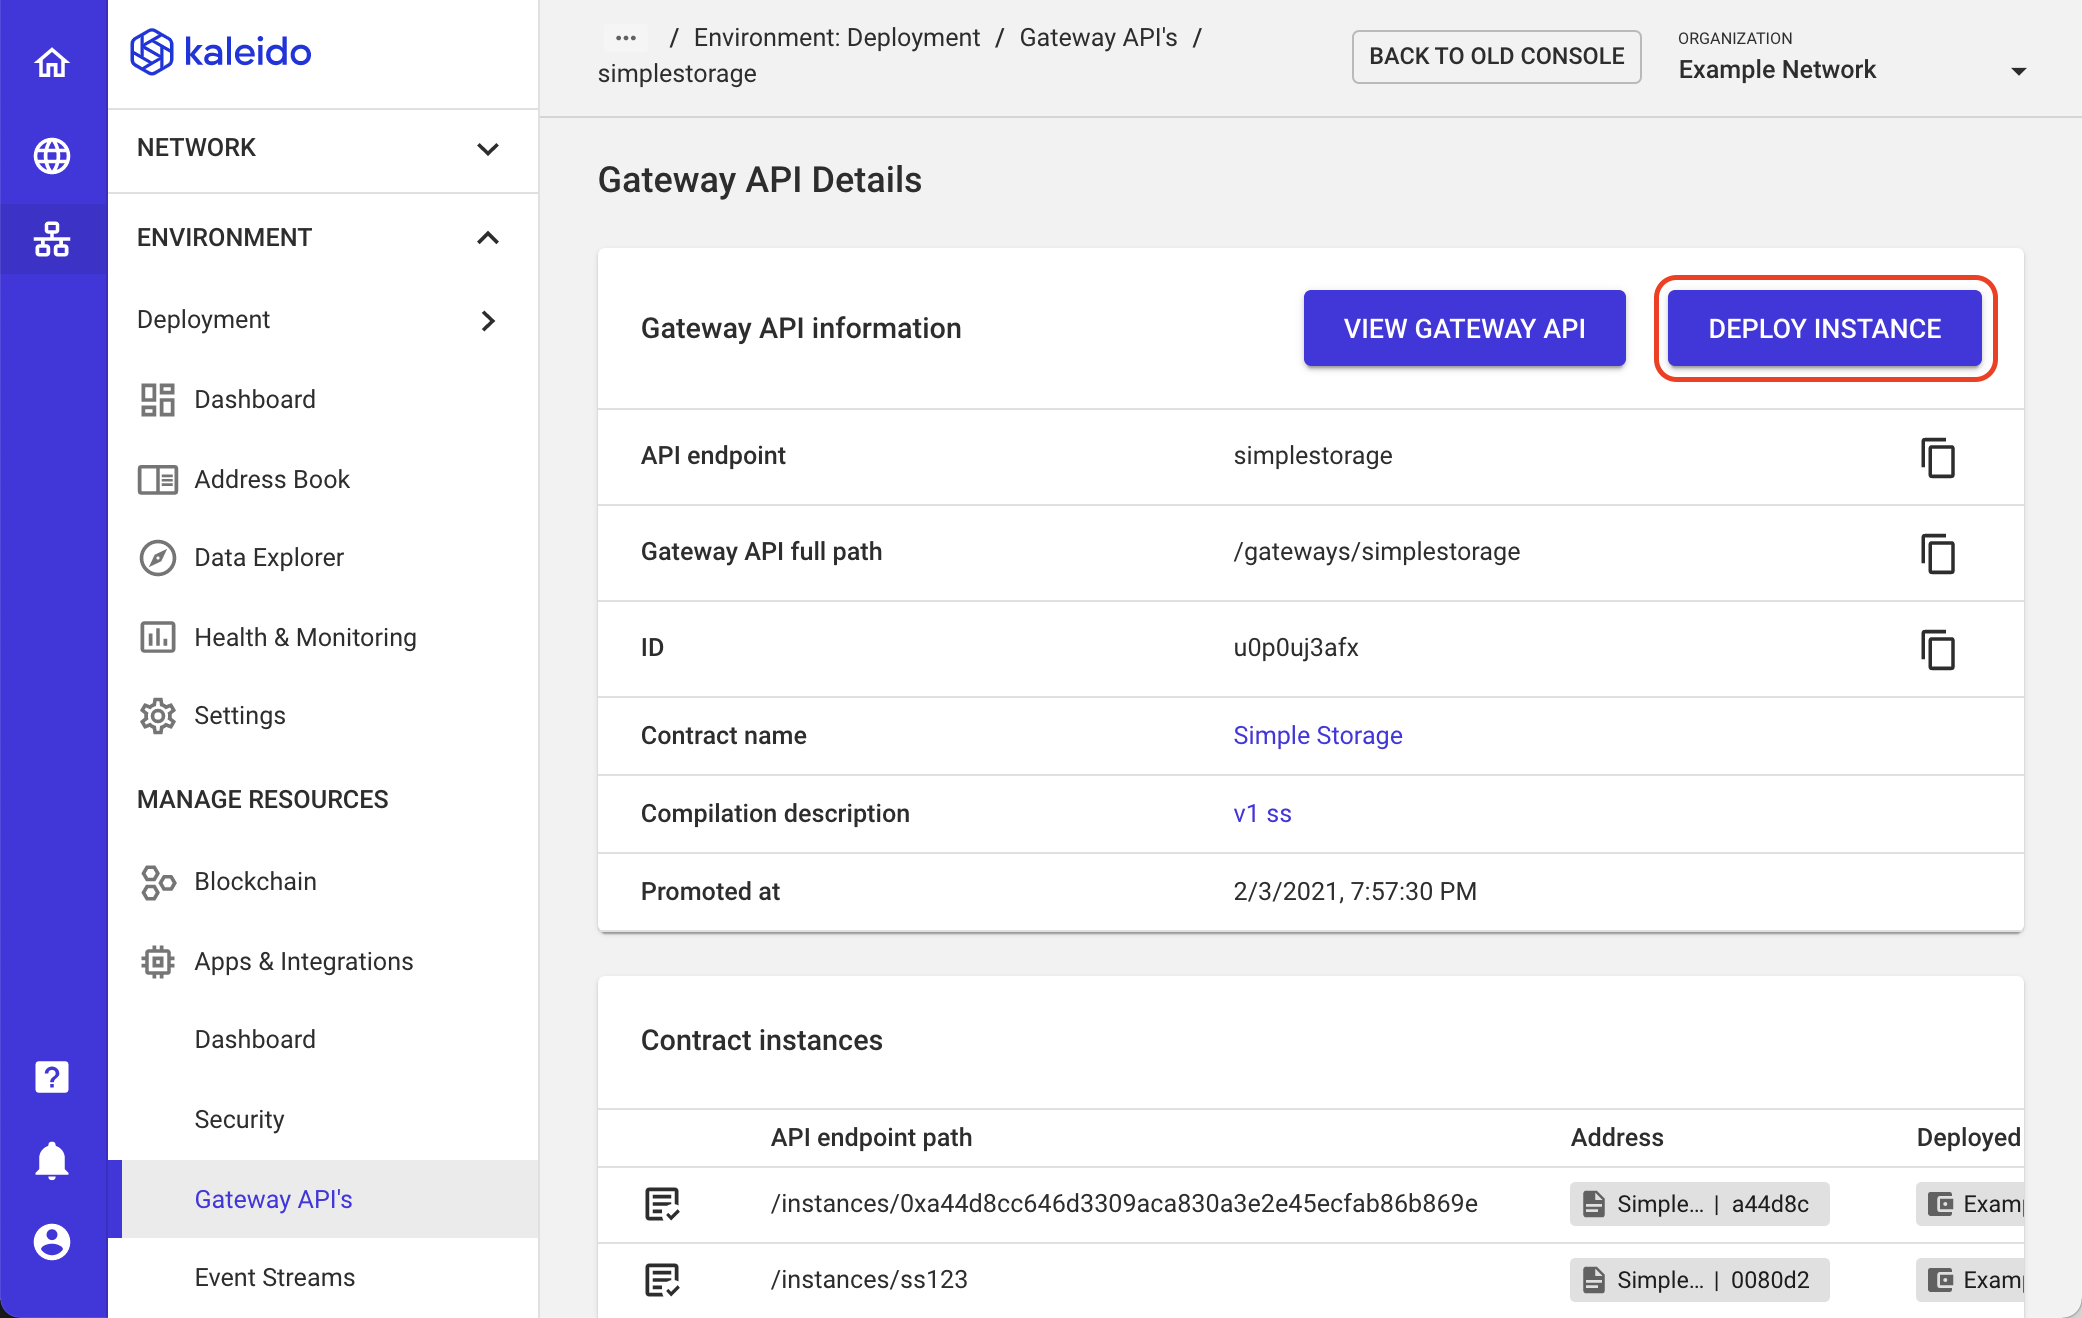
- Within your Gateway API, select Deploy Instance to view the instance through the interactive Swagger interface.
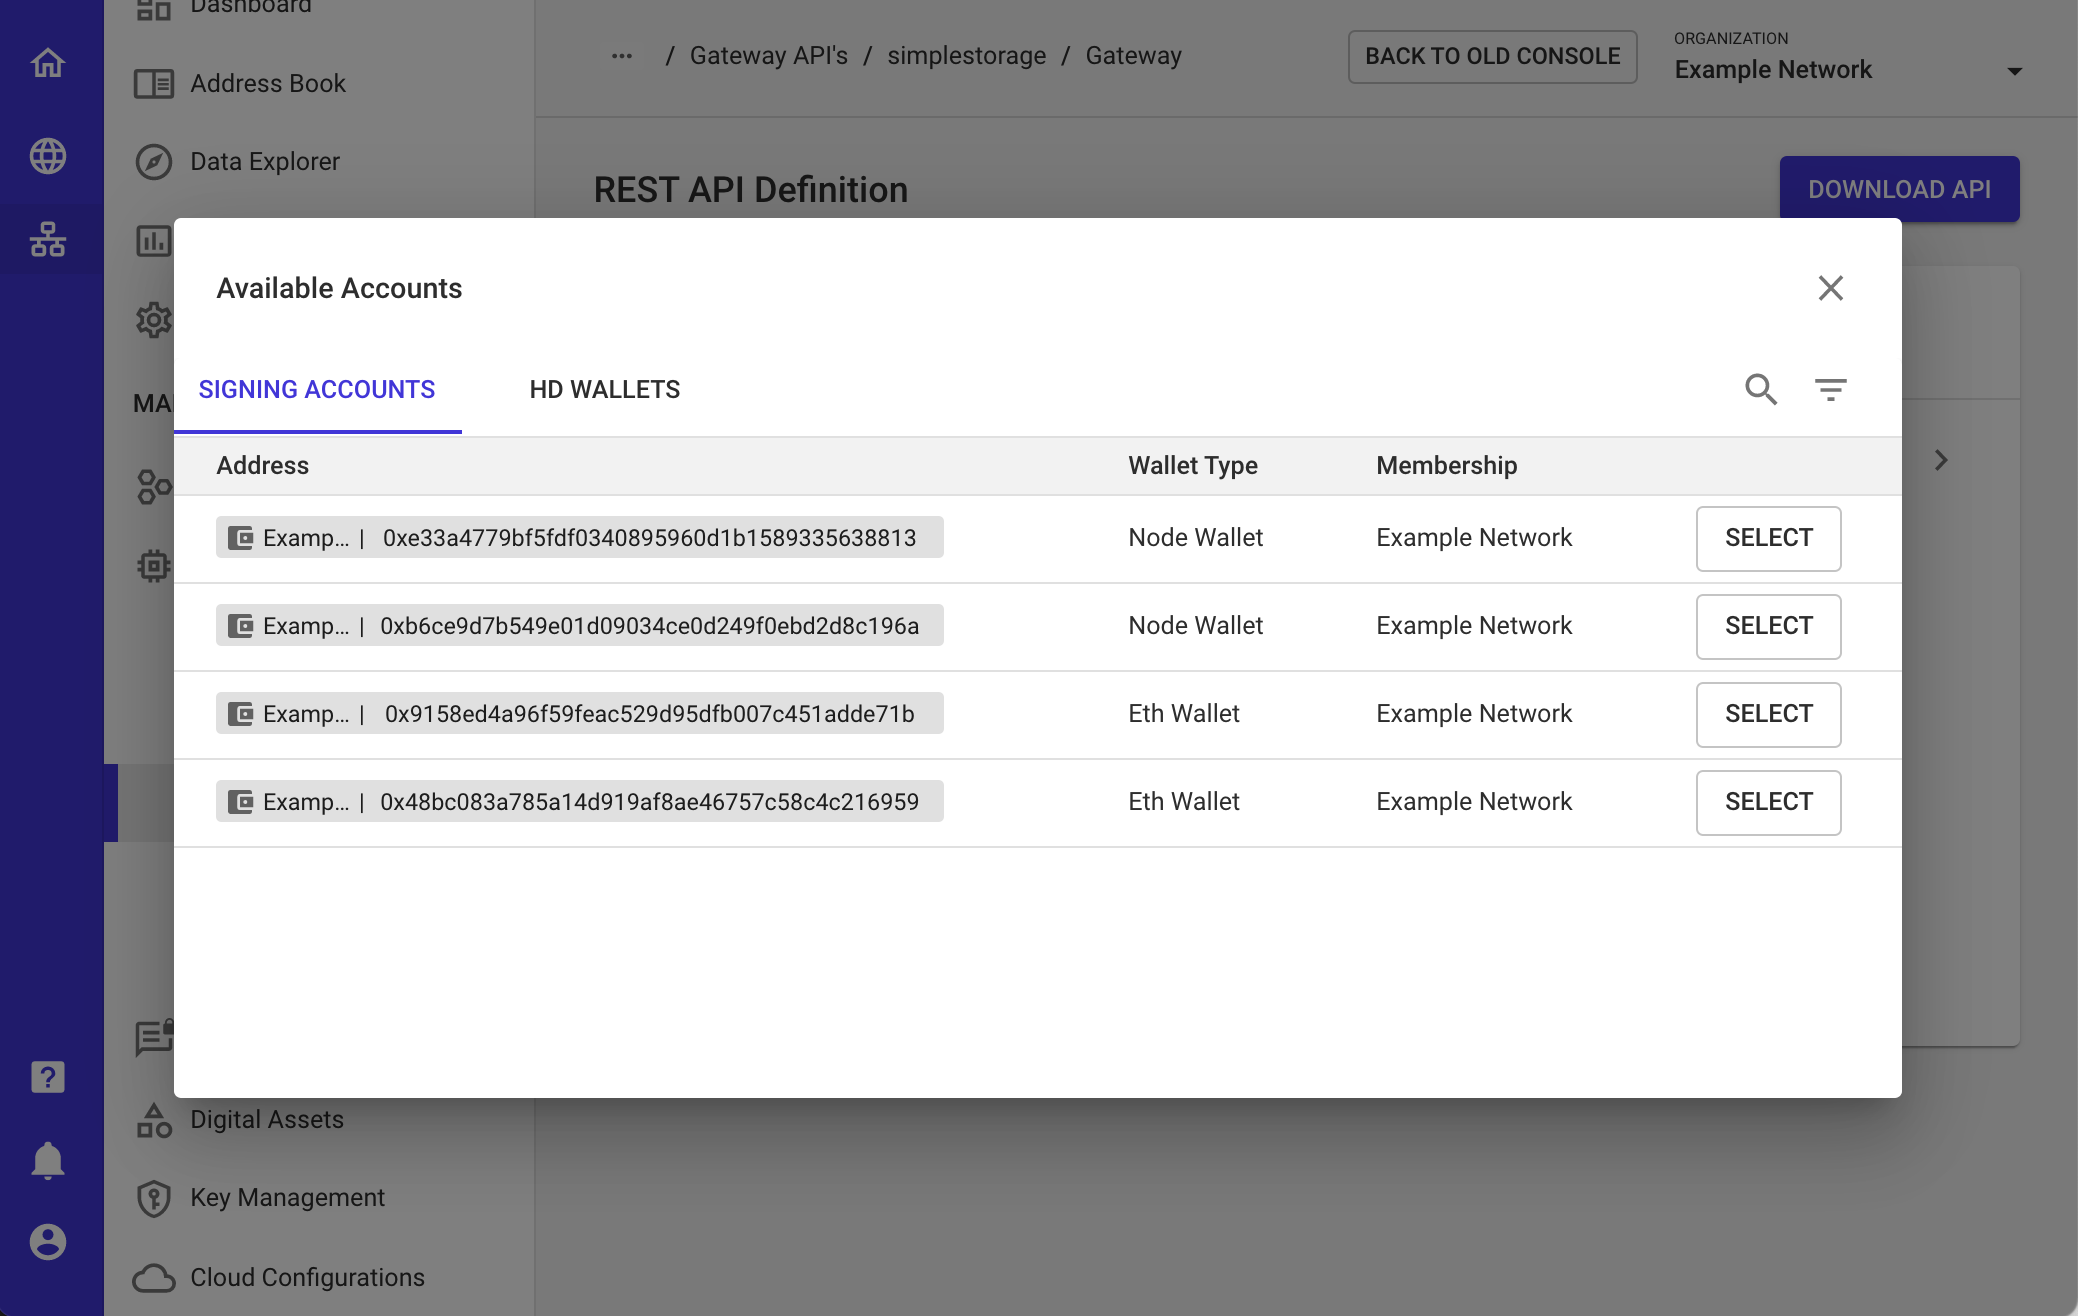
- From here, we can select one of the wallet accounts that we previously created by clicking the highlighted area and choosing an account.
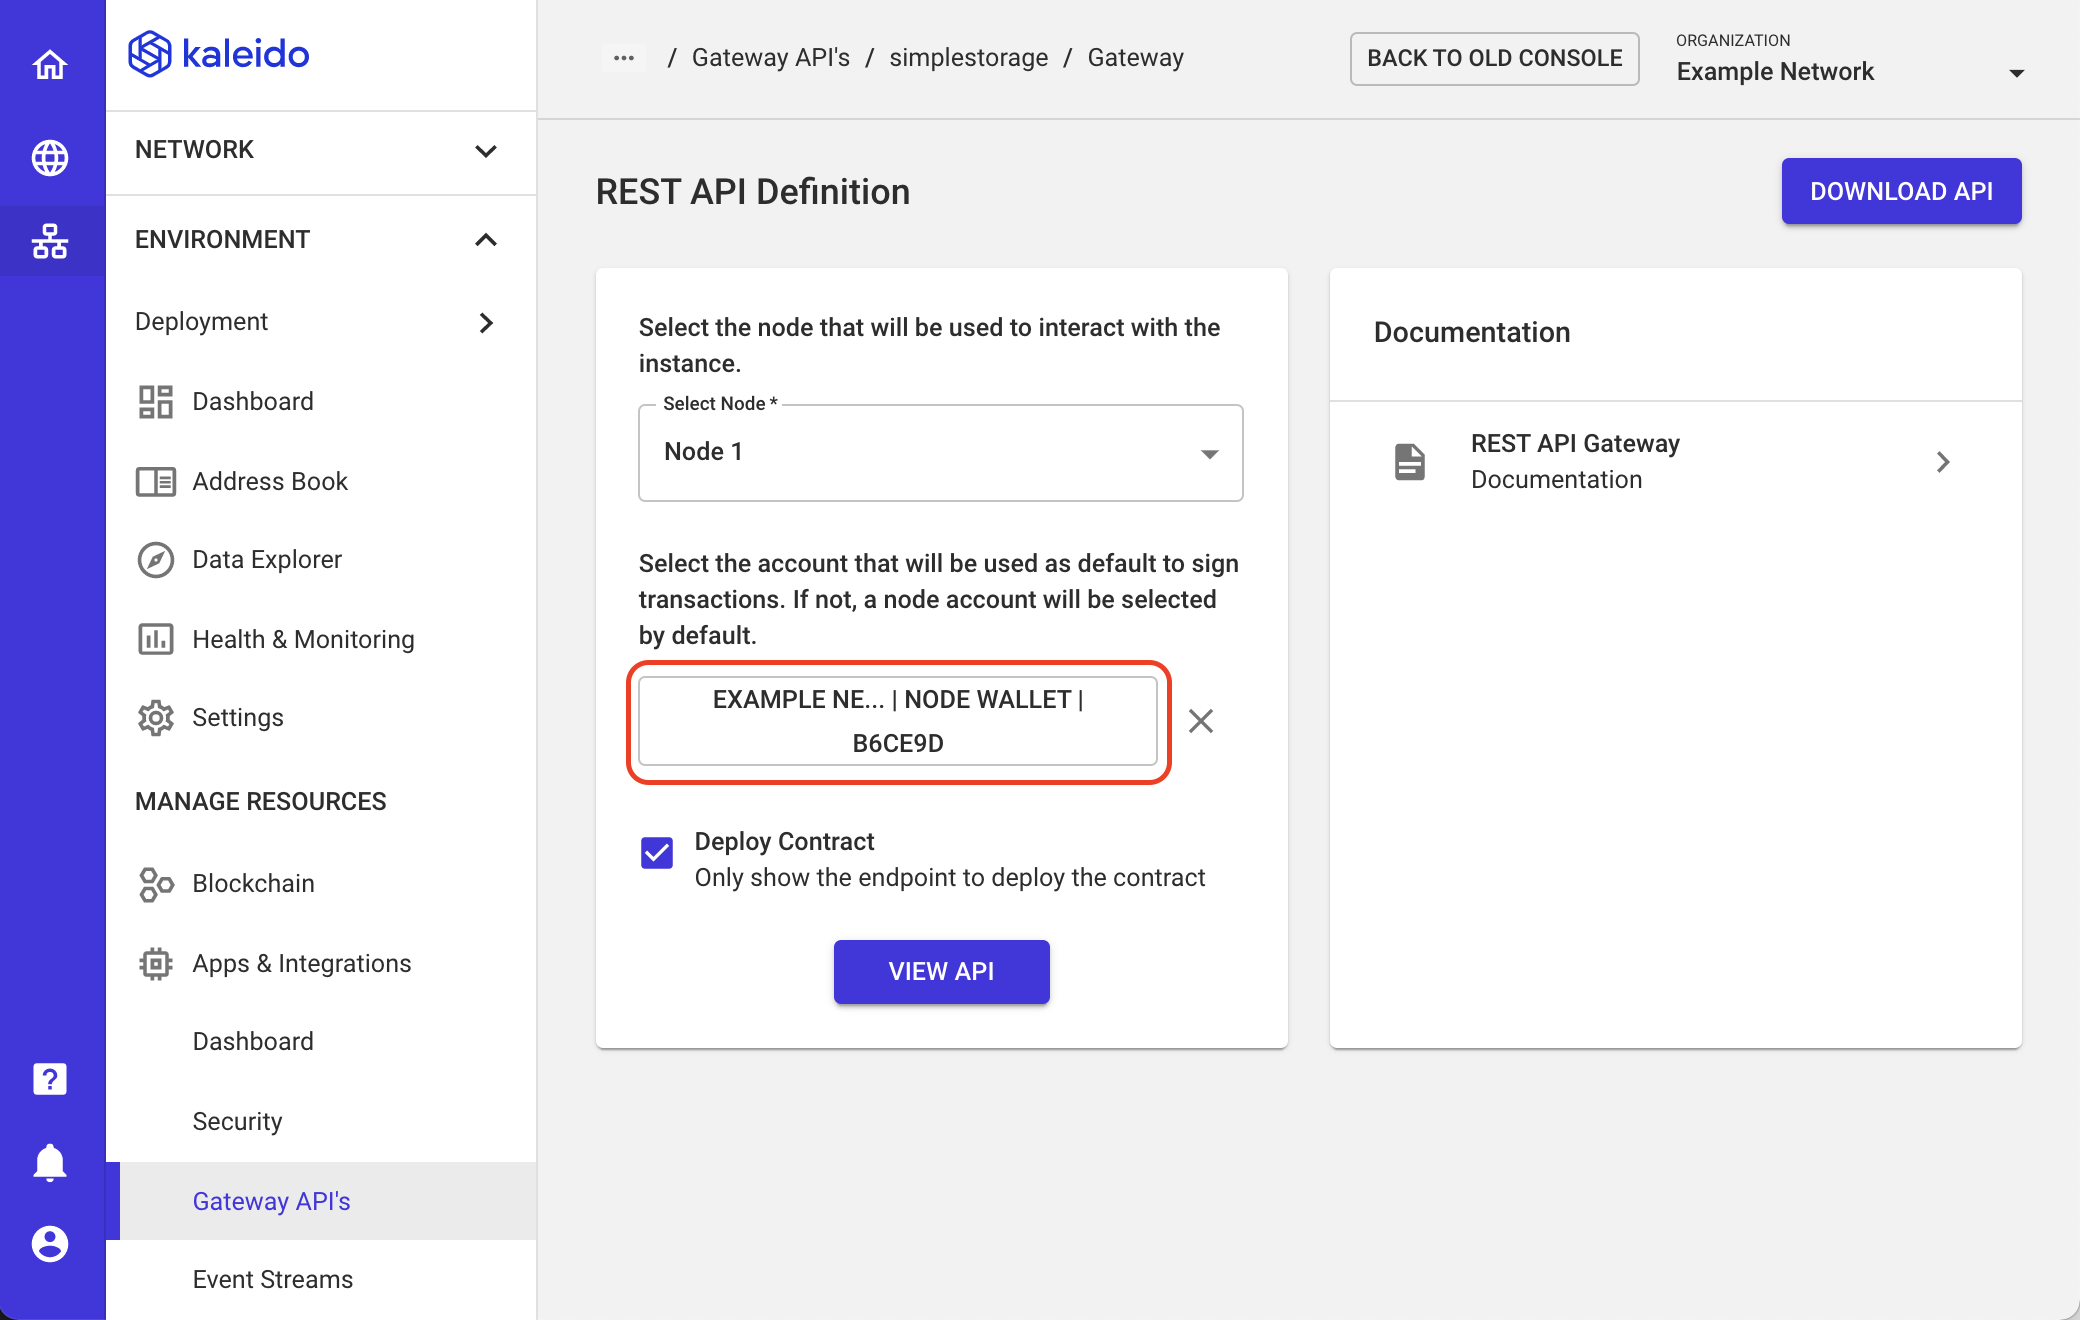
- Select one of your Eth Wallet accounts from this screen.
- Finally, hit View API to see the generated Swagger UI! You'll notice that fields in the
POSTmethod such askld-fromare already pre-generated with your signing address from the wallet. From here, feel free to create new transactions using the interactive interface.
