Token Factory Usage
Note This documentation refers to the usage of Token Factory service in Kaleido Classic console. For documentation on using Digital Assets section to deploy tokens in your environment, refer to Digital Assets
Use the Token Factory service to define Enterprise Token contracts and deploy them from any of the signing accounts available in your consortium membership.
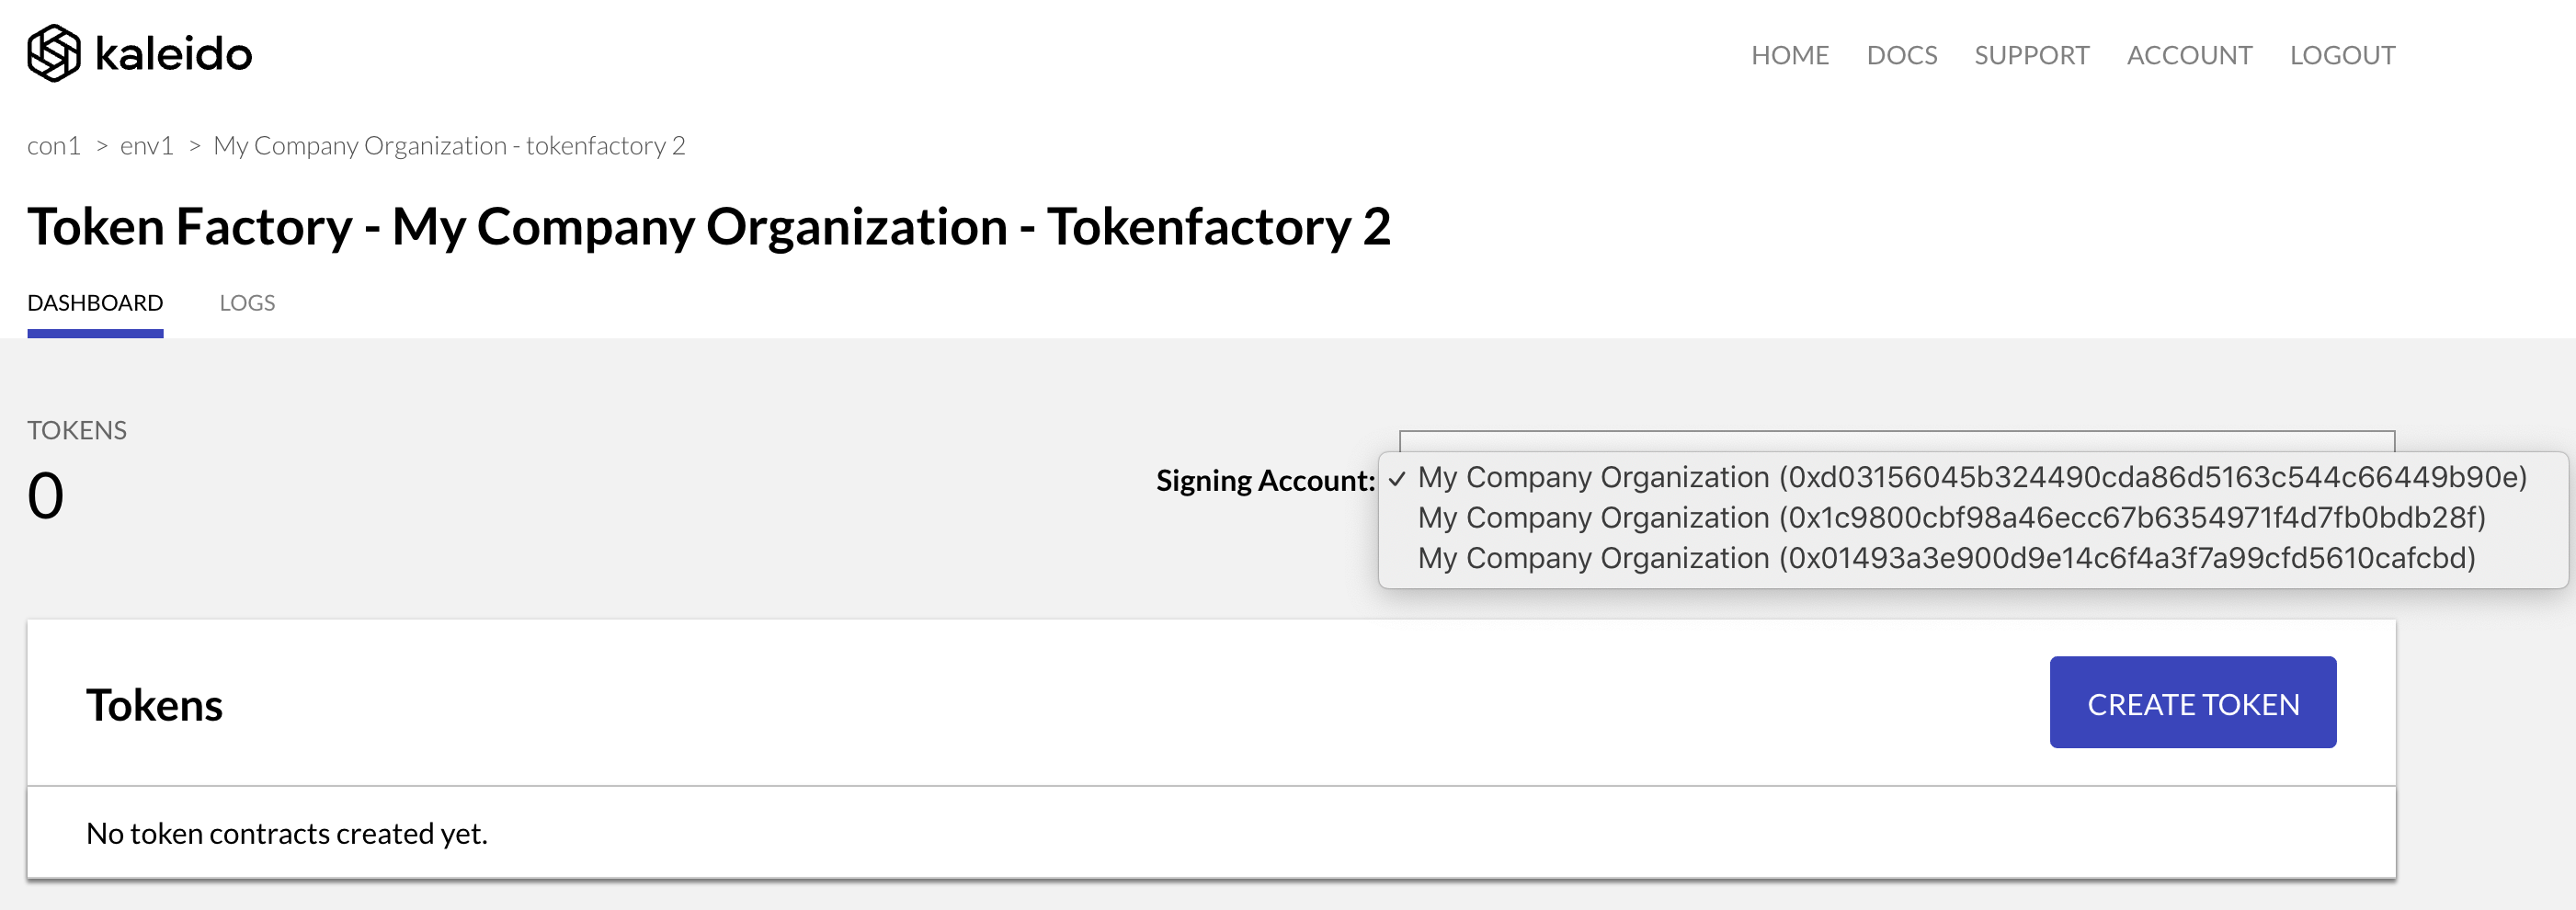
After provisioning it from the services catalog or the marketplace, open the service dashboard.
The Signing Account drop down provides the Ethereum accounts available to the current user for signing transactions. Because many actions you perform in the Token Factory service require sending transactions to the blockchain in the environment, it’s critical to use the proper account of your choice and make sure it’s selected here.
Creating your token
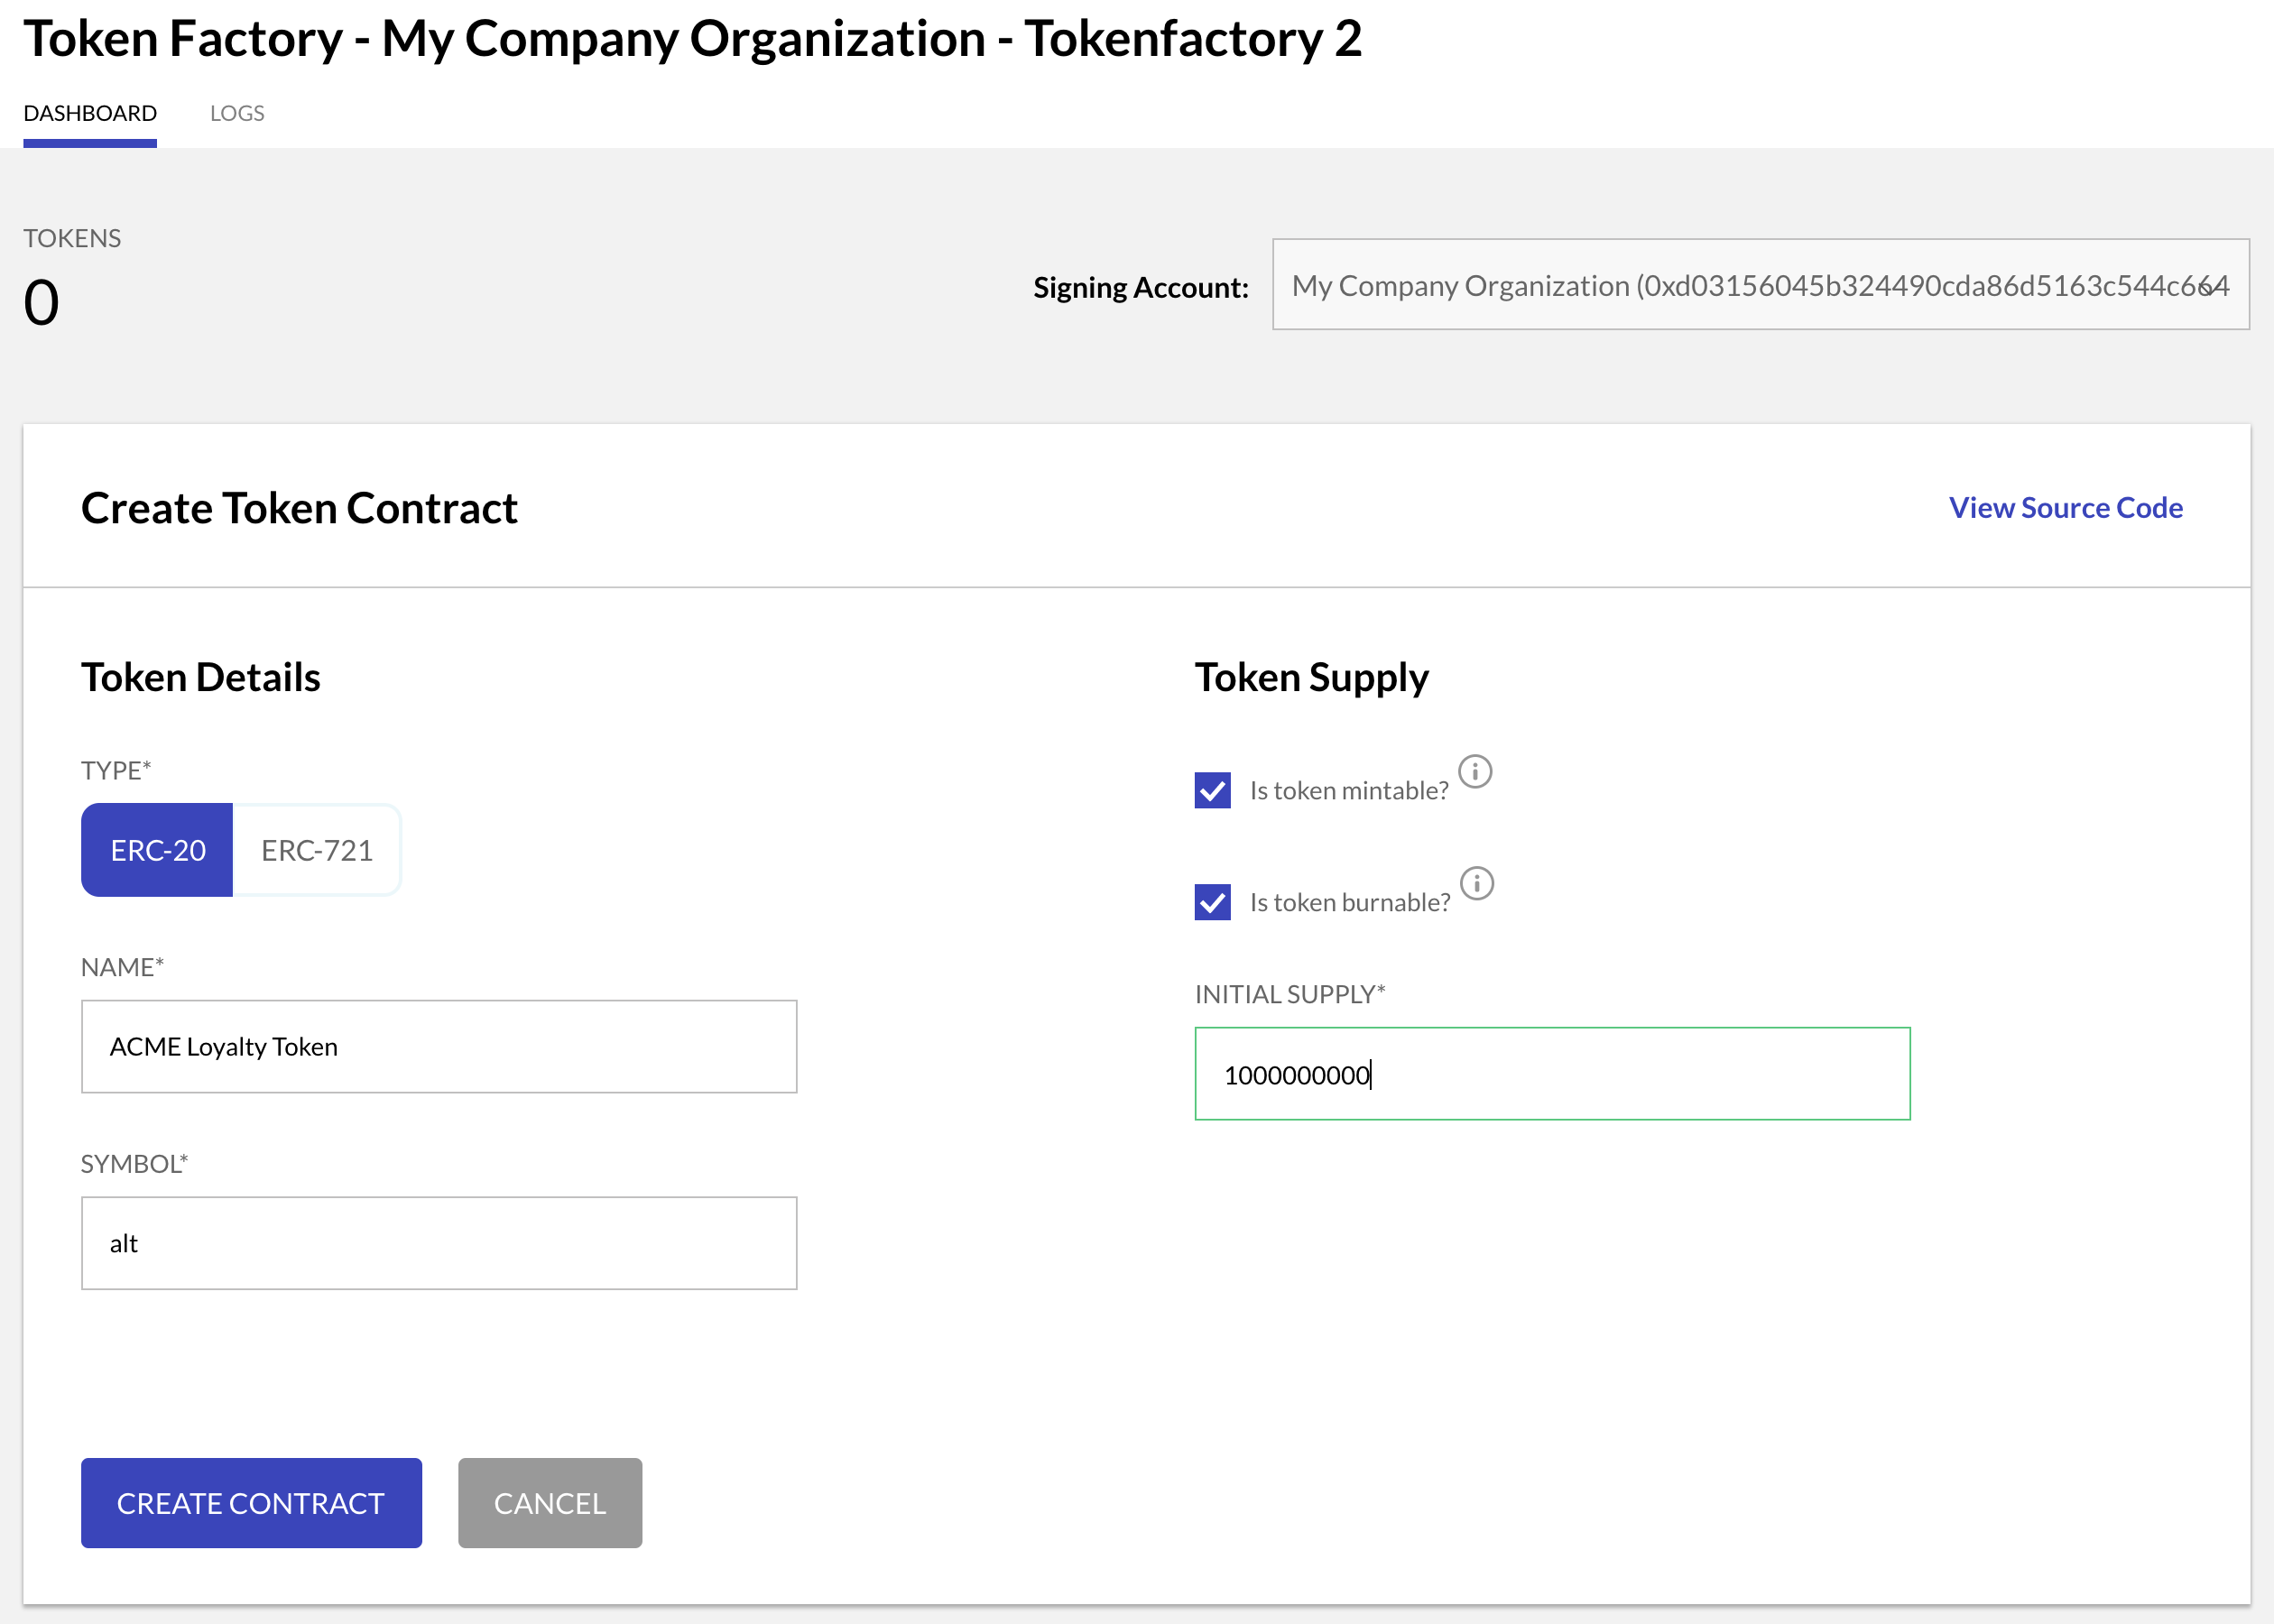
- Click Create Token.
- Select the Token type to define: ERC20 for fungible tokens and ERC721 for non-fungible tokens.
- Provide a name and symbol for the tokens. They will be used to identify the token contract in the dashboard and the token explorer.
- Decide on the features of the token contract. Currently the features available for selection are
MintableandBurnable. - Decide on the initial supply. This will be the amount of tokens available to the signing account selected in the dashboard screen. If the token contract is mintable, then more tokens can be added to the supply through minting. If the contract is burnable, then tokens can be taken out of circulation through burning.
Viewing the Source Code
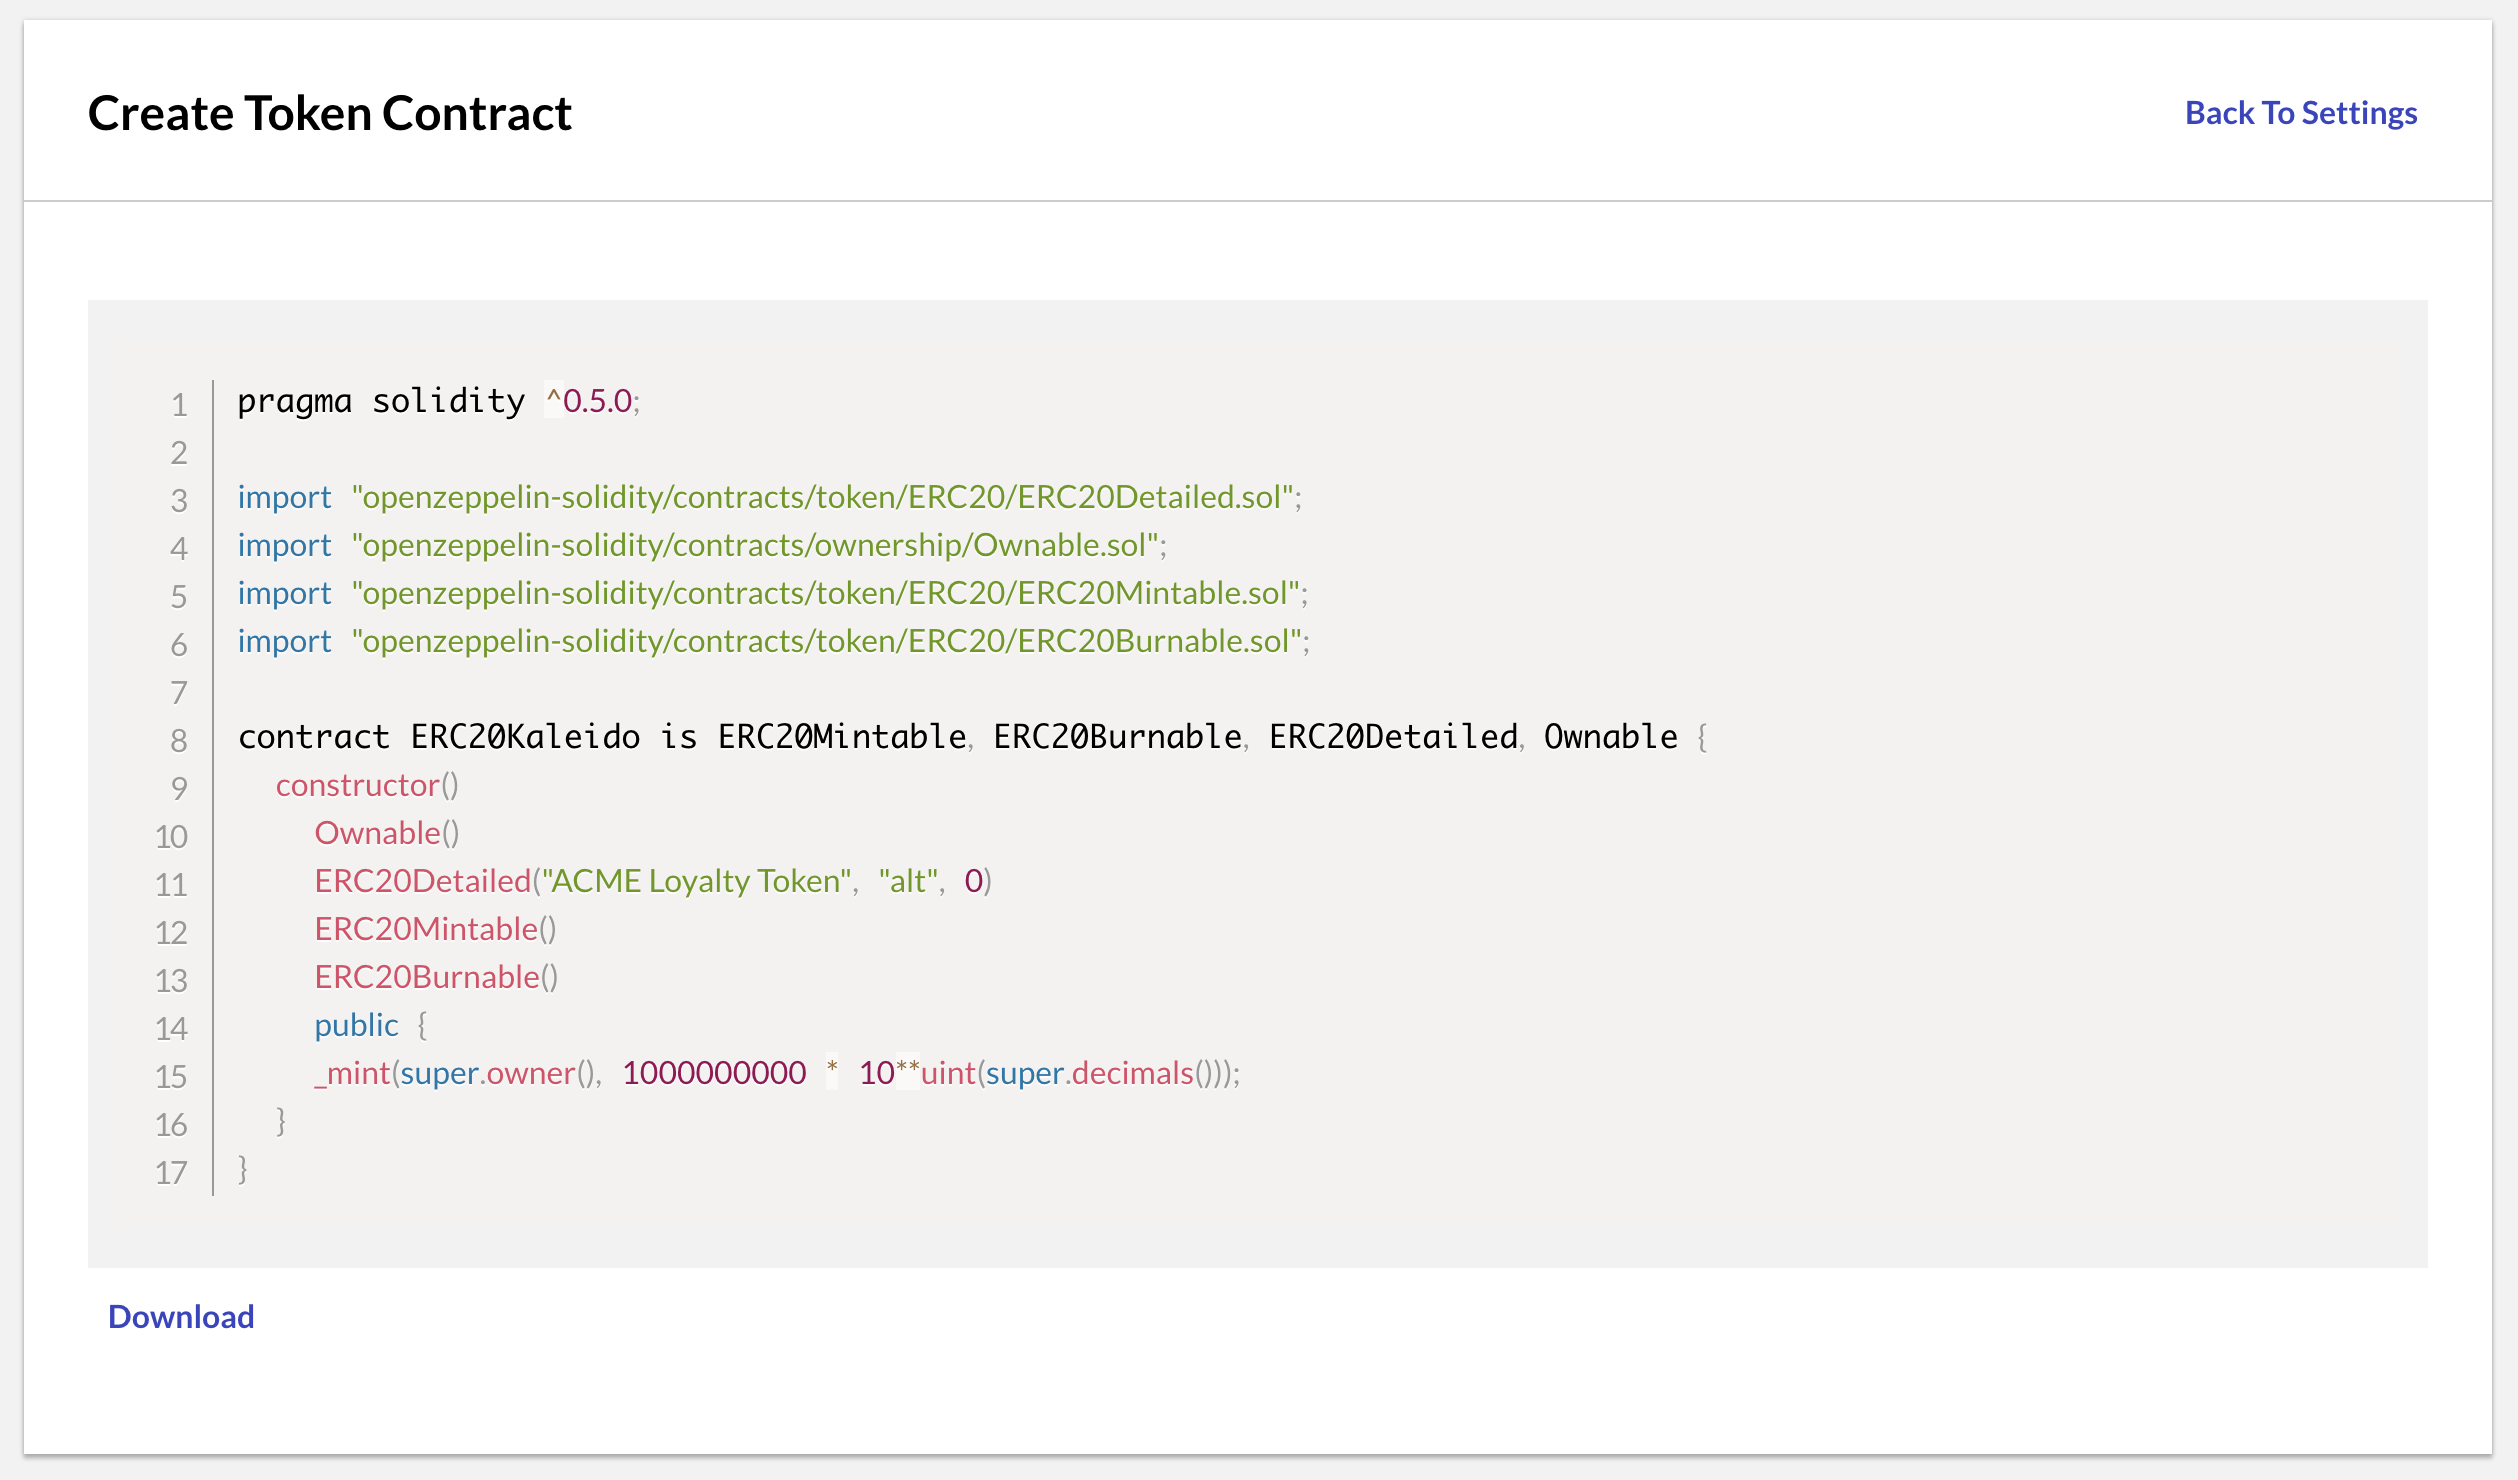
If you want to see the source code that the factory generated under the covers, click View Source Code.
Deploying to the blockchain
After clicking Create Contract, the dashboard screen is shown and the newly created token contract is displayed. You can further tweak its configuration by clicking the Edit button on the right. Once you are happy with the settings, click Deploy to instantiate the token contract on the blockchain.
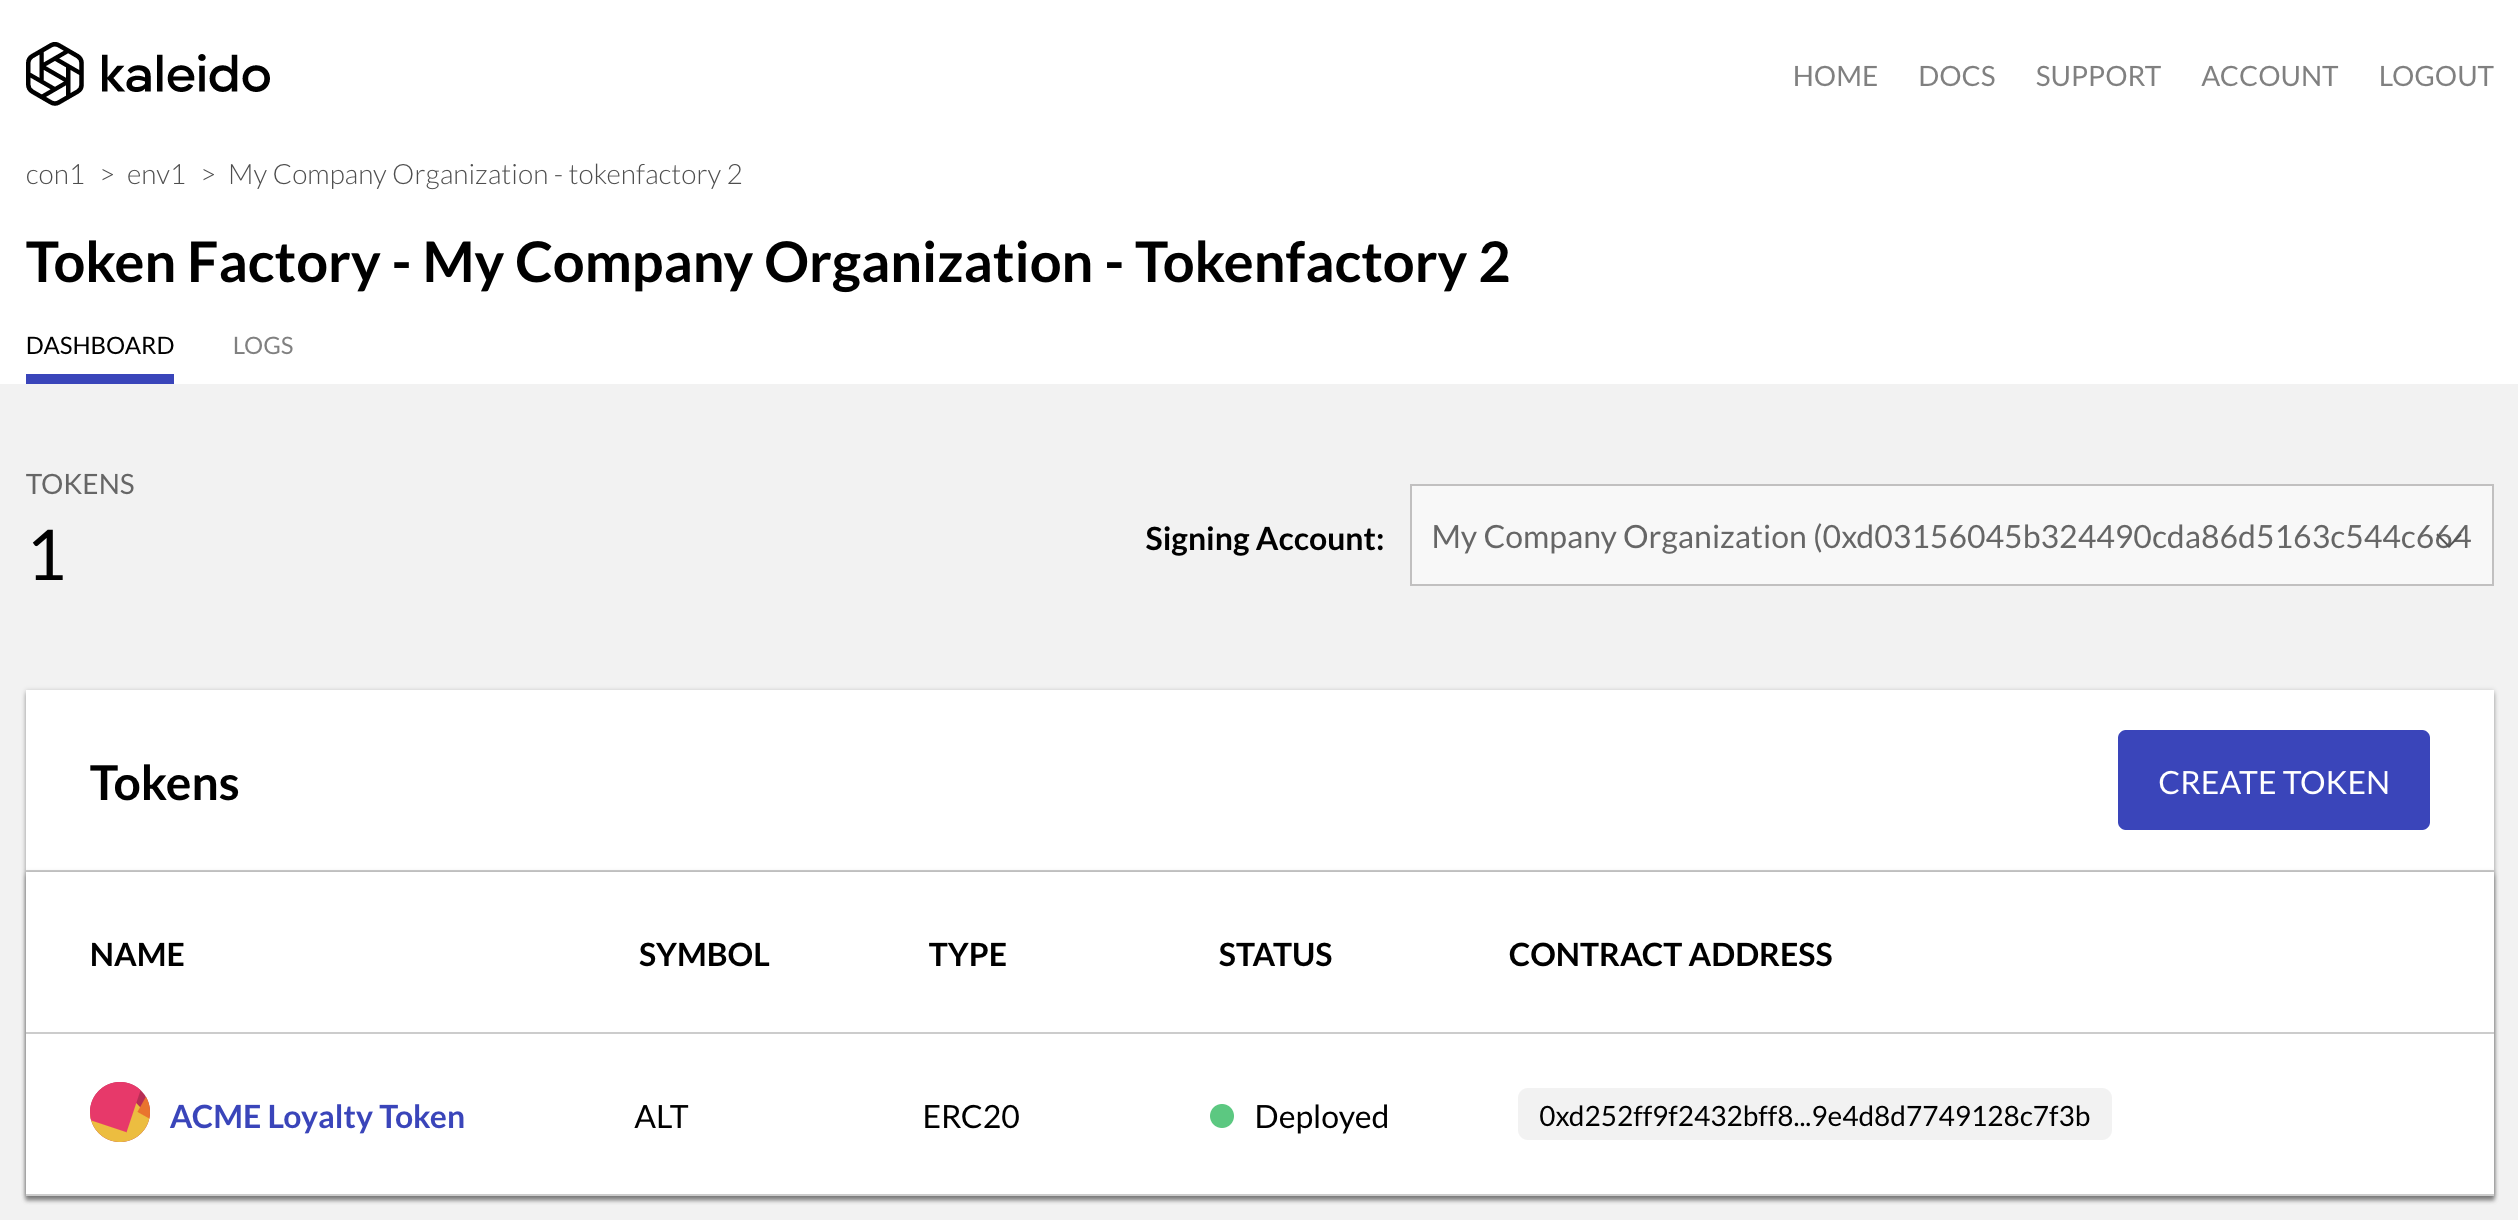
Once the contract is successfully deployed, the contract address is shown along with a unique icon for the token contract.
Mint, Burn, Transfer and Manage
You can click the token contract entry to view the details of the contract again, but more importantly the details panel will provide vital information about the token contract and actions available to the current account.
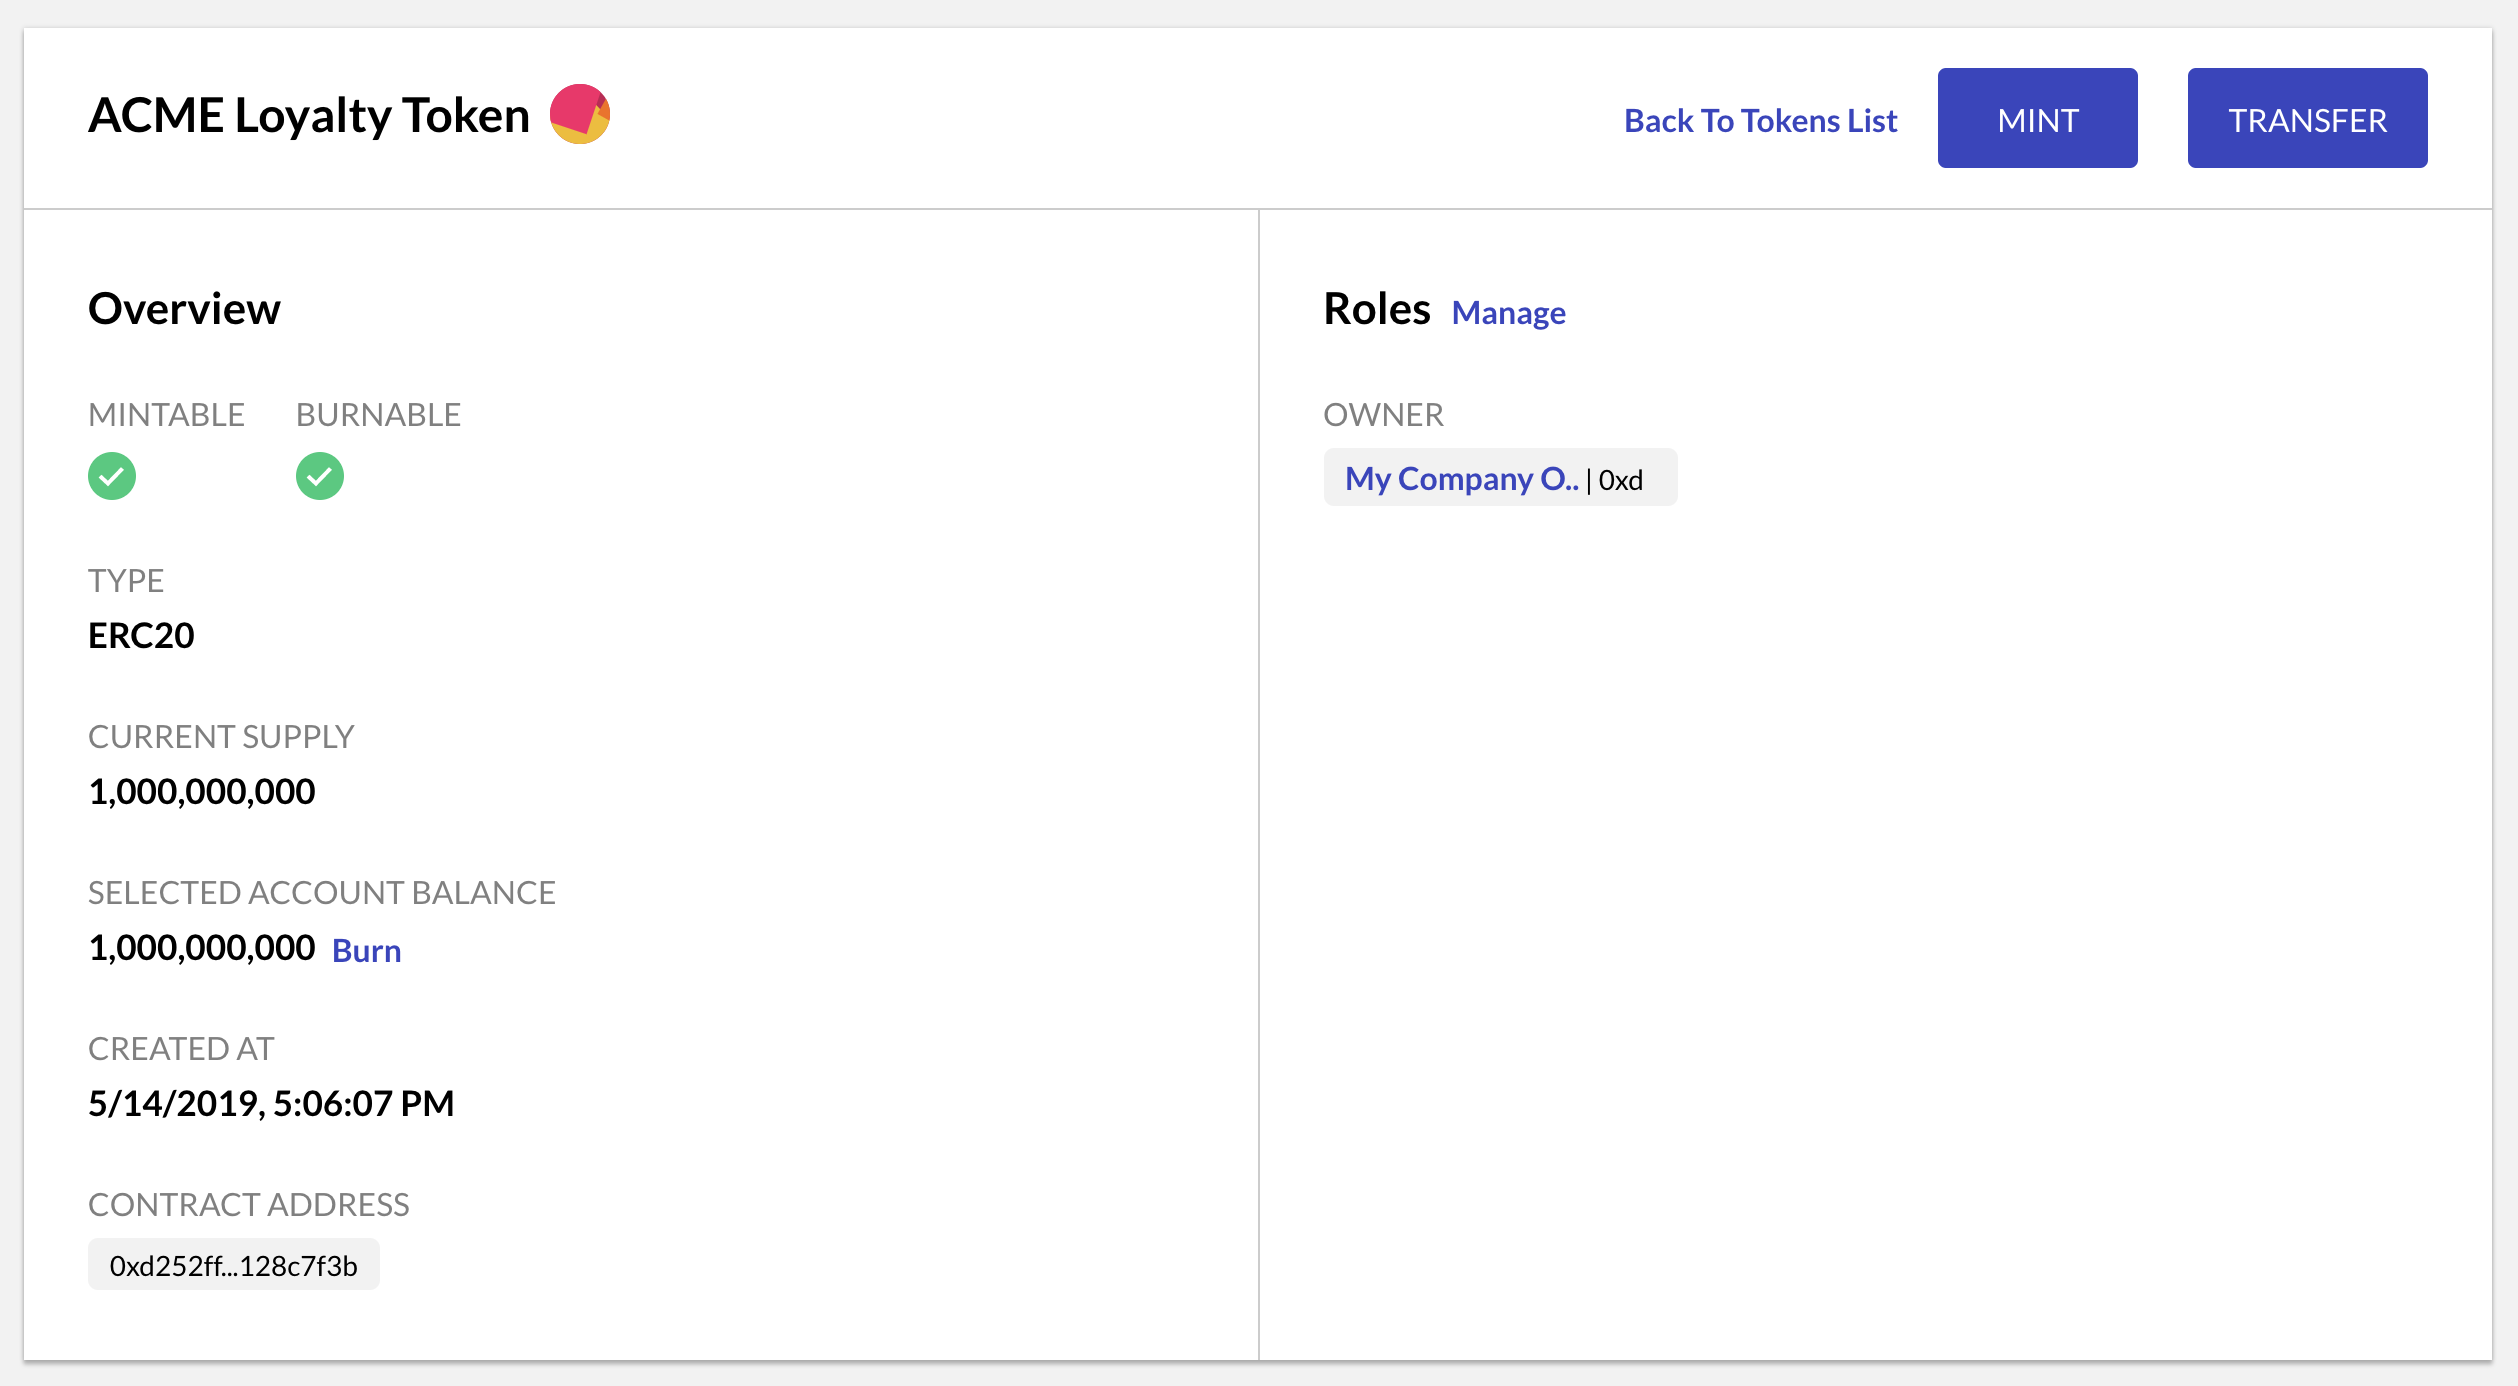
- Use the Mint action to add more tokens to the supply.
- Use the Burn button, which is displayed next to the current balance, to take tokens from the account’s balance and destroy them.
- Use the Transfer button to send tokens from the selected account to another Ethereum account.
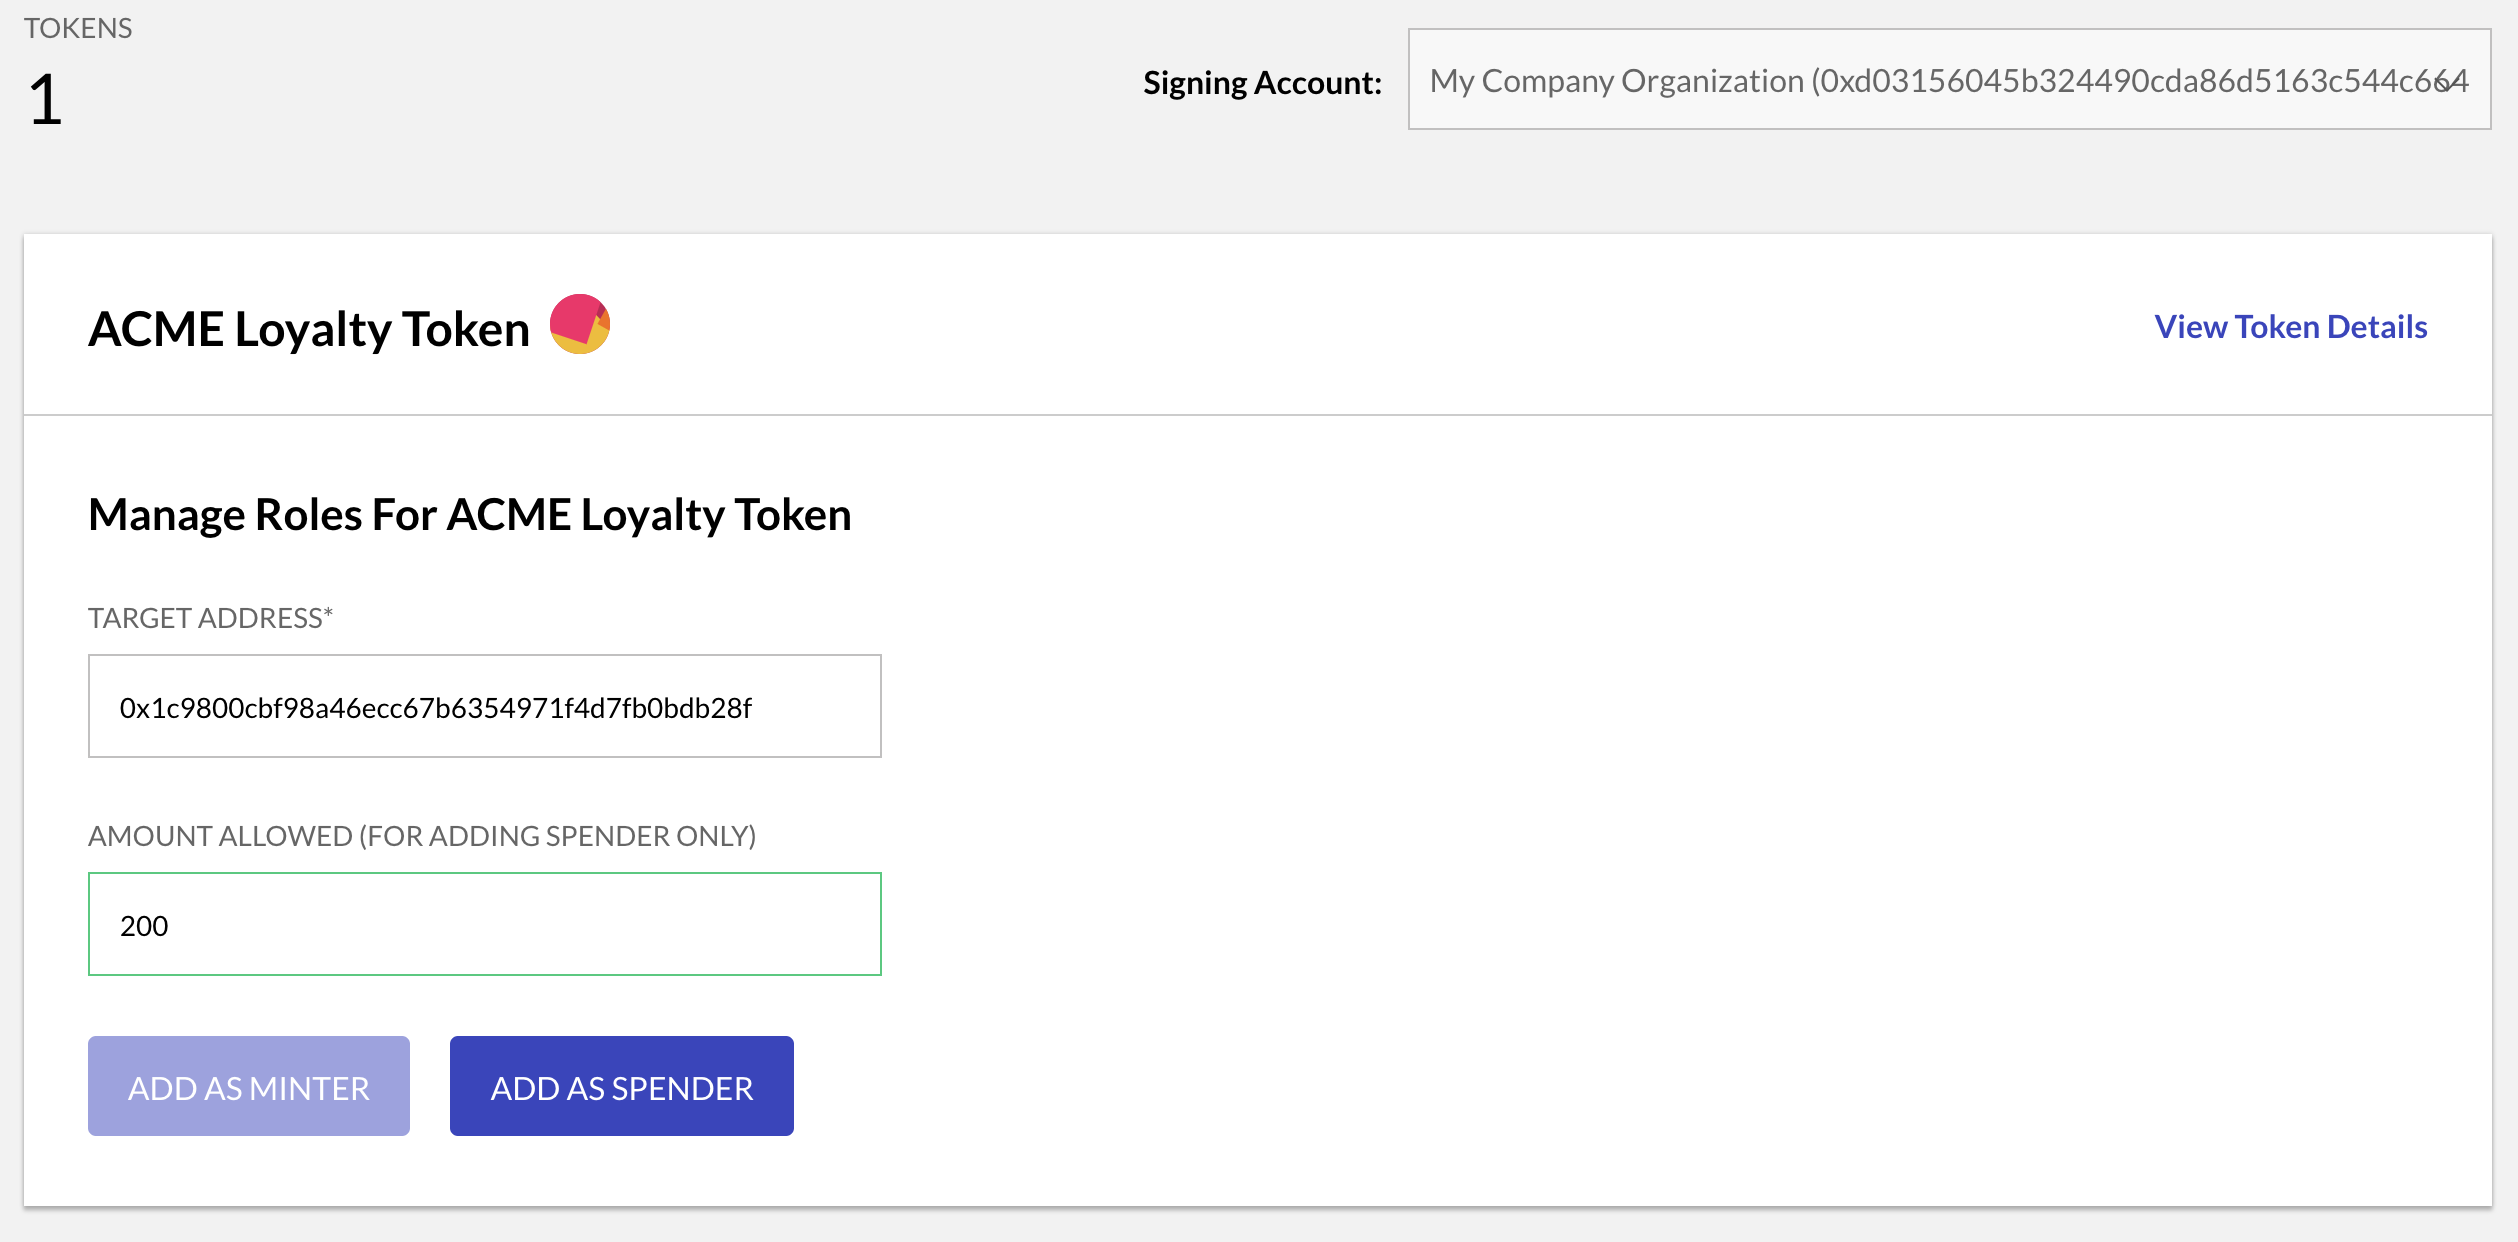
- Finally, click Manage and use the management panel to designate additional accounts as minters, ascribing the privilege to mint additional tokens.
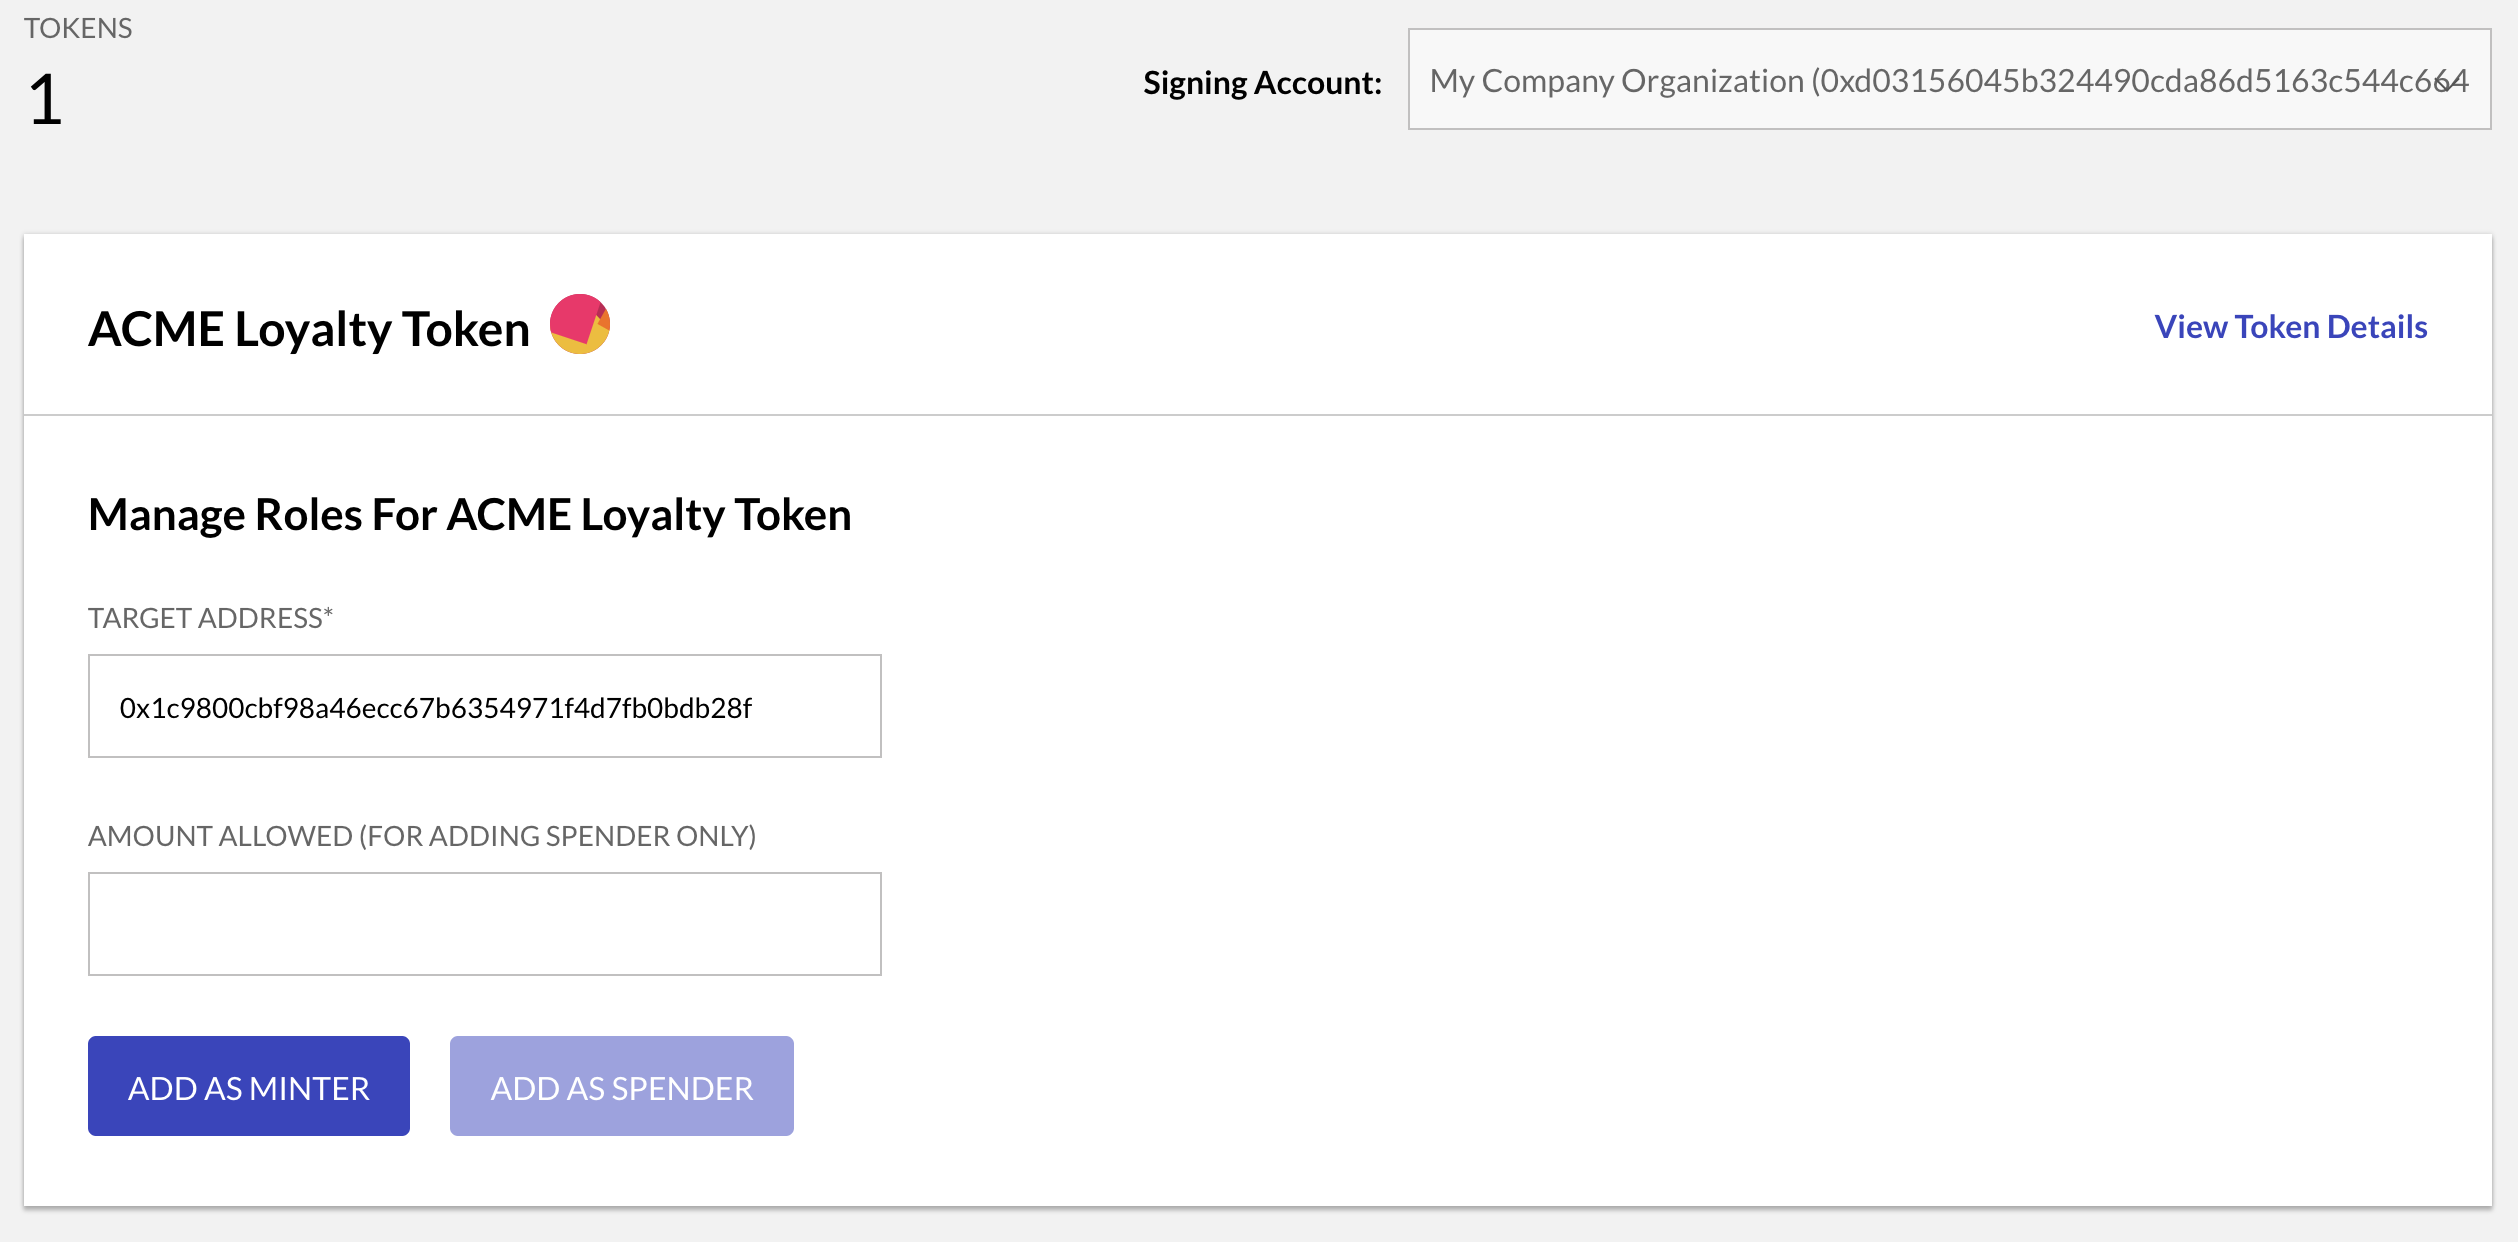
The same panel can also be used to designate other Ethereum accounts (apart from the token owner) as Spenders, granting them permission to manage the token allowance on behalf of the owner. This feature is useful in asset custody scenarios.
